Archives For November 30, 1999

For those prefer installing and removing Ubuntu packages via Synaptic package manager, you must have noticed the ‘Quick filter’ search function has been replaced by a search button.

This quick tutorial is going to show you how to re-enable the ‘Quick filter’ function in Synaptic package manager in Ubuntu 18.04, Ubuntu 16.04, and higher.

UPDATE: The tutorial is still working in today’s Ubuntu, including Ubuntu 20.04, Ubuntu 22.04, and Ubuntu 23.10.

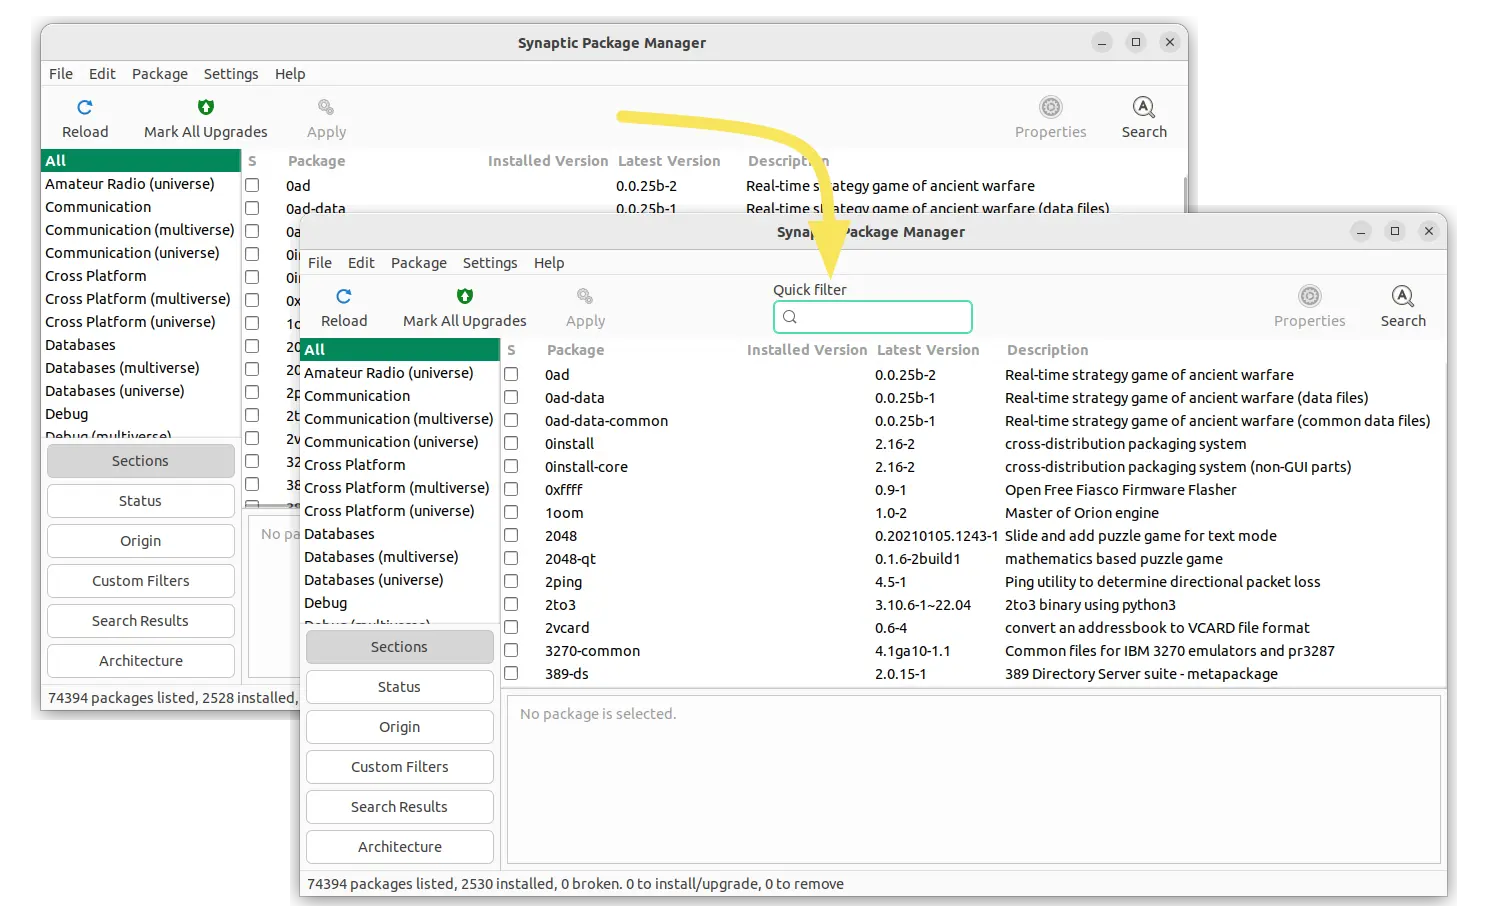
The quick filter search box is offered by ‘apt-xapian-index‘, which is a ‘recommends’ dependency package for Synaptic. Installing synaptic via Ubuntu Software or apt command without --install-recommends will exclude that optional dependency package.

So, the solution is just install the package and re-build search engine index by doing the following steps one by one:

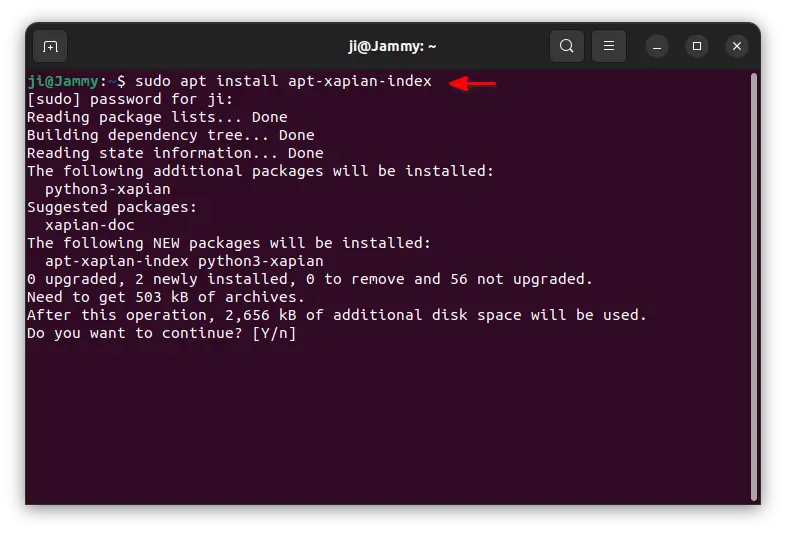
1. Open terminal either via Ctrl+Alt+T keyboard shortcut or from application launcher. When it opens, run command to install apt-xapian-index:

sudo apt install apt-xapian-index

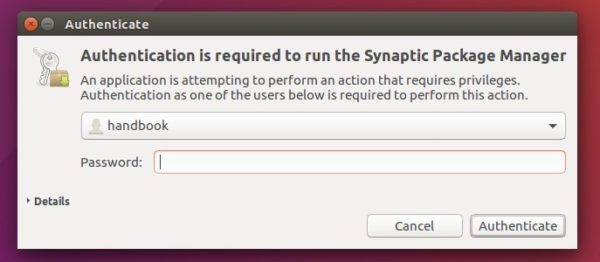
Type user password (no asterisks feedback) when it prompts and hit Enter to continue.

2. Then rebuild the search engine index via command:

sudo update-apt-xapian-index -vf

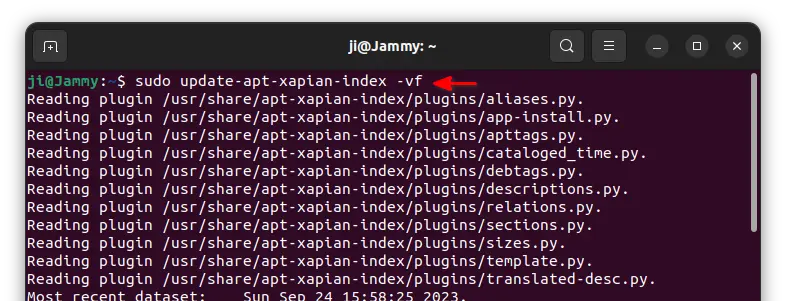
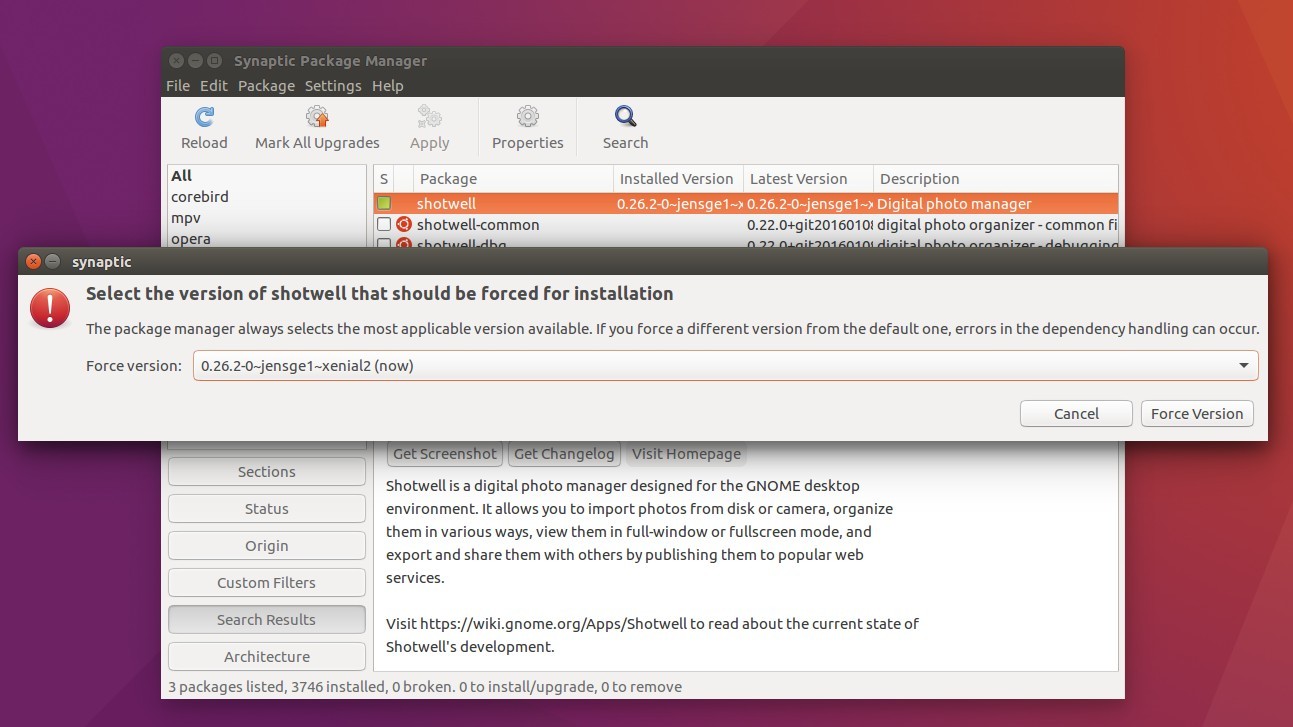
Finally open or re-open Synaptic package manager, and you’ll see the search box back. Unfortunately for perfectionist, the original ‘Search’ button seems not easy to be removed from tool-bar.

For some reason, you may want to downgrade an installed application to an old version in Ubuntu.

Usually, you can easily restore a package to its stock (initial) version available in Ubuntu universe repository. Or, you can restore to a specific software version if you added a third-party repository that contains the version of that package.

By following below steps, you can easily switch between software versions via Synaptic package manager.

1. Install Synaptic package manager via Ubuntu Software app:

2. Launch Synaptic package manager and input your user password when prompts since it requires root user privilege:

3. Search for and then highlight the software you want to downgrade, then go to menu Package -> Force Version…

4. The next dialog allows you to choose among all available software versions.

Select the version as you want, click ‘Force Version’ and confirm by clicking Mark button in next dialog.

Finally click the Apply button to apply changes.

Tip: After downgraded the software, you may also want to lock the software version by highlighting it in Synaptic then go to menu Package -> Lock Version.

This simple tutorial shows how to install SoundConverter on Ubuntu 13.04 Raring, 12.10 Quantal, 12.04 Precise and Linux Mint via GetDeb repository.

SoundConverter is a simple sound converter application for the GNOME environment. It reads sound files in any format supported by GStreamer and outputs them in Ogg Vorbis, FLAC, or WAV format, or MP3 format if you have the GStreamer LAME plugin.

SoundConverter aims to be simple to use, and very fast. Thanks to its multithreaded design, it will use as many cores as possible to speed up the conversion. It can also extract the audio from videos.

Tutorial Objectives:

  • Install SoundConverter 2.1.1 on Ubuntu 13.04, 12.10, 12.04
  • Enjoy!

To get started, add the GetDeb repository. To do so, press Ctrl+Alt+T to open terminal. When it opens, run below commands to add the repository:

wget http://archive.getdeb.net/install_deb/getdeb-repository_0.1-1~getdeb1_all.deb

sudo dpkg -i getdeb-repository_0.1-1~getdeb1_all.deb

Then you can search for and install soundconverter via synaptic package manager. Or run below commands to update package lists and install:

sudo apt-get update; sudo apt-get install soundconverter

Once installed, open it from Unity Dash.