![]()
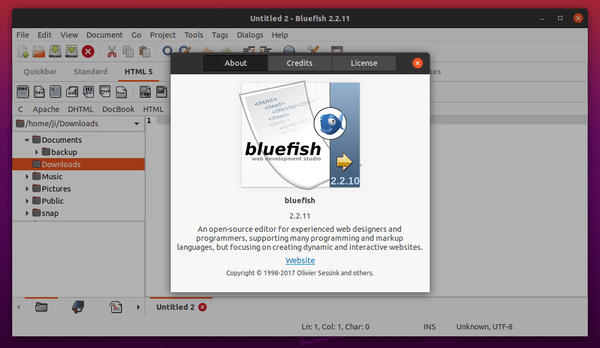
This simple tutorial shows how to install the latest Bluefish editor 2.2.11 in Ubuntu 16.04, Ubuntu 18.04, Ubuntu 19.10, and derivatives.
Bluefish editor 2.2.11 is a maintenance release that features Python 3 compatibility. Other changes include:
- Improved double-click selection.
- Fill a line with spaces up to a mouse click.
- Search and replace ignores backup files by default.
- Insert output from an external command
- Search in files in the file-browser.
- Select current identifier via shift+ctrl+i
- Printing improvements, translation updates, and many bug-fixes.
While the new release package is already made into Ubuntu 20.04 universe repository, the PPA repository contains the latest packages for all current Ubuntu releases.
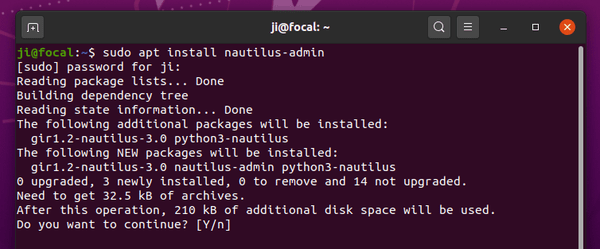
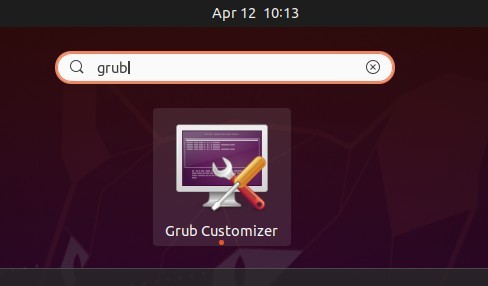
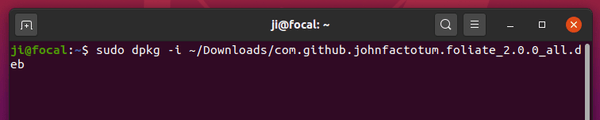
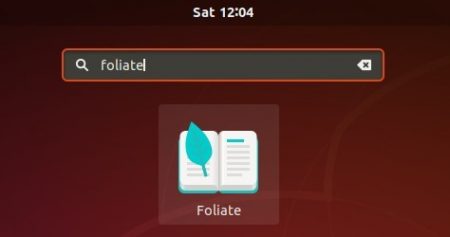
1. Open terminal either by pressing Ctrl+Alt+T on keyboard or by searching for ‘terminal’ from ‘Show Applications’ menu.
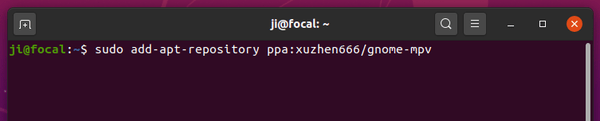
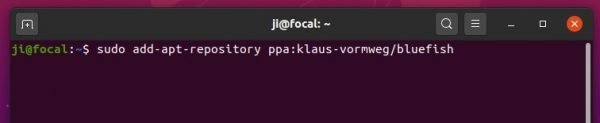
When terminal opens, run command to add the PPA:
sudo add-apt-repository ppa:klaus-vormweg/bluefish
Type user password when it prompts and hit Enter to continue.
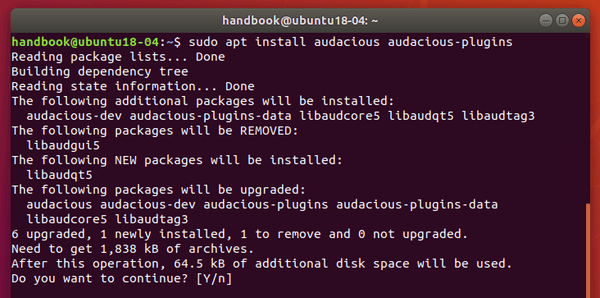
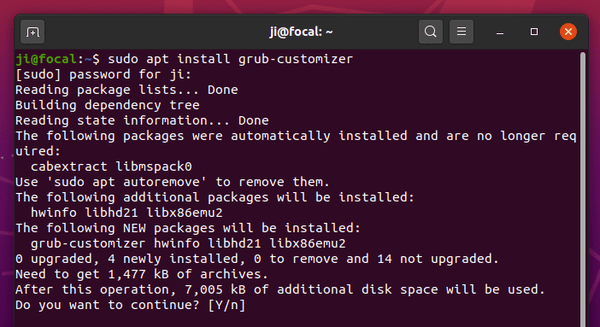
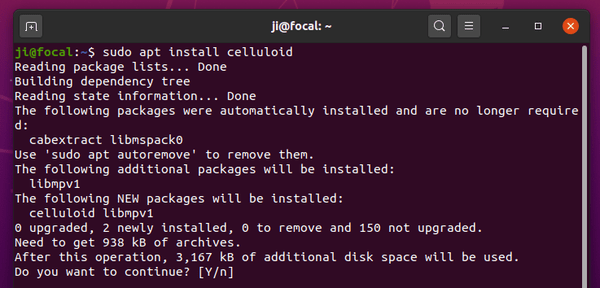
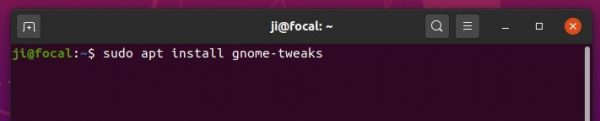
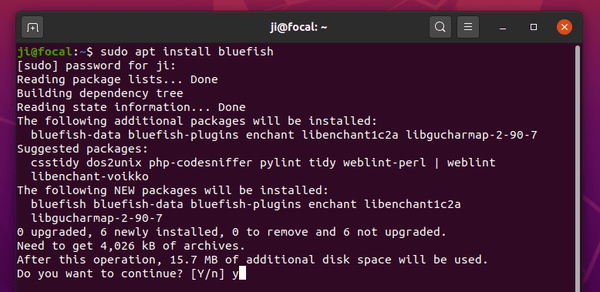
2. Then run commands to check updates and install the programmers editor:
sudo apt update

sudo apt install bluefish
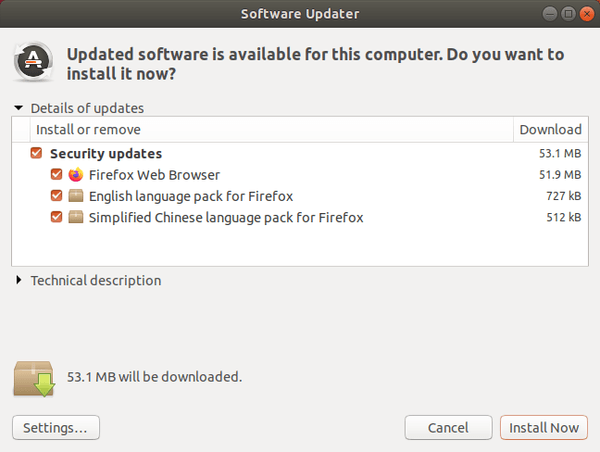
Or launch and update your old software package via Software Updater utility.
Uninstall:
You may remove the PPA repository either via Software & Updates utility under Other Software tab, or by running command in terminal:
sudo add-apt-repository --remove ppa:klaus-vormweg/bluefish
And remove Bluefish programmers editor if you want via command:
sudo apt remove --autoremove bluefish