![]()

Slimbook battery is a battery optimization tool that works on Gnome, KDE, Unity, Cinnamon, and MATE desktop.
The software offers a system tray application indicator with three energy modes: Energy Saving, Balanced, and Maximum Performance. Also an ‘Off‘ menu option is available to turn off the optimization.
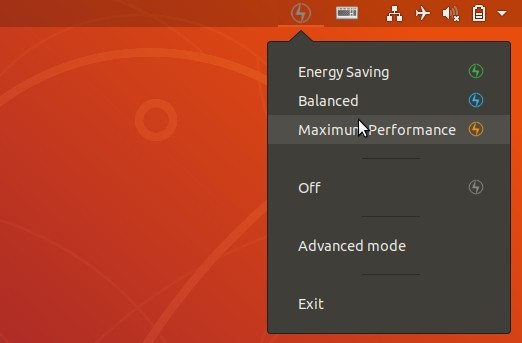

Each energy mode comes with default values. User is allowed to change the most important values via the Preferences (Advanced mode).

How to Install Slimbook battery in Ubuntu:
Slimbook’s official PPA contains the latest packages for Ubuntu 16.04, Ubuntu 18.04, Ubuntu 18.10, Ubuntu 19.04, and their derivatives.
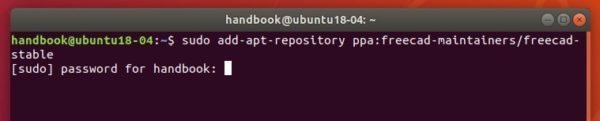
1. Open terminal either via Ctrl+Alt+T keyboard shortcut or from application menu. When it opens, run command to add the PPA:
sudo add-apt-repository ppa:slimbook/slimbook
Type user password (no asterisk feedback) when it prompts and hit Enter to continue adding PPA.


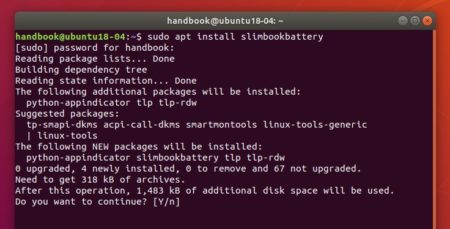
2. Then refresh system package cache and install the tool:
sudo apt update

sudo apt install slimbookbattery
Once installed, launch it from application menu and enjoy!

Uninstall:
To remove the tool, open terminal and run command:
sudo apt remove --auto-remove slimbookbattery
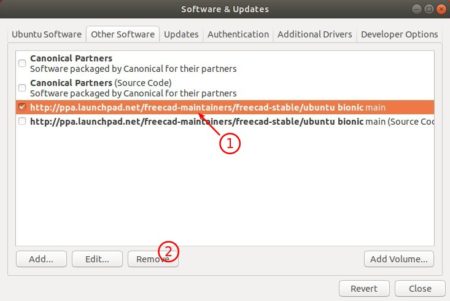
And remove the PPA either via Software & Updates-> Other Software, or by running command:
sudo add-apt-repository --remove ppa:slimbook/slimbook