The popular Kodi media player (formerly XBMC) finally discontinued its official PPA for Ubuntu users.
Meaning that there’s no official Kodi .deb package any more. Users are recommended to use Flatpak package instead!
Ubuntu PPA is a popular way to host up-to-date versions of software packages in .deb package format. And, Wolfgang Schupp has been maintaining the Kodi Team PPA for many years for Ubuntu users. The last version stuck at Kodi 20.2, though there are still add-on updates now and then.
After 3 alpha and 3 beta releases, Kodi media center 21, finally announced its first RC release this Thursday.
Kodi 21 is the next major release that’s still in development. The release features upstream FFmpeg 6.0, adds support for NFSv4, support M3U8 playlist files, AVIF images, HDR10 for Android.
The developer team asks users to try out the new development release and report issues to help to make it better. And, in the current RC1 release, changes include:
Allow users to set a subtitle save path
Fix that audiobooks showing their last chapter with no duration.
For Linux, allow Pipewire to properly identify HDMI for passthrough usage.
Implement Hotkeycontroller for media keys on macOS
Some color accuracy changes for 10bit SDR/HDR color mapping on Windows.
Allows subtitles to be tonemapped to avoid extreme brightness for HDR playback on Android.
Kodi, formerly XBMC media center, released version 20.3 this Wednesday!
According to the announcements, this is the last release of the 20.x “Nexus” series. While Kodi 21 “Omega” now is in Beta 2 stage.
The release mainly includes bug-fixes and some backports. They include an assortment of fixes for Estuary, including home categories’ focus position, alignment of counter labels and Shift view for collections.
For gaming, the release fixed controllers not assigned to game ports correctly on Android, blue/pink washed out colours on Windows with 10-bit displays, and possible crash in Port dialogue box.
For Linux, it includes fixes for VP9 Profile 2 playback failure, and a leak of EGLFences in the DRM Prime renderer. Continue Reading…
Kodi 19.1, the first update for the “Matrix” series, was released with various bug-fixes.
The new release of the media player and entertainment hub contains mainly bug-fixes. It fixed HDR metadata detection issue, playback of optical DVDs in Linux, and BD-J Blu-ray chapter skipping via remotes/keyboard.
System fonts and use fonts detection for ASS subtitles, as well as rendering of semi-transparent ASS subtitles on Wayland are now fixed in the release.
Kodi 19.1 also enabled filecaching by default for network filesystems, improved reliability for HTTP and NFS network filesystems, and added support for WS-Discovery protocol to locate SMB servers and browse shared folders via SMBv3.
Other changes in the release include:
Fixed media flagging for DVD/BluRay
Fixed incorrect HDR metadata
Fixed green screen when playing the menu of some DVDs
The official Kodi PPA has made the packages for all current Ubuntu releases including Ubuntu 21.04.
Open terminal either from system app launcher or by pressing Ctrl+Alt+T on keyboard. When it opens, do following steps one by one.
1. Add Kodi PPA.
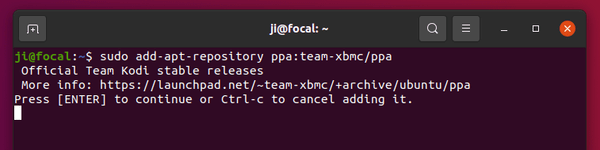
To add the official Kodi PPA, run command in terminal:
sudo add-apt-repository ppa:team-xbmc/ppa
Type user password when it asks, with no asterisk feedback, and hit Enter to continue.
2. Install / Update Kodi.
If you’re now running the stock version of Kodi package in Ubuntu, the Software Updater will refused to update it. So it’s recommended to use the command below to install or update the media player.
Firstly refresh system package cache, if you’re on Ubuntu 18.04, via command:
sudo apt update
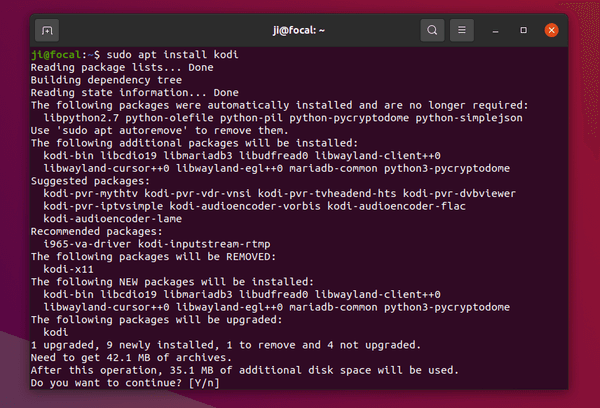
Then install Kodi via command:
sudo apt install kodi
Once installed Kodi, either launch it from system app launcher or log out and select “Kodi” session to login.
How to Downgrade:
You can purge the Ubuntu PPA as well as downgrade Kodi to the stock version available in Ubuntu main repositories. To do so, run command:
Kodi Media Center 18.6 now is available to install via its official PPA in Ubuntu 16.04, Ubuntu 18.04, Ubuntu 19.10, and their derivatives.
Kodi 18.6 is a maintenance release contains mainly bug-fixes and stability improvements. It’s not officially announced at the moment. According to the changelog, changes in the new release include: add image mime type for support over imagedecoder.raw, fix launching zip and 7z files from MyGames, fix error playing disk image games, remove now superflous HeadSet check, Remove Headphone check, and much more other changes.
How to Install Kodi 18.6 in Ubuntu:
The Kodi stable PPA has made the new release packages for Ubuntu 16.04, Ubuntu 18.04, Ubuntu 19.04, and Ubuntu 19.10.
1. Open terminal either from application menu or by pressing Ctrl+Alt+T on keyboard. When it opens, run command to add the PPA:
sudo add-apt-repository ppa:team-xbmc/ppa
Type user password (no asterisk feedback) when it prompts and hit Enter to continue.
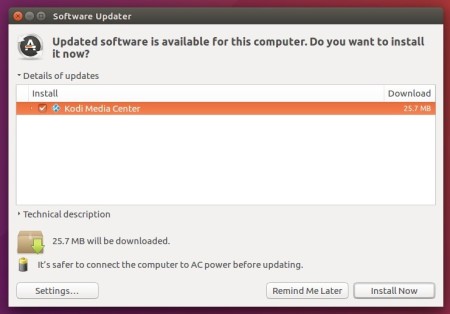
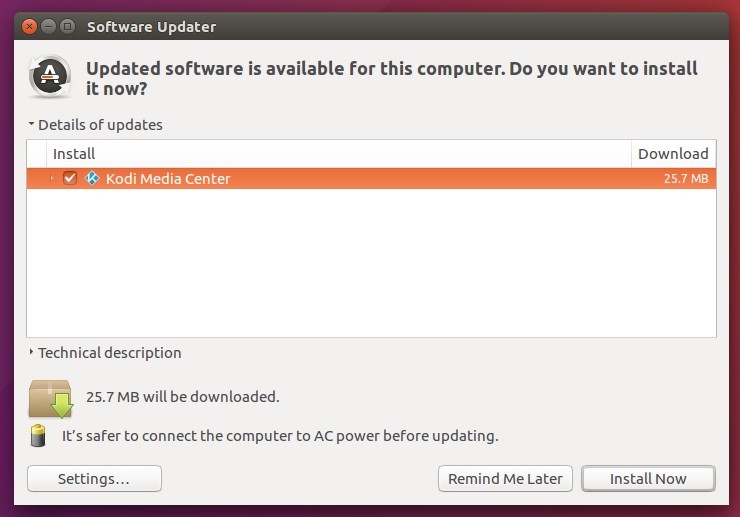
2. Then either upgrading Kodi from an existing version via Software Updater:
or refresh system package cache and install Kodi 18.6 via commands:
sudo apt update

sudo apt install kodi
Uninstall:
To remove the Kodi PPA repository, simply open Software & Updates -> Other Software.
Kodi “Leia” 18.2 was released a day ago with numerous bug-fixes and performance improvements. Here’s how to install it in Ubuntu 16.04, Ubuntu 18.04, and higher.
Kodi 18.2 is a bug fix release with no real new functionality. Release highlights include:
Fix performance and dependency regressions in GLES rendering path.
Fixes to the AML platform
VAAPI on Intel improvements.
Fixes and improvements across all aspects of PVR
Music experience improvements.
Huge number of improvements for the Android platform
How to Install Kodi 18.2 in Ubuntu:
The Kodi stable PPA has made the new release packages for Ubuntu 16.04, Ubuntu 18.04, Ubuntu 18.10, and their derivatives.
1. Open terminal either via Ctrl+Alt+T keyboard shortcut or from application menu. When it opens, paste below command and hit run:
sudo add-apt-repository ppa:team-xbmc/ppa
Type user password (no asterisks feedback) when it prompts and hit Enter to continue.
2. Then refresh system package cache and install Kodi 18.2 via command:
sudo apt update

sudo apt install kodi
For Ubuntu 18.04 and higher, you can skip the apt update command.
Uninstall:
To remove the Kodi PPA repository, simply open Software & Updates -> Other Software.
Kodi media center, formerly known as XBMC, reached the 17.4 release a few days ago with a bunch of bug-fixes. Here’s how to install it in Ubuntu 14.04, Ubuntu 16.04, Ubuntu 17.04, and their derivatives.
Kodi 17.1, the first bug-fix release for the v17 “Krypton”, has been released and made into PPA for Ubuntu 14.04, Ubuntu 16.04, Ubuntu 16.10, and Linux Mint 17 & 18.
According to the changelog, Kodi 17.1 brings a huge list of fixes and here are some of them:
Update Estuary and Estouchy with some bugfixes and improvements
Fix EDL skipping
Fix slow song smartplaylist
Several PVR fixes
Update Chorus webinterface
Fix addons not being marked broken when they are updated with broken flag
Add limiter on random songs which should prevent large memory usage on big libraries
Improve keyboard mapping during button mapping
Improve analog stick handling
Improve plugin performance when building the content list
Include RTMP inputstream add-on for Windows
Although the Kodi website does not announced the v17.1 release at the moment, you can now install or upgrade to Kodi 17.1 via following steps:
1. Open terminal by pressing Ctrl+Alt+T or searching for “Terminal” from Unity Dash / Start Menu. When it opens, run command to add Kodi PPA:
sudo add-apt-repository ppa:team-xbmc/ppa
Type in your password (no visual feedback due to security reason) and hit Enter.
2. Then upgrade Kodi Media Center from a previous release via Software Updater:
Or run the commands below one by one to install or upgrade Kodi:
sudo apt update

sudo apt install kodi
Once installed, you can either launch Kodi from app launcher or select log in Kodi session at login screen.
Kodi, formerly known as XBMC, finally reached the new stable 17.0 release. Here’s how to install it in Ubuntu via PPA.
Kodi 17.0, code-name “Krypton”, brings updated default UI, better organisation of settings, and many under-the-hood changes on Video Player, Music Library, PVR, audio on Android, and thousands of small bug-fixes and improvements to stability.
Kodi 17.0 features:
New default skins “Estuary” for TV, and “Estouchy” for touchscreen devices.
New default web interface
New inputstream add-ons with more protocols support.
hardware-accelerated DVD playback
Numerous improvements to Live TV and PVR functionality
Android implementation, and a wide variety of other changes.
How to Install Kodi 17 in Ubuntu / Linux Mint:
The Kodi Team announced that the official PPA will be updated soon with the new packages, available for Ubuntu 16.10, Ubuntu 16.04, Ubuntu 14.04, and Linux Mint 17 & 18.
At that time, you can follow the step below to install Kodi 17:
1. Open terminal from app launcher or via Ctrl+Alt+T shortcut key, when it opens, run command:
sudo add-apt-repository ppa:team-xbmc/ppa
Type in your password (no visual feedback) when it asks and hit Enter.
2. Then you can upgrade Kodi Media Center from an existing version, by launching Software Updater:
Or install it via following commands in terminal:
sudo apt update

sudo apt install kodi
Once installed, you can either launch Kodi from app launcher or log with Kodi session when you’re in login screen.
Uninstall:
To uninstall Kodi 17 and restore to the stock version in your Ubuntu repository, purge the PPA via ppa-purge tool via command: