![]()

KDE Okular document viewer now can be easily installed in Ubuntu 16.04, Ubuntu 18.04, and higher via the snap package.
Okular is a universal document viewer developed by KDE. It supports PDF, PS, Tiff, CHM, DjVu, Images, DVI, XPS, ODT, Fiction Book, Comic Book, Plucker, EPub, Fax. It features annotations support, sidebar with contents, thumbnails, reviews and bookmarks.
Okular snap is a containerized software package offered by KDE. It bundles all required libraries and auto-updates itself.
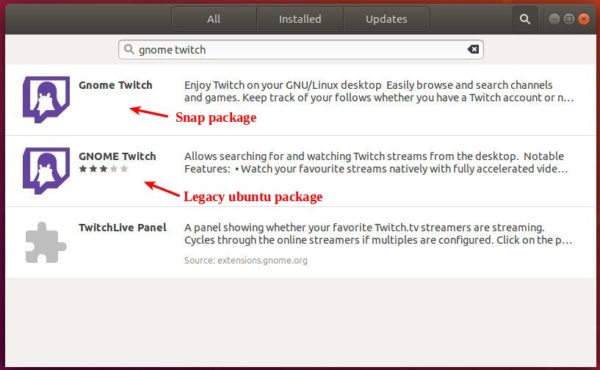
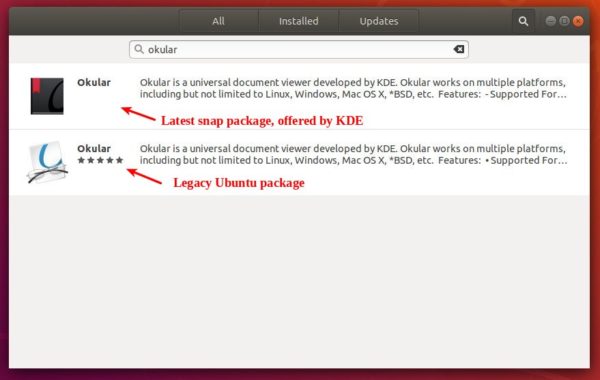
For Ubuntu 18.04, and higher, simply open Ubuntu Software, search for and install the Okular snap package:

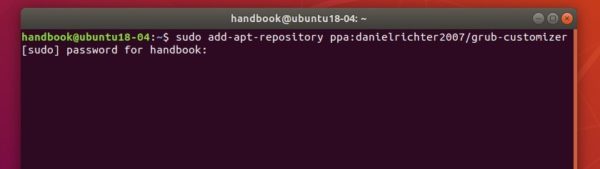
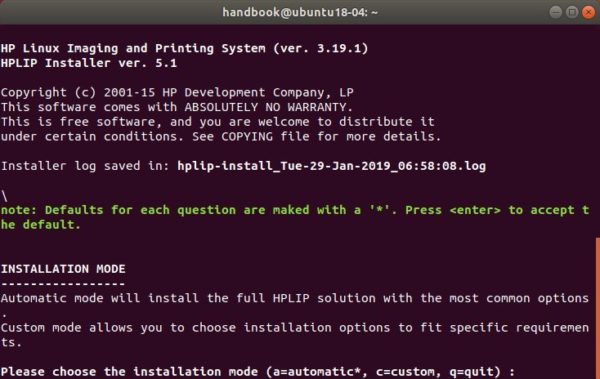
For Ubuntu 16.04, first open terminal (Ctrl+Alt+T) and install snapd daemon:
sudo apt-get install snapd

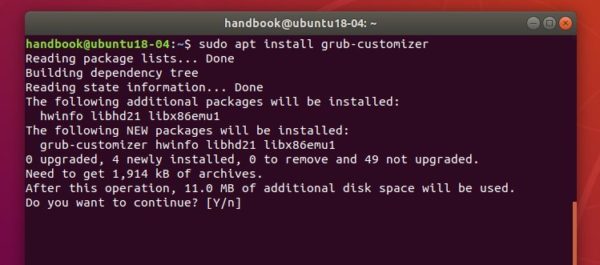
Then install Okular snap packages via commands:
sudo snap install okular


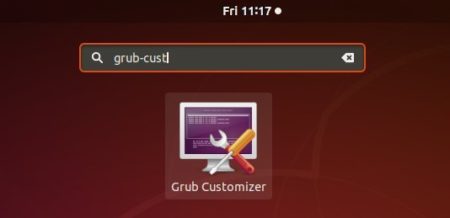
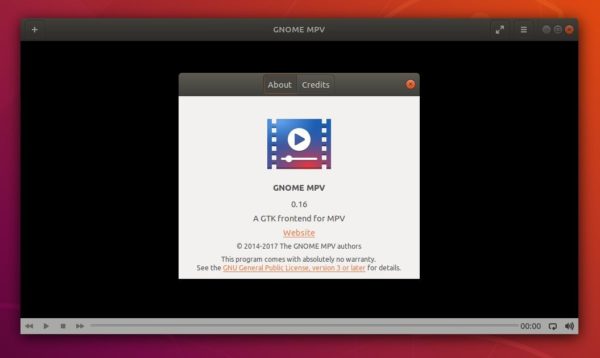
Once installed, launch it from software menu and enjoy!