A new bug-fix release for Liferea 1.12 series was released today. Here’s how to install it in Ubuntu 18.04, Ubuntu 16.04, and derivatives.
This is a bugfix release. It includes an important bug fix that solves a possible endless loop on using “Next Unread” which several users experienced as endless high CPU usage. If you are affected by this: please upgrade!
This release also switches the keyring integration from GnomeKeyring to libsecret and introduces a flatpak JSON.
Changes in Liferea 1.12.5 according to the changelog:
- Webkit browser now supplies ‘Liferea’ component in user agent
- Added “Mark All As Read” button to headerbar plugin
- Added flatpak JSON
- Added item list column drag and drop reordering
- Move from GnomeKeyring to libsecret
- Correct instapaper sharing link
- Update sharing links
- Fix consistent over usage of CPU (trigger by “Next Unread” loop)
- Dropping Inoreader support (API broke)
How to Install Liferea 1.12.5 in Ubuntu:
For Ubuntu 16.04, Ubuntu 18.04, Linux Mint 19, 18.x, the new release is available in the unofficial PPA repository.
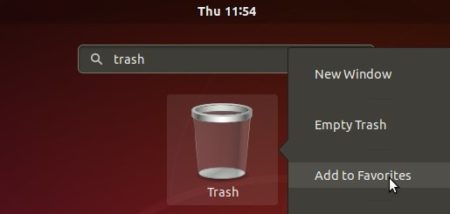
1. Open terminal either via Ctrl+Alt+T or by searching for ‘terminal’ from app launcher. When it opens, run command to add the PPA:
sudo add-apt-repository ppa:ubuntuhandbook1/apps
Type your password (no asterisks feedback while typing) when it prompts and hit Enter.


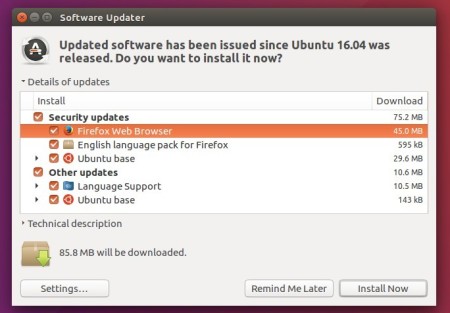
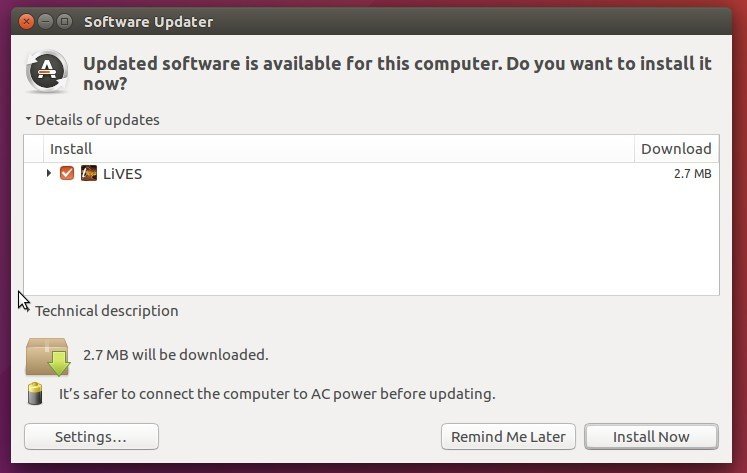
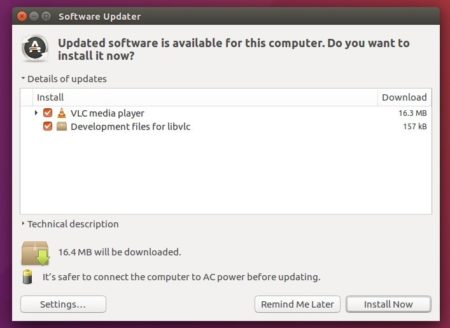
2. Then upgrade Liferea via Software Updater utility:


or run commands one by one to install the Linux feed reader:
sudo apt-get update

sudo apt-get install liferea
Finally launch the news reader from your application launcher and enjoy! (Log out and log back if you don’t see the icon).
Uninstall Liferea:
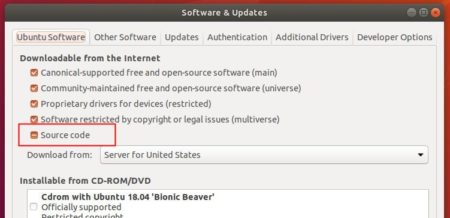
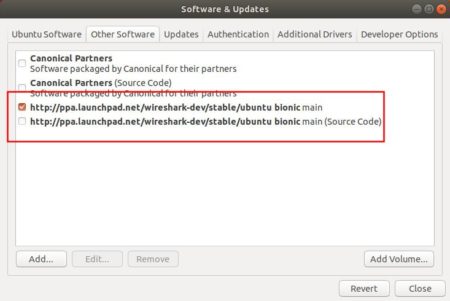
As the PPA also contains many other software packages, you may remove it by launching Software & Updates and navigating to Other Software tab.
If you want to remove the Liferea news reader software, either use your system package manager or run command in terminal:
sudo apt-get remove --autoremove liferea