Sony PSP emulator PPSSPP 1.6 stable was released a few months ago. Here’s how to install it in Ubuntu 18.04 while the PPSSPP stable PPA still has v1.5.4 packages.
PPSSPP 1.6 release highlights:
- OpenGL backend now properly multithreaded, giving a good speed boost.
- Various Vulkan performance improvements and memory allocation fixes.
- GPU command interpreter performance improvements
- Various fixes for app switching and widgets on Android
- Bugfixes and some performance improvements in the ARM64 JIT compiler and IR interpreter
- Shader cache enabled for Vulkan
- Multiple iOS fixes, including JIT and file browser.
- Improved compatibility on Mac
- Texture replacement ID bugfix (note: some textures from 1.5.4 may become incompatible)
- Adhoc multiplayer fixes
- Vulkan support on Linux/SDL
- Retroarch support
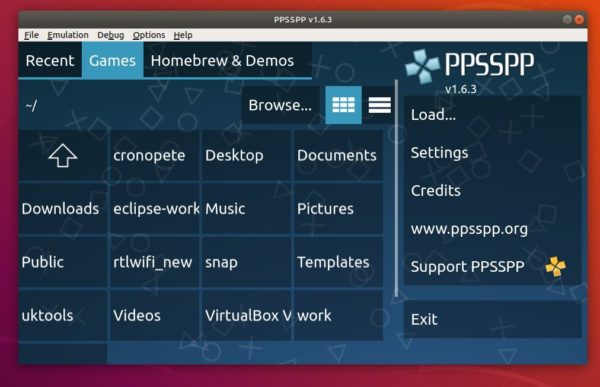

The RetroGames PPA contains the latest release of PPSSPP (1.6.3 so far) for Ubuntu 18.04 and Linux Mint 19.
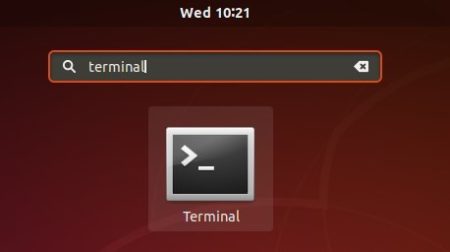
1. Open terminal either via Ctrl+Alt+T shortcut key or by searching for ‘terminal’ from app launcher. When it opens, run command to add the PPA:
sudo add-apt-repository ppa:ppsspp/stable
Type your password (no asterisks feedback) when it prompts and hit Enter.


2. Then you can install PPSSPP via command in Ubuntu 18.04:
sudo apt-get install ppsspp
For sdl version, replace ppsspp with ppsspp-sdl in the last command.
Uninstall:
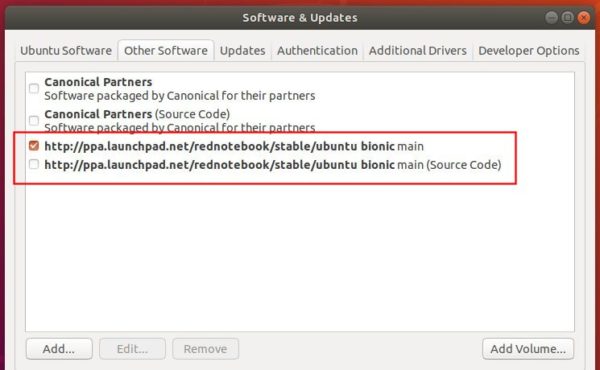
To remove the PPA, open Software & Updates and navigate to Other Software tab.
To remove PPSSPP, run command in terminal:
sudo apt-get remove --autoremove ppsspp ppsspp-*
In addition, for those who care about the versioning issue, I’ve re-uploaded PPSSPP 1.6.3 (based on RetroGames PPA package) into my personal PPA for Ubuntu 18.04 with the issue fixed.
You need to remove previous PPA and PPSSPP packages before installing the new one:
sudo add-apt-repository ppa:ubuntuhandbook1/apps
sudo apt-get install ppsspp