After doing a fresh install of Ubuntu 18.04 on my old ASUS laptop, I found that the touchpad right-click does not work. This is because Ubuntu 18.04 by default acts right-click when you perform two-finger click on touchpad.
While my laptop touchpad does not have physical buttons, I have to do two-finger click to perform right-click.
So following steps will show you how to make right-click (clicking on the bottom right area of the touchpad) working again in touchpad without a physical button in Ubuntu 18.04.
1. Open Ubuntu Software, search for and install Gnome Tweaks.
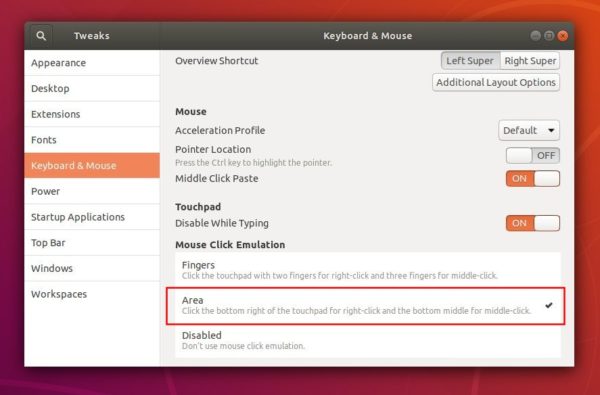
2. Launch Gnome Tweaks and navigate to Keyboard & Mouse settings page.
Under Mouse Click Emulation, simply click enable the second option: “Area – Click the bottom right of the touchpad for right-click and the bottom middle for middle click.”
Looking for how to create desktop slideshow in Ubuntu 18.04? Here I’ll show you some best wallpaper changing software for Ubuntu Linux.
1. Shotwell
For just the basic automatic wallpaper changing feature, you don’t need to install any software.
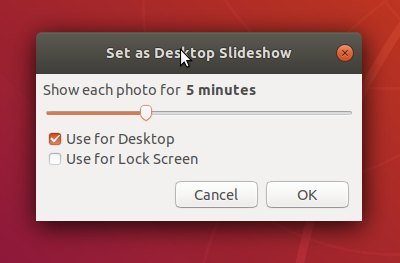
Just launch the pre-installed Shotwell photo manager, choose the pictures you need (you may need to import them first), then go to Files -> Set as Desktop Slideshow.
Finally set the time interval in next dialog and done!
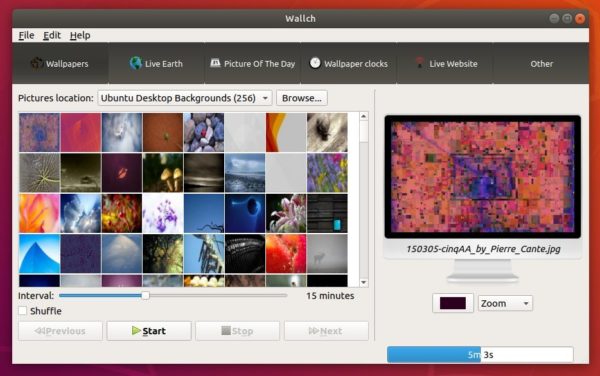
2. Wallch
Wallch was my favorite wallpaper changing software though it’s not under active development. Besides changing local wallpapers, Wallch also features:
Display live earth as desktop background.
Download and display picture of the day (wikipedia).
Wallpaper clocks
Live website as desktop background.
Wallch can be easily installed in Ubuntu Software:
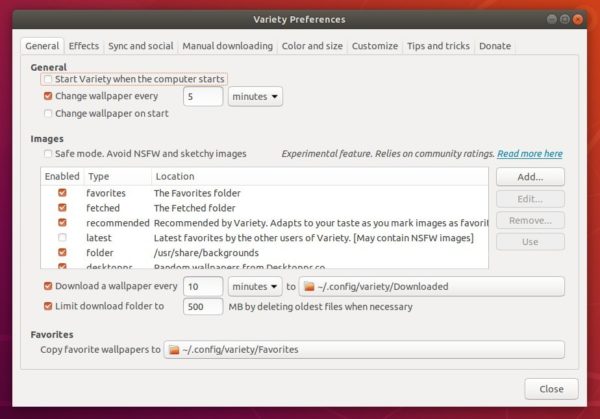
3. Variety
Variety is an open-source wallpaper changer that use local images or automatically download wallpapers from Unsplash and other online sources, allows you to rotate them on a regular interval, and provides easy ways to separate the great images from the junk. Variety can also display wise and funny quotations or a nice digital clock on the desktop.
Variety can be easily installed in Ubuntu Software. For the latest release, go to Variety website.
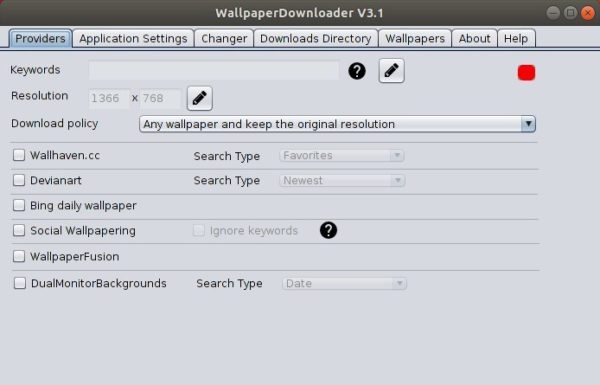
4. Wallpaper Downloader
This is a wallpaper downloading software that automatically downloads pictures from Devianart, Bing daily wallpaper, Wallhaven.cc, etc., with given keywords, resolution, time interval. And of course, it provides ability to change wallpaper every x minute.
This quick tutorial is going to show you how to change the transparency level of the Gnome 3 desktop top panel in Ubuntu 18.04 LTS, though
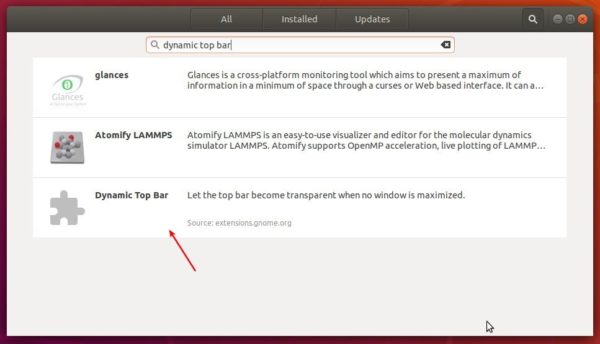
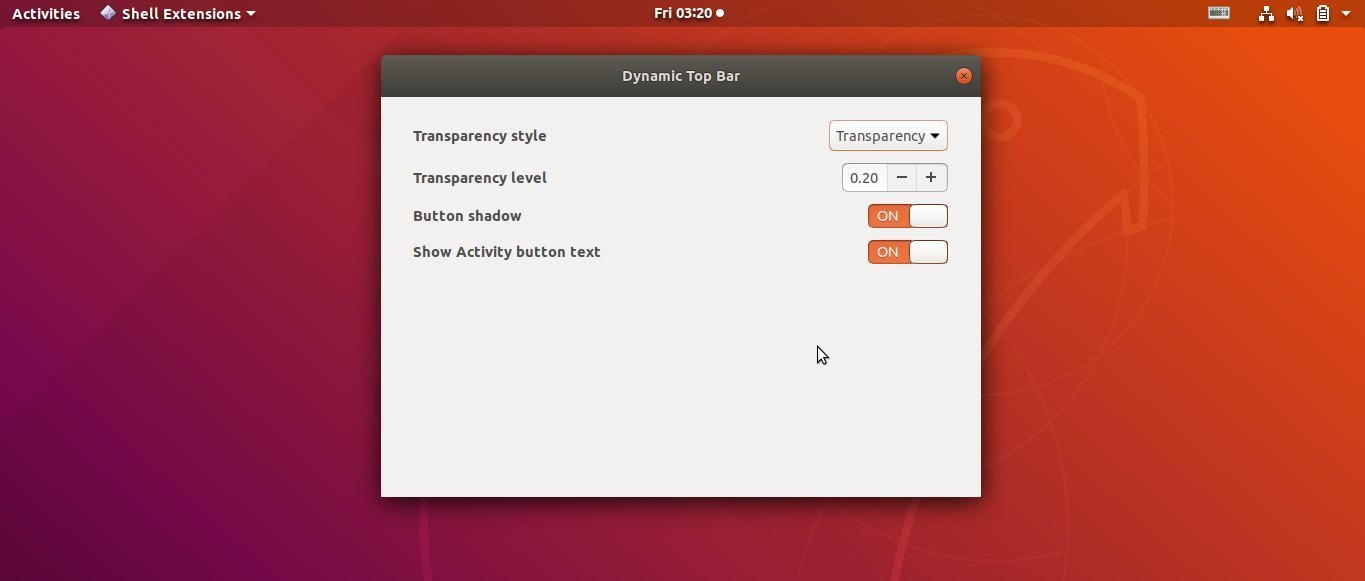
It’s easy to configure top panel transparency via a Gnome Shell extension called Dynamic Top Bar. With the extension, you can easily configure top panel transparency if app is not full screen:
top panel transparency style: transparency or gradient.
transparency level.
Show or hide button shadow, Activities button text.
1. Open Ubuntu Software, search for and install Dynamic Top Bar
2. Once installed, go to extension settings via the install page (Ubuntu Software) or Gnome tweak tool (install it via Ubuntu Software).
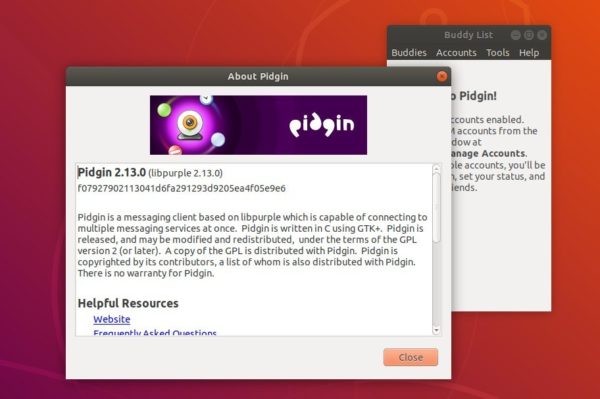
This quick tutorial shows how to install the latest Pidgin internet messenger 2.13.0 in Ubuntu 18.04.
Pidgin 2.13.0 was released a few months ago with better support for dark themes and various bug-fixes. While Ubuntu 18.04 ships with an old version in its main repository, you can install or upgrade to Pidgin 2.13.0 via this unofficial PPA.
The PPA packages also contain an IRC connection flood patch for this bug.
Install Pidgin 2.13.0 via PPA in Ubuntu 18.04:
Open terminal either via Ctrl+Alt+T or by searching for ‘terminal’ from software launcher. When it opens, run command to add the PPA:
sudo add-apt-repository ppa:kip/pidgin
Type your user password (no asterisks feedback) when it prompts and hit Enter.
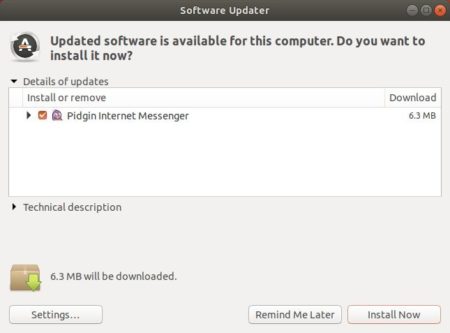
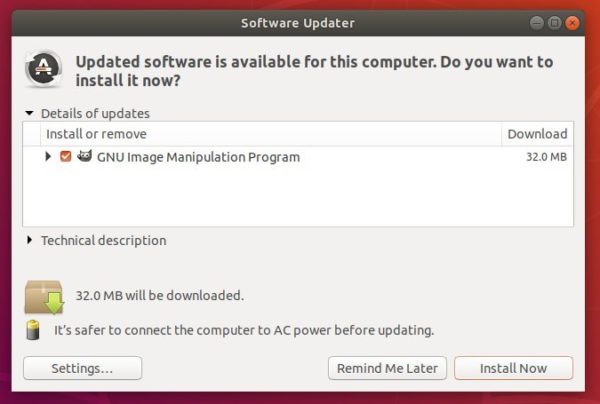
Then you can upgrade the internet messenger via Software Updater:
or run command in terminal to install Pidgin 2.13.0:
sudo apt-get install pidgin
Uninstall:
For any reason you can easily purge the PPA which also downgrade Pidgin to the stock version in Ubuntu 18.04 repository:
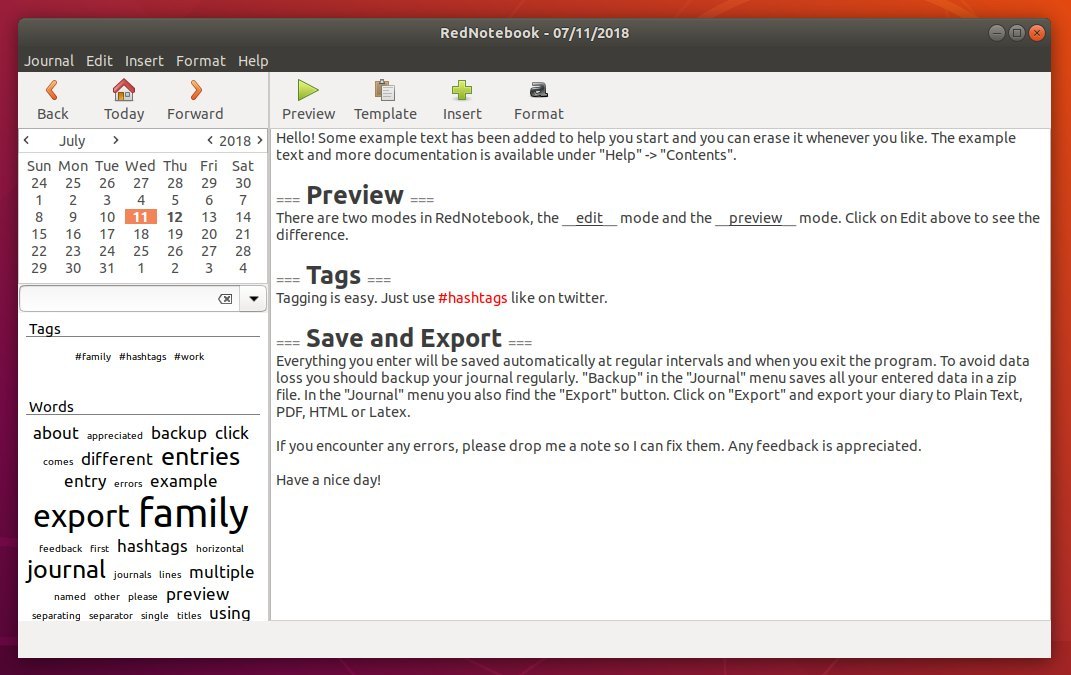
RedNotebook is a free cross-platform desktop diary and journal software written with Python and GTK+3. It lets you format, tag and search your entries. You can also add pictures, links and customizable templates, spell check your notes, and export to plain text, HTML, Latex or PDF.
The software has an official stable PPA that contains the latest packages for Ubuntu 18.04 and Ubuntu 16.04 so far. And below will show you how to add the PPA and install RedNotebook.
1. Open terminal either via Ctrl+Alt+T keyboard shortcuts or by searching for ‘terminal’ from software launcher.
2. Copy and paste following command into terminal and hit run to add the RedNotebook PPA:
sudo add-apt-repository ppa:rednotebook/stable
Type your password (no asterisks feedback due to security reason) when it prompts and hit Enter.
3. Finally check updates and install the desktop journal software by running following 2 commands one by one:
sudo apt update

sudo apt install rednotebook
Ubuntu 18.04 users can skip sudo apt update command since it’s already done while adding PPA.
Uninstall:
To remove RedNotebook desktop journal, open terminal and run command:
sudo apt remove --autoremove rednotebook
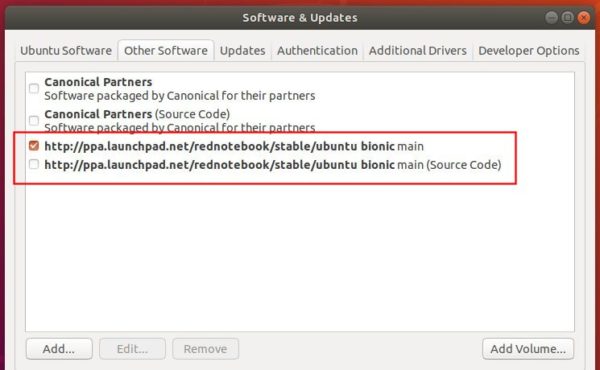
And remove the PPA via Software & Updates utility -> Other Software tab.
For those looking for Time Machine like backup software, Cronopete is a Linux backup utility modeled after Apple’s time machine.
“The name comes from anacronopete (“who flies through time”), which is a time machine featured in the novel from Enrique Gaspar y Rimbaud, and published in 1887 (eight years before than H.G. Wells’Time Machine).”
Install Cronopete backup tool in Ubuntu:
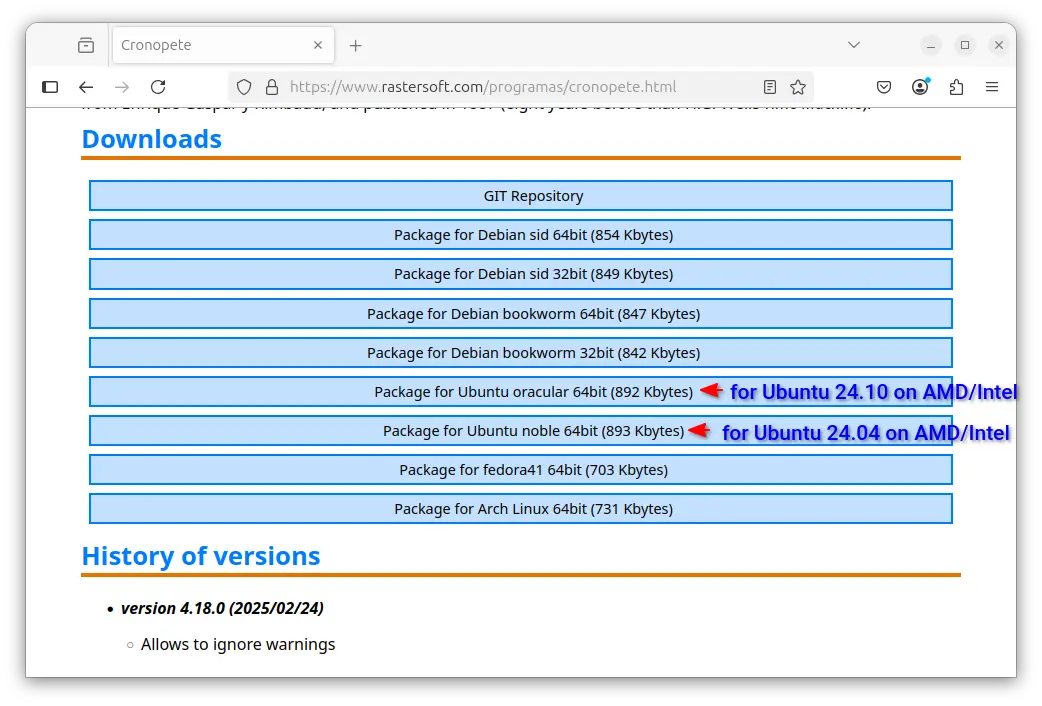
The software project page so far offers packages for Ubuntu 24.04, Ubuntu 24.10, Linux Mint, Fedora, Debian, and Arch Linux, available to download via the link below:
Select download the package depends on your OS edition. If you don’t even know which OS is currently running, open terminal (Ctrl+Alt+T) and run cat /etc/os-release command to tell.
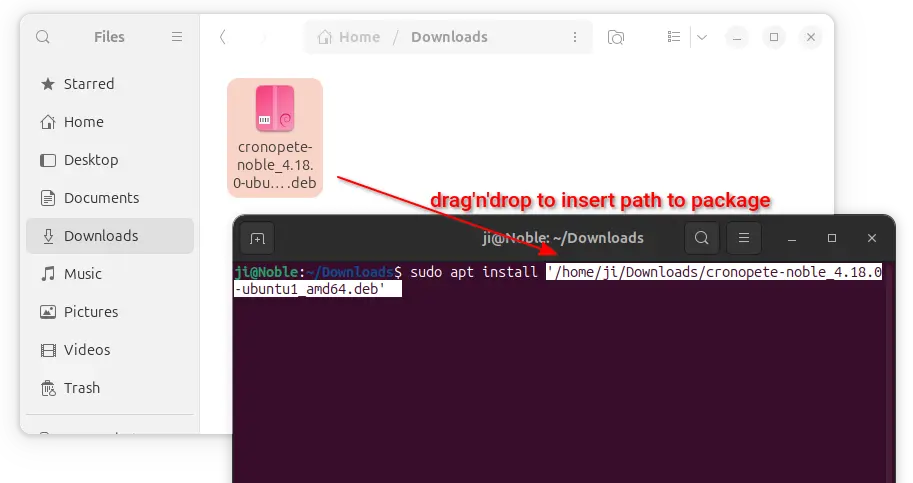
Then either double the downloaded package to open with system package manager (App Center) then install, or open terminal and use the command below to install the .deb package for Ubuntu:
sudo apt install drag-and-drop-deb-file-here
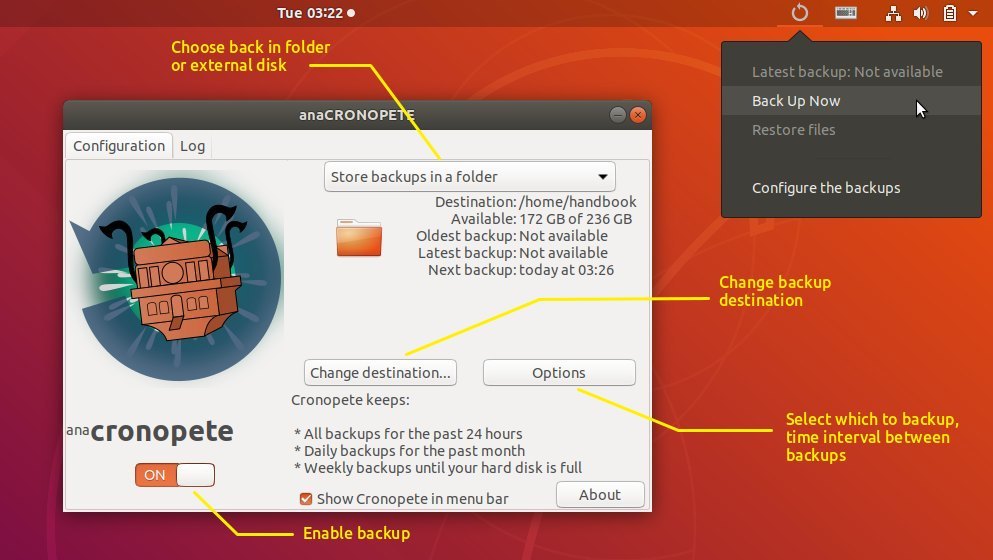
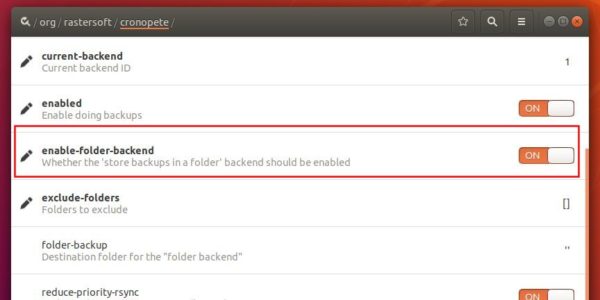
Enable store backups in a folder:
When you click ‘Change destination’ button to choose a folder to save backups, you’ll be prompted to enable folder backend. And this can be done by:
Install Dconf Editor via App Center.
Launch Dconf Editor and navigate to /org/rastersoft/cronopete
Scroll down and enable enable-folder-backend
Uninstall:
To remove Cronopete backup tool, open terminal via Ctrl+Alt+T and run command:
This quick tutorial is going to show you how to install the latest version of Remmina remote desktop client in Ubuntu 18.04, Ubuntu 16.04.
Remmina is the default GTK+ remote desktop client shipped with Ubuntu desktop. It currently supports RDP, VNC, SPICE, NX, XDMCP, SSH and EXEC.
While distro’s builds of Remmina are always old, the upstream developers offers two ways to install the latest Remmina in Ubuntu.
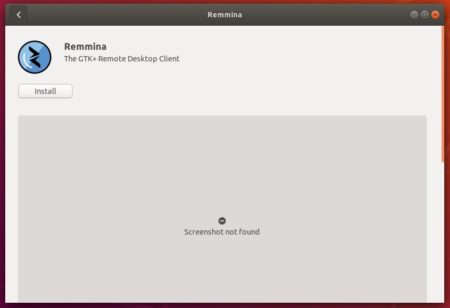
Install Remmina via Snap in Ubuntu:
The software is now available as snap, an universal Linux package that will be updated automatically and will include both latest FreeRDP git and latest libssh 0.7 release.
Simply open Ubuntu Software search for and install “Remmina”. And yes, there are two Remmina packages, one is pre-installed, the other is the snap package.
You can alternatively run command in terminal to install the snap version of Remmina:
snap install remmina
For advanced features, (e.g., manage mount positions, servers discovery, manage printing, use gnome-keyring), run following commands one by one:
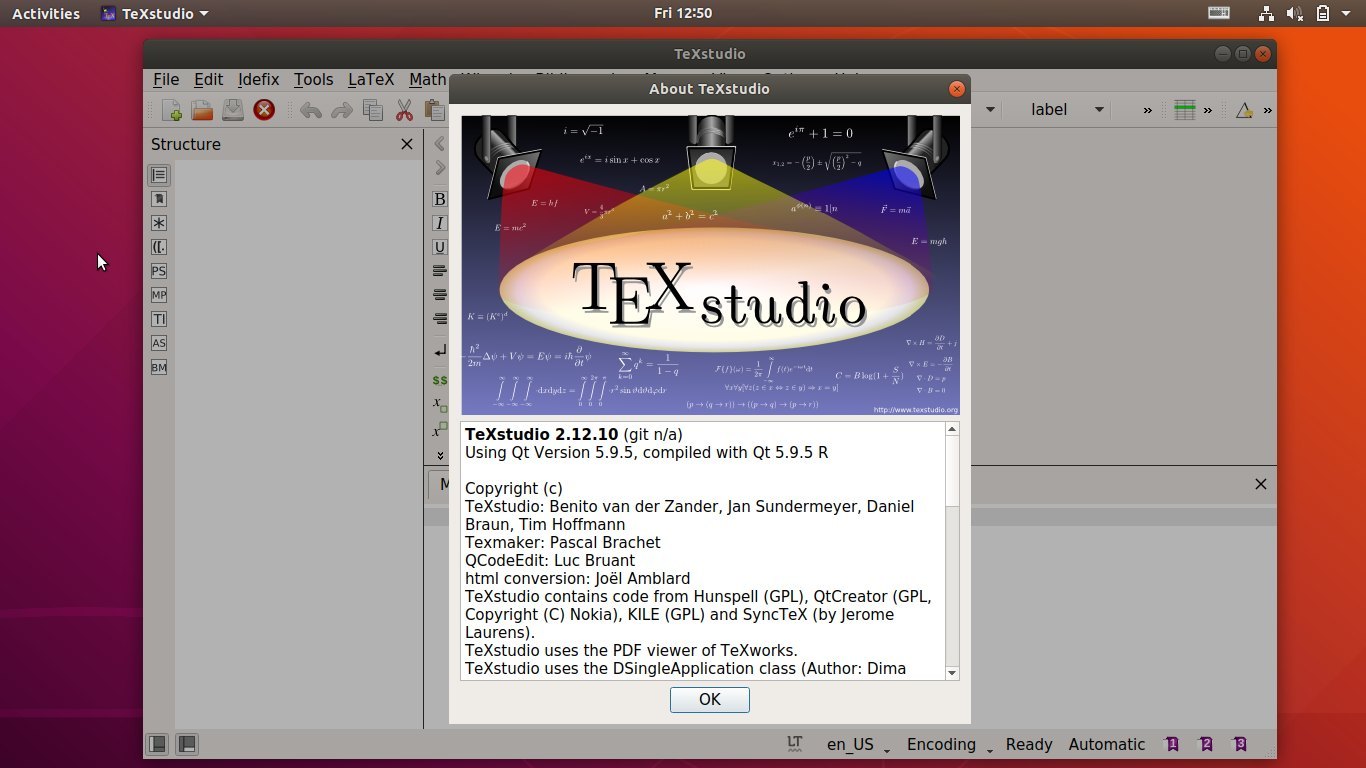
Full featured LaTeX editor TeXstudio 2.12.10 was released silently today. Here’s how to install it in Ubuntu 18.04, Ubuntu 17.10, Ubuntu 16.04, and/or Ubuntu 14.04.
No release note, no changelog. I can only find following words about TeXstudio 2.12.10:
bug fixes
fix structure view with Qt >5.10
How to Install TeXstudio 2.12.10 in Ubuntu:
There’s a PPA repository contains the latest TeXstudio packages for all current Ubuntu releases. You can do following steps to add the repository and install the latest TeXstudio.
1. Open terminal either via Ctrl+Alt+T or by searching for “terminal” from app launcher. When it opens, run command to add the PPA:
sudo add-apt-repository ppa:sunderme/texstudio
Input your password (no visual asterisks feedback while typing) when it prompts and hit enter.
2. If you’ve installed the distro’s build of TeXstudio from Ubuntu Software, you may first remove the doc, debug packages via command:
sudo apt-get remove texstudio-d*
3. Finally run commands one by one in terminal to install (or upgrade) the software:
Add simple horizon straightening option in the Measure tool
Asynchronous fonts loading to improve startup time.
Add fonts tagging support.
Add new features to the Dashboard dockable dialog that help debugging or finetune the use of cache and swap.
Load PSD file saved with “Maximize Compatibility” option enabled in Photoshop.
Improved Recursive Transform operation, allow multiple transformations to be applied simultaneously
How to Install GIMP 2.10.4 in Ubuntu:
The best way to install the latest GIMP in Ubuntu is using the otto-kesselgulasch’s PPA, as the PPA maintainer promised the PPA will never die and the most recent packages will for ever be.
The PPA contains the most recent packages for Ubuntu 18.04 and Ubuntu 17.10, though GIMP 2.10.4 is not available at the moment (there are always one or two days delay).
1. Open terminal either via Ctrl+Alt+T keyboard shortcuts, or by searching for ‘Terminal’ from app launcher. When it opens, run command to add the PPA:
Full Eclipse IDE user experience for building, debugging, running and packaging Rust applications.
Expanded C# editing and debug capabilities, including syntax coloring, autocomplete suggestions, code diagnostics, and code navigation tools.
Java 9, Java 10 and JUnit 5 support.
Dark theme improvements in text colors, background color, popup dialogs, mark occurrences, and more.
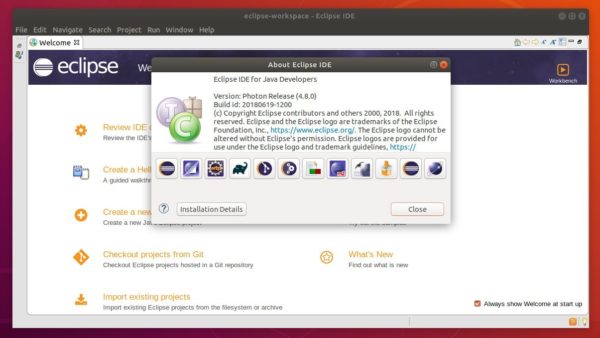
How to Install Eclipse 4.8 Photon in Ubuntu:
The community has built the snap package of Eclipse Photon. It’s an universal Linux package format that bundles all its dependencies, and auto-updates itself once a new release is published.
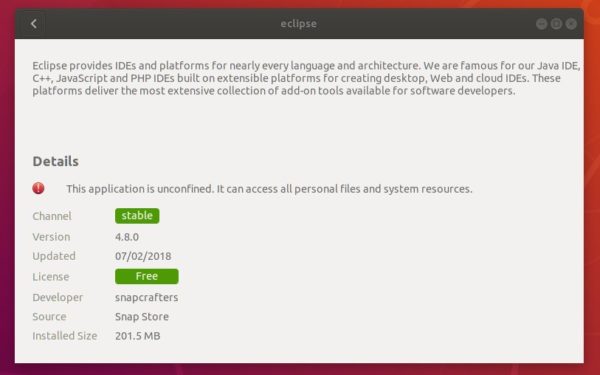
The Eclipse 4.8.0 snap can by easily installed in Ubuntu Software:
Note that there are two versions of Eclipse in Ubuntu Software. Take a look at the version number before installing the package.
You can also install the snap by running command in terminal:
snap install --classic eclipse
In addition:
1. For Ubuntu 16.04 users never installed a snap package, make sure snapd daemon is installed via command:
sudo apt-get install snapd snapd-xdg-open
2. For Java environment, either install the OpenJDK via command: