Mozilla Firefox reached the new stable 59.0 release last night. The new release focus on improvements to page loading time, firefox screenshots, and more.
Changes in Firefox 59.0 include:
- Faster load times for content on the Firefox Home page
- Faster page load times by loading either from the networked cache or the cache on the user’s hard drive (Race Cache With Network)
- Improved graphics rendering using Off-Main-Thread Painting (OMTP) for Mac users (OMTP for Windows was released in Firefox 58)
- Drag-and-drop to rearrange Top Sites on the Firefox Home page, and customize new windows and tabs in other ways
- Added tools to annotate and crop your Firefox Screenshots
- Enhanced WebExtensions API including better support for decentralized protocols and the ability to dynamically register content scripts
- Improved Real-Time Communications (RTC) capabilities.
- Implemented RTP Transceiver to give pages more fine grained control over calls
- Implemented features to support large scale conferences
- Added support for W3C specs for pointer events and improved platform integration with added device support for mouse, pen, and touch screen pointer input
- Added the Ecosia search engine as an option for German Firefox
- Added the Qwant search engine as an option for French Firefox
- Added settings in about:preferences to stop websites from asking to send notifications or access your device’s camera, microphone, and location, while still allowing trusted websites to use these features
- And various security fixes.
Upgrade to Firefox 59 in Ubuntu:
The distribution builds will be available in a few days, check the link before doing following steps.
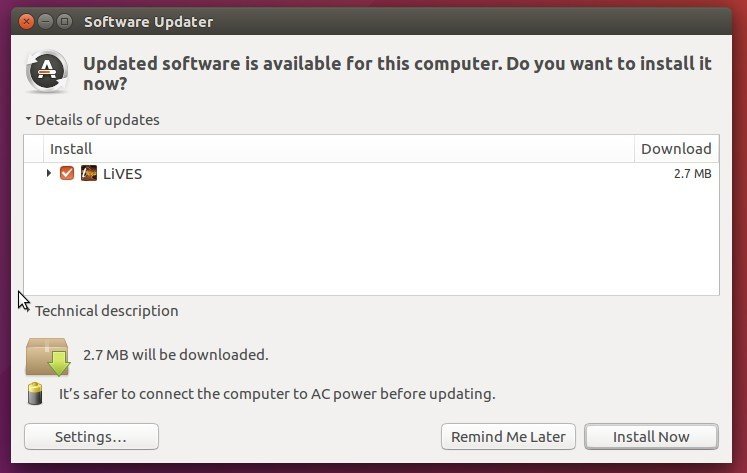
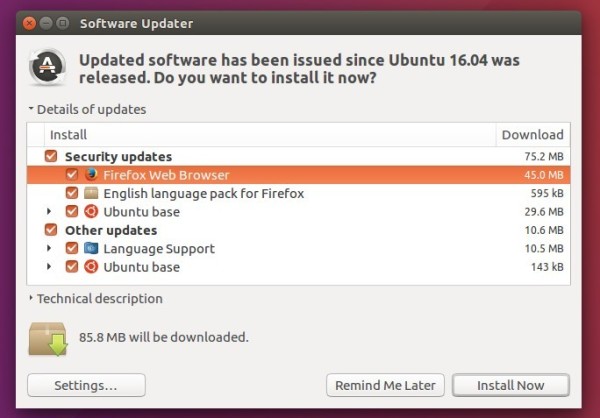
For Ubuntu 14.04, Ubuntu 16.04, and Ubuntu 17.10, simply launch Software Updater (Update Manager) and you’ll see Firefox in the update list after checking for updates.

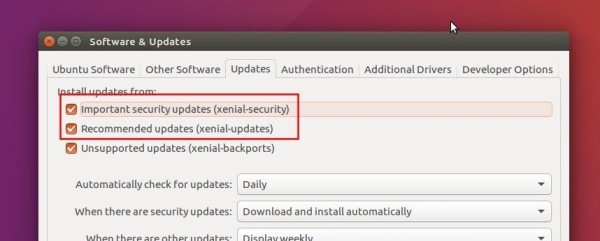
If you don’t see the Firefox update, make sure “security” and “updates” repositories are enabled by Software & Updates utility:

That’s it. Enjoy!