The twenty-second alpha version of the free and open-source real-time strategy game of ancient warfare, 0 A.D. Alpha 22 “Venustas”, was released a few hours ago.
New Features in 0 A.D. alpha 22:
- Remake of many models, animations and textures, two new music tracks
- Configuration-free Multiplayer Hosting
- Capture the Relic Gamemode
- Aura and Heal Range Visualization
- Twelve new maps, including scripted enemies, rising water and a tutorial
- Espionage Technology, Team Bonuses and Hero Auras
- Petra AI Diplomacy and Attack Strategies
- Summary Screen Graphs
- Cinema Path Editing
- Buddy System
- A complete list of changes can be found here.
How to Install 0 A.D. alpha 22 in Ubuntu:
The Wildfire Games team is currently building (and testing) the PPA packages. It will be soon available in the official PPA for Ubuntu 14.04, Ubuntu 16.04, Ubuntu 17.04, Ubuntu 17.10, and their derivatives.
1. Open terminal (Ctrl+Alt+T) and run command to add the PPA:
sudo add-apt-repository ppa:wfg/0ad
Type your password (no visual feedback while typing due to security reason) when prompts and hit Enter.

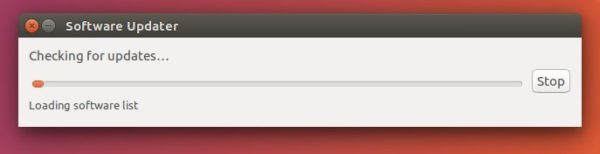
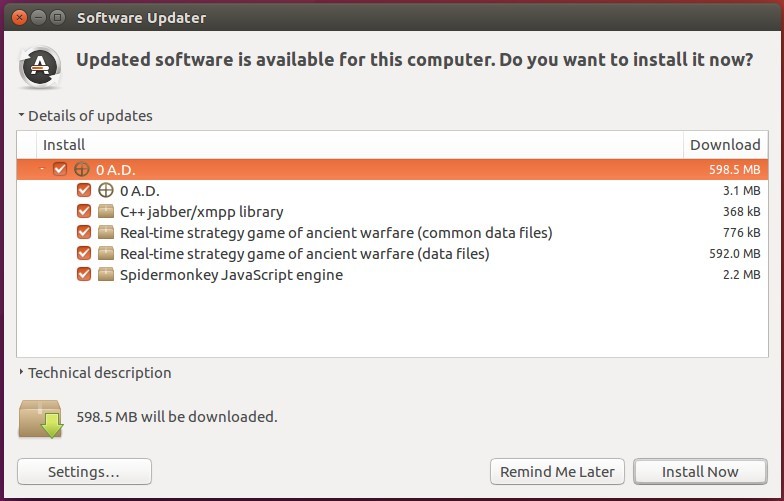
2. Then upgrade the game from an existing release via Software Updater:
Or simply run commands to update and install the game:
sudo apt-get update

sudo apt-get install 0ad 0ad-data
Uninstall:
Purge the PPA via the following command will remove the PPA as well as downgrade 0 A.D. to its stock version in your Ubuntu:
sudo apt-get install ppa-purge && sudo ppa-purge ppa:wfg/0ad
If you still want to remove the game, either use your system package manager or run command:
sudo apt-get remove --autoremove 0ad 0ad-data