![]()
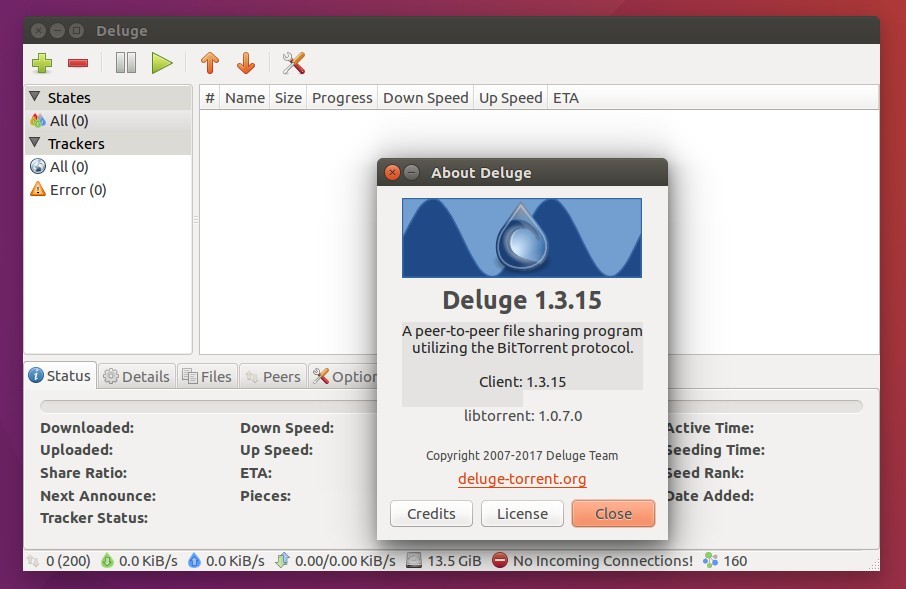
Deluge BitTorrent client 1.3.15 was released a day ago with various fixes. Web UI users are highly recommended to upgrade to this release due to a security fix.
Deluge 1.3.15 changelog:
- Fix issues with displaying libtorrent single proxy.
- Fix libtorrent 1.2 trackers crashing Deluge UIs.
- Fix error in torrent priorities causing file priority mismatch in UIs.
-
Gtk UI:
- Configure gtkrc to use consistent button ordering on Windows.
- Fix column sort state not saved in Thinclient mode.
- Fix connection manager error with malformed ip.
- Rename SystemTray/Indicator? ‘Pause/Resume? All’ to ‘Pause/Resume? Session’.
- Workaround lt single proxy by greying out unused proxy types.
- Security fix for Web UI: Check render template files exist otherwise raise 404.
- Some plugin fixes. See the release note.
How to Install Deluge 1.3.15 in Ubuntu:
Deluge has an official PPA contains the latest packages for Ubuntu 14.04, Ubuntu 16.04, Ubuntu 16.10, Ubuntu 17.04, and their derivatives.
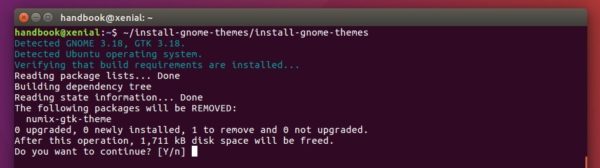
1. Open terminal via Ctrl+Alt+T or by searching for “Terminal” from start menu. When it opens, run command to add the PPA:
sudo add-apt-repository ppa:deluge-team/ppa
Type in your password when prompts and hit Enter.

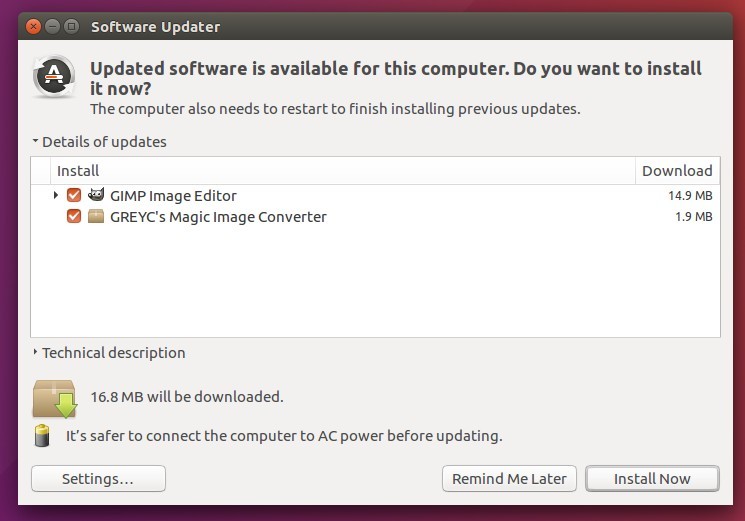
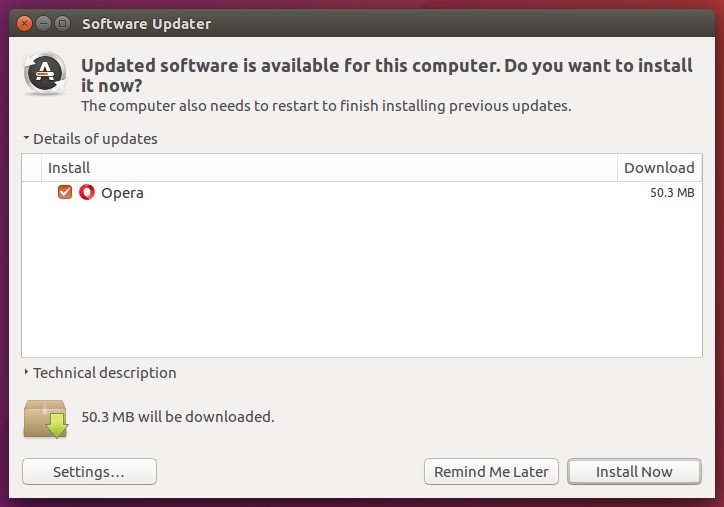
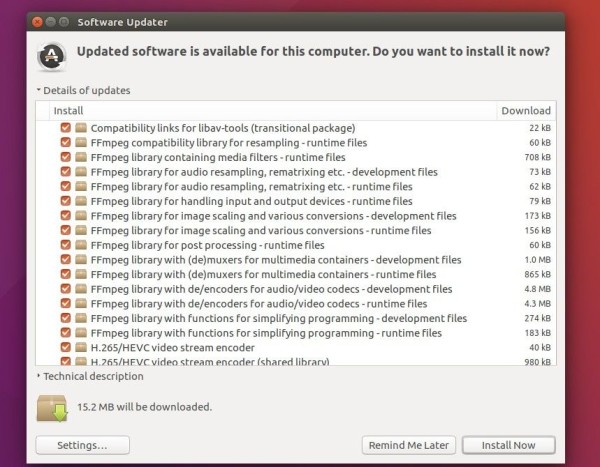
2. If you have a previous release installed, upgrade Deluge using Software Updater after checking for updates:
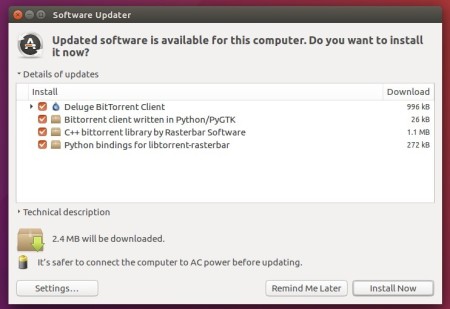
Or run commands to check updates and install Deluge:
sudo apt-get update && sudo apt-get install deluge
In the command, you may replace deluge with deluge-web for web UI, or deluge-console for console UI, deluged for daemon.
How to Restore:
To restore to the stock version of Deluge BitTorrent client in your main Ubuntu repository, purge the PPA via command:
sudo apt-get install ppa-purge && sudo ppa-purge ppa:deluge-team/ppa