NVIDIA has announced the 340.65 release of its Linux graphics driver (long lived branch version) with latest Kernel (3.18) support and various bug fixes.
Added support for X.Org xserver ABI 19 (xorg-server 1.17).
Improved compatibility with recent Linux kernels.
Fixed a bug that prevented internal 4K panels on some laptops from being driven at a sufficient bandwidth to support their native resolutions.
Fixed a regression that prevented the NVIDIA kernel module from loading in some virtualized environments such as Amazon Web Services.
Fixed a regression that caused displays to be detected incorrectly on some notebook systems.
Fixed a bug that could cause X to freeze when using Base Mosaic.
Fixed a regression that prevented the NVIDIA X driver from recognizing Base Mosaic layouts generated by the nvidia-settings control panel.
Install / Upgrade NVIDIA Driver in Ubuntu:
If you’re running with NVIDIA’s proprietary driver in Ubuntu, you can upgrade to this driver release by following below steps:
1. Press Ctrl+Alt+T to open terminal. When it opens, run the command below to add the xorg-edgers fresh X crack PPA repository:
sudo add-apt-repository -y ppa:xorg-edgers/ppa
Type in your user password when it asks.
2. After added the PPA, refresh your system cache via command:
sudo apt-get update
3. Finally install the 340.65 driver:
sudo apt-get install nvidia-340
The repository also provides the NVIDIA 343 driver (short lived branch version) and NVIDIA 346 driver (still in beta). If need, you can replace nvidia-340 in the previous code with nvidia-343 or nvidia-346 to install the driver.
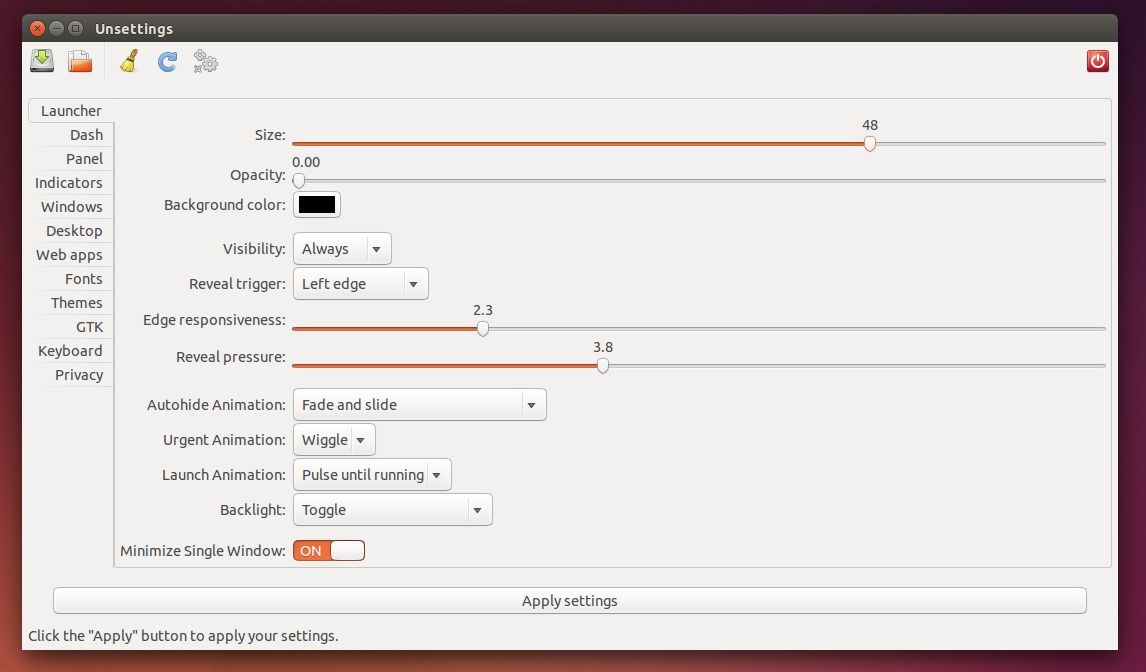
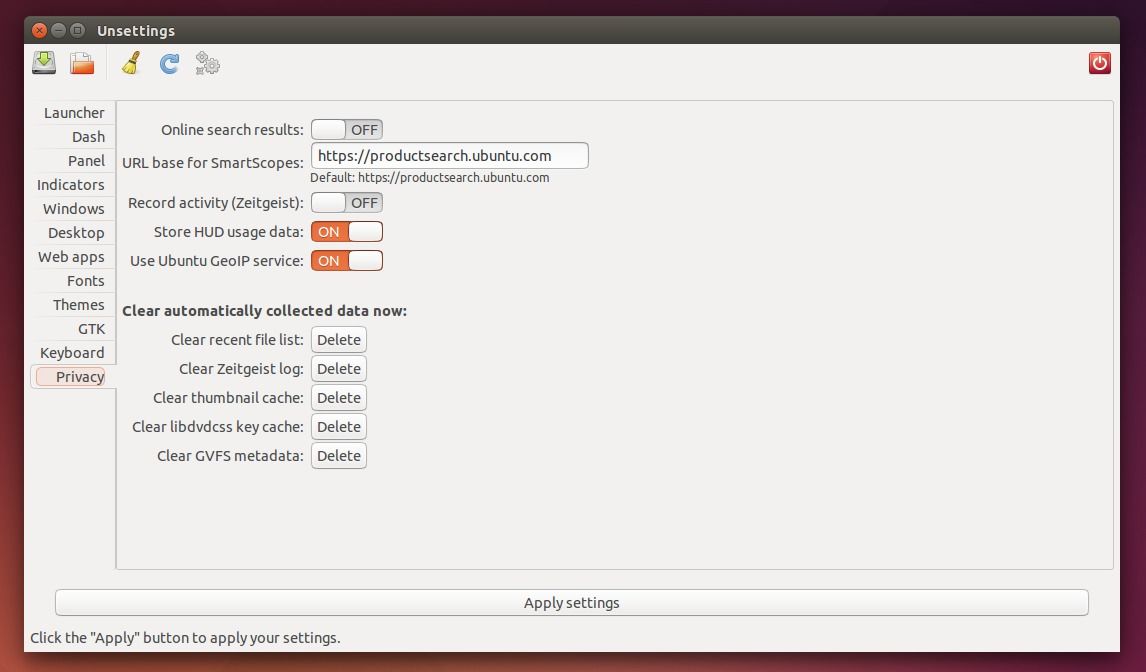
Unsettings, the graphical configuration tool for Unity desktop, is “back” by releasing the 0.09 release with Ubuntu 14.04 and Ubuntu 14.10 support.
It has been 2 years since the last 0.08 was released in 2012 with support up to Ubuntu 12.10.
Unsettings is developed by Florian Diesch, the man behind Classic Menu Indicator. It allows you to change setting for the Dash, Launcher, Panel, Indicator, Privacy, Fonts, Themes, and more. There are also some options that Unity Tweak Tool and Ubuntu Tweak don’t have, such as Web Apps, Menus/Buttons have icons, Keyboard settings, etc.
Install Unsettings 0.09 in Ubuntu 14.04/Ubuntu 14.10/Ubuntu 12.04:
Download the binary package (.deb) from the link below, then double-click to open it with Ubuntu Software Center and finally click install Unsettings.
The developer has also made the binary into his PPA repository, available for Ubuntu 12.04/14.04/14.10 and even the next Ubuntu 15.04. Run commands below one by one in terminal to add the PPA and install Unsettings:
The stable release of Linux Kernel 3.18 has been released this weekend. Linus Torvalds wrote on the Linux Kernel Mailing List (lkml.org):
It’s been a quiet week, and the patch from rc7 is tiny, so 3.18 is out.
I’d love to say that we’ve figured out the problem that plagues 3.17 for a couple of people, but we haven’t. At the same time, there’s absolutely no point in having everybody else twiddling their thumbs when a couple of people are actively trying to bisect an older issue, so holding up the release just didn’t make sense. Especially since that would just have then held things up entirely over the holiday
break.
So the merge window for 3.19 is open, and DaveJ will hopefully get his bisection done (or at least narrow things down sufficiently that we have that “Ahaa” moment) over the next week. But in solidarity with
Dave (and to make my life easier too ;) let’s try to avoid introducing any _new_ nasty issues, ok?
Linus
What’s New in the Linux Kernel 3.18:
The Linux 3.18 Kernel brings many great changes, here’s some of the highlights for end-users:
Unified Video Decoder (UVD) support for old ATI/AMD GPUs of the Radeon HD 3000 series.
Re-clocking improvements for AMD’s Radeon driver.
Userptr support for AMD Radeon GPUs.
Razer Sabertooth support and other hardware input devices improvements for gamers.
Faster suspend and resume for large Linux servers.
Btrfs and F2FS improvements.
Para-virtualized SCSI (pvSCSI) support for Xen virtualization.
DisplayPort audio support, fan control improvements and various other enhancements for open-source NVIDIA driver.
OverlayFS was finally merged into Linux Kernel 3.18
Install / Upgrade to Linux Kernel 3.18 in Ubuntu:
The Ubuntu Kernel Team has made the binary packages of this kernel release, available for download at the link below:
When done, run sudo update-grub command to refresh grub bootloader and restart your computer.
NOTE: If you’re running with a proprietary video driver, either switch to open-source driver or reinstall the latest (For Nvidia, >= 343.36).
If for some reason, the new kernel does not work properly for you, reboot with the previous Kernel (Grub boot loader -> Advanced -> select previous kernel) and run below command to remove Linux Kernel 3.18:
While Nvidia’s Linux Graphics Driver 346 series is still in beta, the latest 343.36 stable driver has been released this Friday, which brings support for the latest Linux kernels (up through Linux 3.18), various bug fixes (including an Unreal Engine 4 fix), support for disabling indirect GLX, and more.
Release Highlight in Nvidia Graphics Driver 343.36:
Added support for X.Org xserver ABI 19 (xorg-server 1.17).
Improved compatibility with recent Linux kernels.
Fixed a bug that rendered very bright garbage data onto some textures in UnrealEngine 4 applications. This issue is known as the “disco bug” by the UnrealEngine 4 Linux community.
Added option UseSysmemPixmapAccel to control the use of GPU acceleration for X drawing operations on pixmaps allocated in system memory.
Fixed a regression that prevented the NVIDIA X driver from recognizing Base Mosaic layouts generated by the nvidia-settings control panel.
Fixed a bug that could cause VT-switching to fail following a suspend, resume, and driver reload sequence.
Fixed a bug that caused incorrect colors to be displayed on X screens running at depth 8 on some GPUs.
Fixed a bug that prevented GPUs from being correctly recognized in MetaMode strings when identified by UUID.
Implemented support for disabling indirect GLX context creation using the -iglx option available on X.Org server release 1.16 and newer. Note that future X.Org server releases may make the -iglx option the default. To re-enable support for indirect GLX on such servers, use the +iglx option.
Added the “AllowIndirectGLXProtocol” X config option. This option can be used to disallow use of GLX protocol. See “Appendix B. X Config Options” in the README for more details.
Fixed a crash with UnrealEngine 4 when the application was started with the -opengl4 commandline switch.
Fixed an OpenGL issue that could cause glReadPixels() operations to be improperly clipped when resizing composited application windows, potentially leading to momentary X freezes.
Fixed a bug that could prevent the GLSL compiler from correctly evaluating some expressions when compiling shaders.
Fixed a bug that could cause nvidia-installer to crash while attempting to run nvidia-xconfig on systems where that utility is missing.
Fixed a bug that could prevent 32-bit GPU-based applications from running correctly on 64-bit systems when using GPUs with very large memory-mapped I/O regions.
Fixed a bug that could cause the CUDA debugger to fail after exiting X on systems with persistence mode enabled.
Fixed a bug that could cause silent and intermittent failures when a CUDA application writes to a peer device’s memory with GPUDirect.
Updated nvidia-installer to avoid writing to non-zero offsets of sysctl files in /proc/sys/kernel.
How to Install / Upgrade to Nvidia 343.36 Driver in Ubuntu:
To make the installation easy, you can install/upgrade the driver from PPA. But at the moment of writing this tutorial, the PPA does not yet update with the 346.36 binaries.
Check out the package version of “nvidia-graphics-drivers-343” from the PPA page below:
2. IMPORTANT: You have to switch to the black & white text console (press Ctrl+Alt+F1 ~ F6), then log in with current username & password.
3. When you’re in the text console, run the command below to stop the graphics session (The graphics session is still there, and you can press Ctrl+Alt+F7 to switch back).
sudo service lightdm stop
Replace lightdm with gdm or mdm in the code if you’re running with Gnome GDM or Linux Mint’s MDM display manager.
4. Once the graphics session is closed, you are able to run the downloaded package by running the commands below:
cd ~/Downloads/

chmod +x NVIDIA-Linux-*-343.36.run

sudo sh NVIDIA-Linux-*-343.36.run
Above commands will navigate current directory to /Downloads/, then give executable permission to the 346.36 driver package, and finally run the installer.
5. After the last command, follow the onscreen prompt until done. Finally restart your computer.
(Optional) To uninstall the 346.36 driver, get into the text console and run:
sudo sh ~/Downloads/NVIDIA-Linux-*-343.36.run --uninstall
There’s already a tutorial talking about Canon Printer Driver and ScanGear in the site. But it’s old and lack of ScanGear support for Ubuntu 14.04, and Linux Mint 17.
UPDATE: This post is outdated! For recent Ubuntu 20.04 and Ubuntu 22.04, try this tutorial instead.
Fortunately, a third-party ppa contains the driver and scangear for commonly used Canon printers, available for Ubuntu 14.04 LTS, and its derivatives, such as Linux Mint 17.
Below devices are supported:
bjf9000, bjf900, bjs300, bjs500, bjs700 series
e500, e510, e600, e610 series
i250, i255, i550, i560, i850, i860, i950, i990 series
pixus250, pixus255, pixus550, pixus560, pixus850, pixus860, pixus950, pixus990 series
pixusip3100, pixusip4100, pixusip8600 series
Install Canon Drivers / ScanGear in Ubuntu 14.04:
1. To get started, press Ctrl+Alt+T on keyboard to open terminal. When it opens, paste the command below and hit enter to run:
sudo add-apt-repository ppa:inameiname/stable
Type in your user password when it asks and hit Enter to continue. This will add the PPA repository into your system.
2. After that, open Synaptic Package Manager from the Unity Dash. If you don’t find it, search for and install it from Ubuntu Software Center.
Do:
Click the Reload button to refresh your system cache.
To install a printer driver:
In Quick filter box, type in cnijfilter.
To install a ScanGear:
In Quick filter box, type in scangearmp.
Select a package in the result list that matches your device.
Right-click on the package and select “Mark for Installation”
Finally click on the “Apply” button to install the driver.
Once the printer and scanner drivers are installed, connect your device to the computer and start Printers utility test if it works. And launch the Simple Scan utility and select your scanner from app menu Documents -> Preferences -> Scan Source to test if the scanner works.
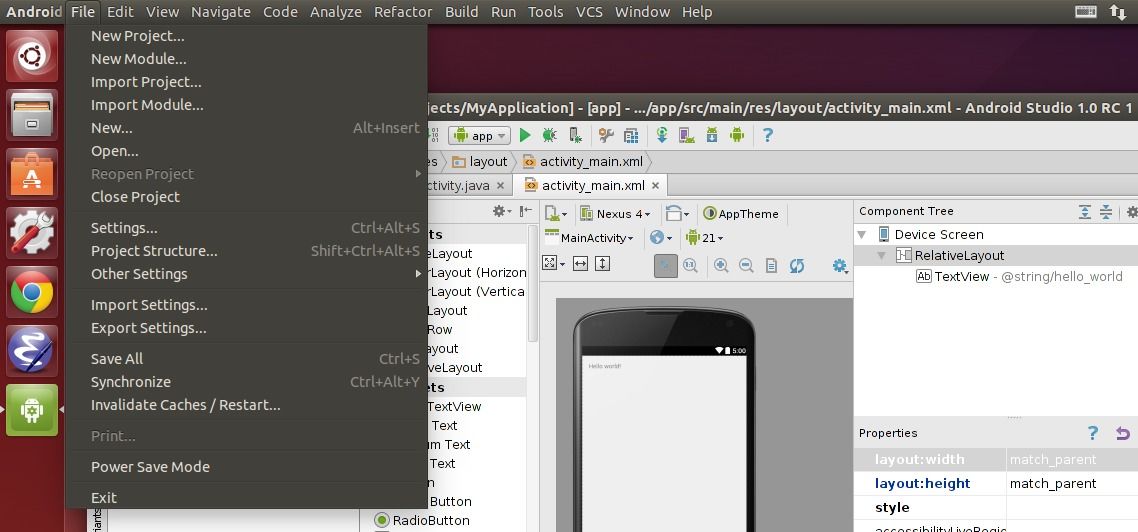
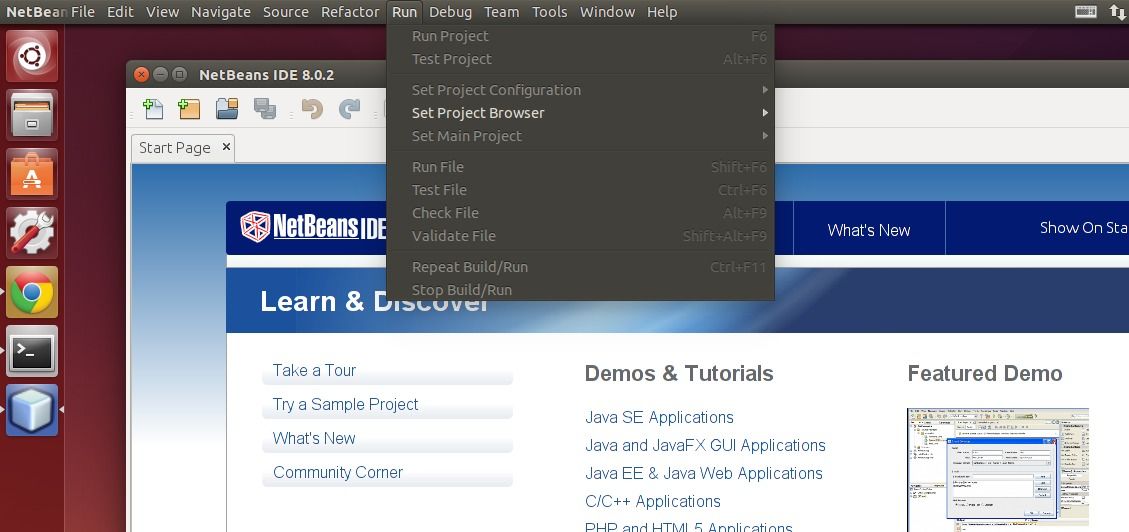
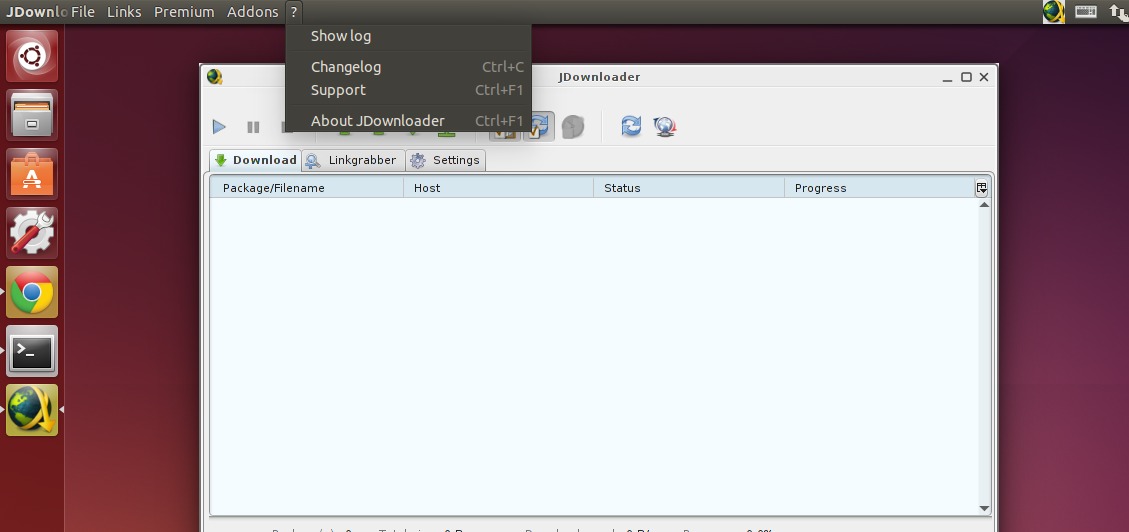
Want to enable the Unity AppMenu (Global Menu) support for NetBeans IDE, IntelliJ IDEA, Android Studio, etc in Ubuntu?
UPDATE: This tutorial does NOT work anymore for Ubuntu 16.04 and later!
Thanks to open source, there’s a project called java-swing-ayatana that enables Global Menu as well as HUD support for all Java Swing Applications in Ubuntu Unity desktop.
Here are some applications with Global Menu enabled via java-swing-ayatana:
Install java-swing-ayatana in Ubuntu:
The developer has made a PPA contains the packages for Ubuntu 14.04, Ubuntu 14.10. An old version also available for Ubuntu 13.10.
Press Ctrl+Alt+T on keyboard to open terminal. When it opens, run the commands below one by one:
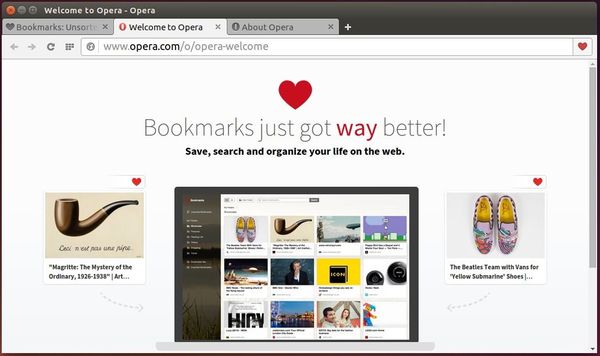
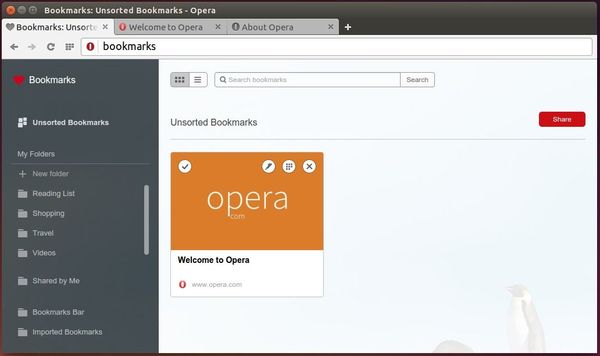
Opera web browser for Linux finally goes stable by releasing the Opera 26 which is based on Chromium 39.
Opera for Linux is 64-bit only. It comes with all the same features as Opera for Windows and Mac, including Speed Dial, the Discover feature, Opera Turbo, bookmarks and bookmark sharing, themes, extensions and more.
An official repository for Debian/Ubuntu based system is available for receiving automatic Opera updates.
Install Opera 26 in Ubuntu 14.04 and Other Releases:
Just download the .deb package from the link below and click to open with Ubuntu Software Center and finally install the browser:
While the installing process, you’ll be prompts to add the Opera Stable repository. To enable flash, just search for and install the package pepperflashplugin-nonfree from Ubuntu Software Center.
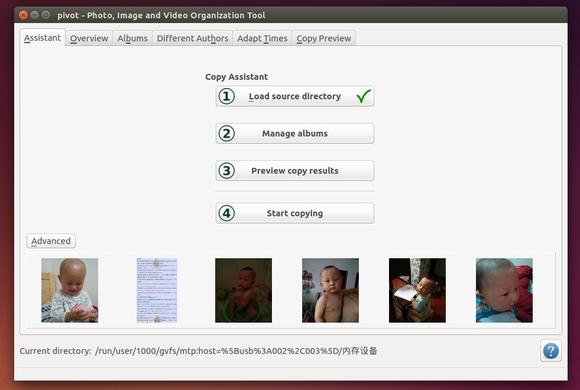
Want to organize your photographs into a proper date and time based directory structure? Pivot is a free and open-source tool that organizes your images from the hard drive or directly from the camera. The organization is mainly based on the creation date and time of the images.
Pivot features:
copy photographs and videos from the camera to a pre-selected folder on the hard drive
copy photographs and videos from a folder on the hard drive to a pre-selected other folder
flexibly setup up the renaming process of the copying, including sub folders creation (e.g. by year and/or album)
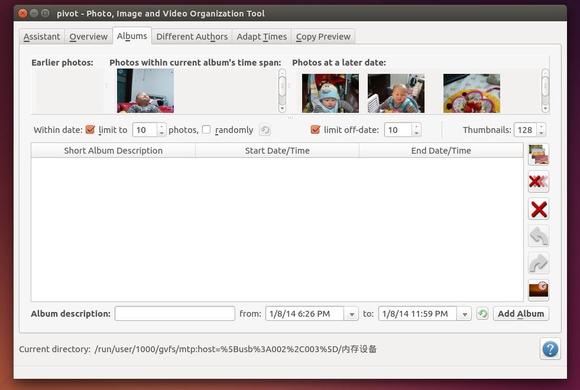
setup albums based on the creation date of files.
adapt time differences of files from different cameras. This includes EXIF meta data adaptation
setup multiple destination targets. For instance, one destination is the actual gallery, the other one a backup path. You can:
(de-)select every file individually for each destination
choose different naming conventions for each destination
preview the copy results, before actually copying
rename existing files to fit with the newly copied files (only changing of numbering, including changing the number of digits to match the overall number)
add comments to files and hence, to the destination copy of the files, as well – if you wish so.
adapt a lot of settings to your need
remember already copied files. Depending on the settings, these files won’t be copied again.
recognize duplicate files based on a MD5 hash. Only one of these duplicate files will be copied – depending on the user settings.
recognize file times on different ways, if no meta data is present (i.e. for videos)
save adapted file data, as well as album data between sessions
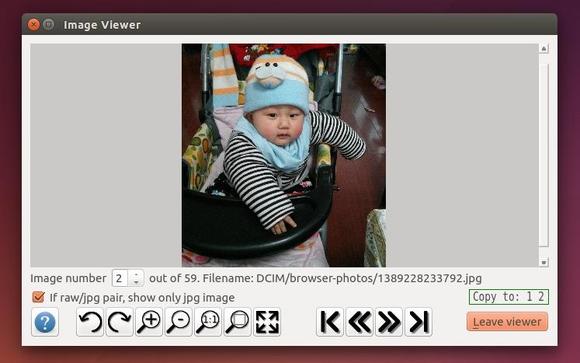
take care of raw/jpeg combinations in the way you like (e.g. same numbering)
Screenshots:
Install Pivot Organization Tool in Ubuntu:
The binary package is available in PPA for Ubuntu 14.04. Press Ctrl+Alt+T on keyboard to open terminal. When it opens, run commands below one by one:
For those who don’t want to add the PPA, grab the .deb package directly from the ppa page and click to open with Ubuntu Software Center and finally install the software.
(Optional) To remove the PPA as well as the software, run:
Sigil EPUB editor finally reaches 0.8.x release recently with new feature Plugin Support and various bug fixes. Here I’ll show you how to install it in Ubuntu 14.04, Ubuntu 14.10 and their derivatives.
Sigil is an open-source editor for EPUB e-books, works in Windows, Mac OS X, and Linux. It supports both WYSIWYG and code-based editing of EPUB files, as well as the import of HTML and plain text files.
Sigil features:
Full UTF-16 and EPUB 2 specification support
Multiple views: book, code and preview view
WYSIWYG editing in book view
Table of contents generator with multi-level heading support
Metadata editor with full support for all metadata entries
Spell checking with default and user configurable dictionaries
Full regular expression (PCRE) support for find and replace
Supports import of EPUB and HTML files, images, and style sheets,
FlightCrew EPUB integration for EPUB compliance validator
Integrated API to external HTML and graphics editors
Screenshots:
How to Install Sigil 0.8.2 in Ubuntu:
The developer does not provides the binary packages of Sigil ebook editor for Ubuntu Linux, but there’s a third-party PPA contains the latest builds (Sigil 0.8.2 so far) for Ubuntu 14.04 LTS and Ubuntu 14.10.
To add the PPA and install Sigil, press Ctrl+Alt+T on keyboard to open terminal. When it opens, run commands below one by one:
For those who don’t want to add PPA, grab the .deb package directly from the PPA page and click to open it with Software Center and finally install the software.
(Optional) To remove the PPA as well as sigil epub editor:
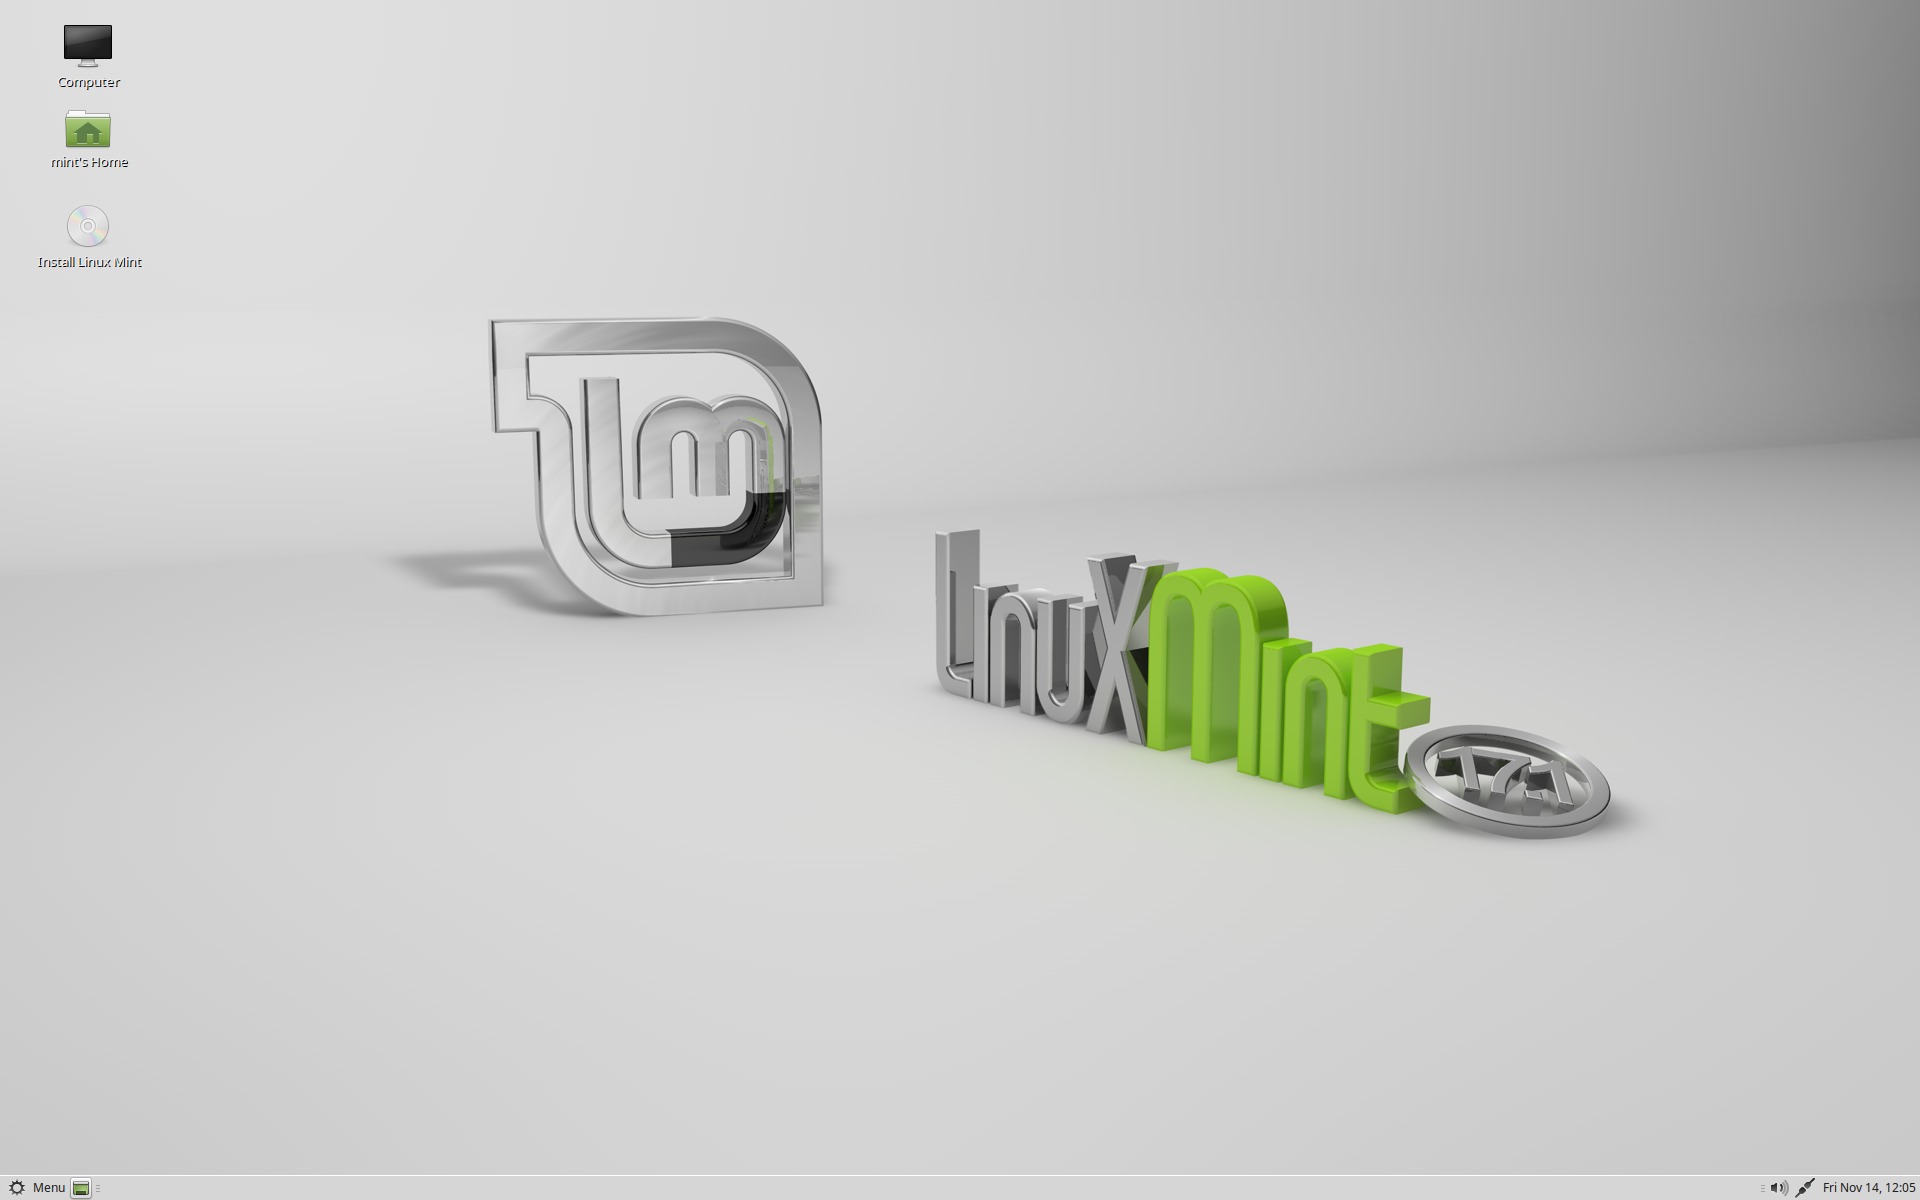
Linux Mint Team finally announced the release of 17.1 “Rebecca” Cinnamon and MATE editions, which is a long term support release based on Ubuntu 14.04 that will be supported until 2019.
According to the release note, the Linux Mint 17.1 “Rebecca” comes with updated software and brings refinements and many new features to make your desktop even more comfortable to use.
Linux Mint 17.1 features:
Cinnamon 2.4 / MATE 1.8
MDM 1.8
Out of the box support for Compiz (MATE edition)
Linux kernel 3.13
Ubuntu 14.04 package base
Update Manager now groups packages together according to their source package.
Redesigned UI of Language Settings.
Redesigned Login Window Preferences.
System, Artwork, and Other Improvements.
Both the Linux Mint 17 and 17.1 RC can upgrade to the new release through Updater Manager. For the 17.1 RC release just install any level 1 update you haven’t installed already.