CopyQ, the free open-source clipboard manager, released new 11.0.0 version few days ago.
The new release of this Qt-based advanced clipboard manager added some new features and improved scripting support with new class and other changes.
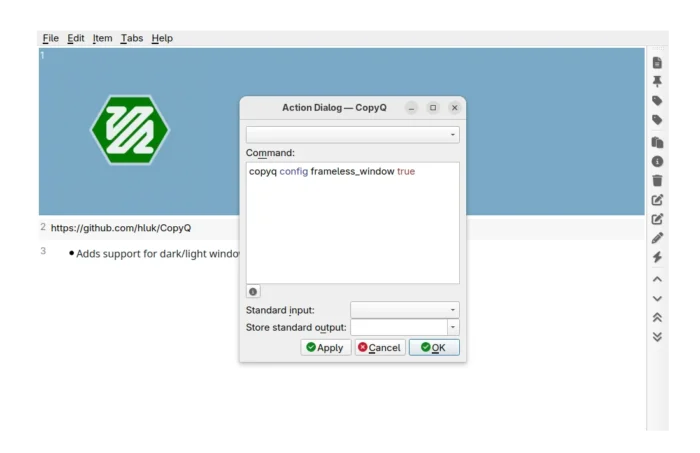
CopyQ window without title-bar and border