A Virtual Private Network (VPN) connection is an encrypted connection to a server. When you connect to a VPN server and type in a web address, the request is sent via an encrypted signal to the VPN server which then sends you back the web page.
Establishing a VPN connection will keep your ISP or government from recording your browsing history. It can also be used to visit sites that your network administrator has blocked (in some countries like China youtube is blocked). An OpenVPN connection is the most secure type of VPN, because not only is the connection encrypted by
a password, but also by three certificates.
There are many places online that sell VPN services. In this tutorial, I will use vpnbook.com’s service, because it is completely free, and runs entirely off donations.
PART 1: Get A Free OpenVPN Account
Please skip this part if you already have a VPN server set up.
1. Open up your web browser or just click the link to go to www.vpnbook.com.
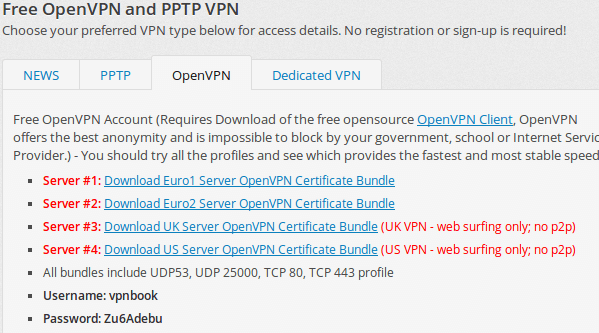
2. Scroll down and click on the tab that says OpenVPN (as the picture shown below). Download one of the certificate bundles and also remember the username and password.
3. Decompress the downloaded package. Create 3 new empty text files in the result folder and called them: ca.crt, certificate.crt, key.key.
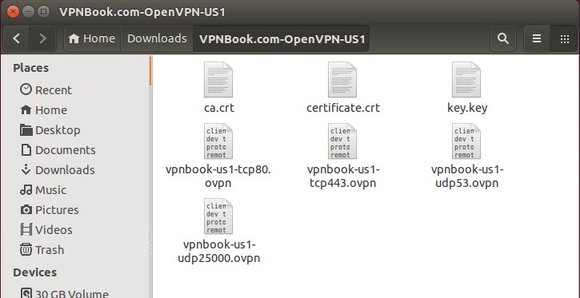
4. Open up one of the .ovpn files (All of the .ovpn files are the same, but with different configurations.) with gedit text editor, here I use vpnbook-us1-tcp443.ovpn as example.
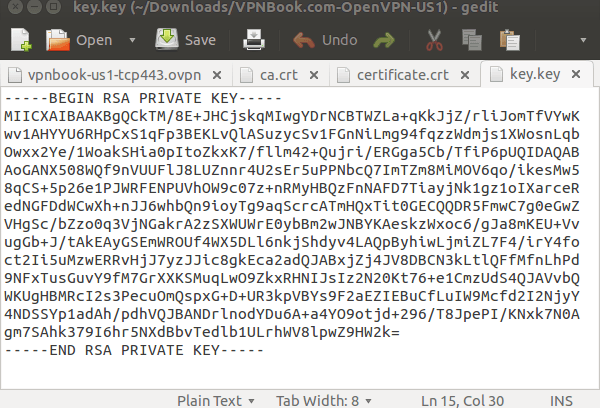
5. In the .ovpn file, do following copy and paste things and finally save the changes.
Copy everything between <ca> </ca> tags and paste into ca.crt file.
Copy everything between <cert> </cert> tags and paste into certificate.crt file.
Copy everything between <key> </key> tags and paste into key.key file.
PART 2: Setup OpenVPN connection:
1. Press Ctrl+Alt+T on keyboard to open the terminal. When it opens, run the command below to install VPN plugin for network manager:
sudo apt-get install network-manager-openvpn
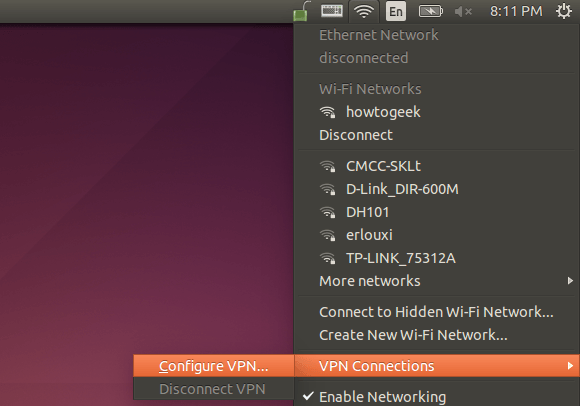
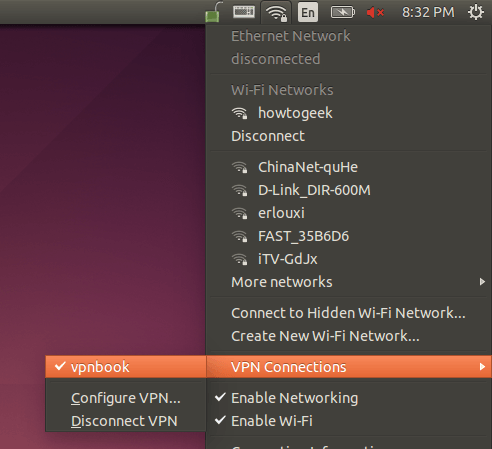
2. Go to system area network icon -> VPN Connections -> Configure VPN:
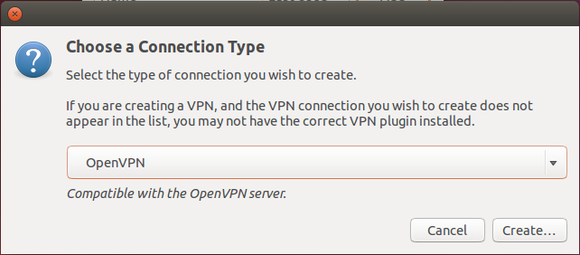
3. Click the Add button in next window and choose OpenVPN in drop-down menu as the connection type.
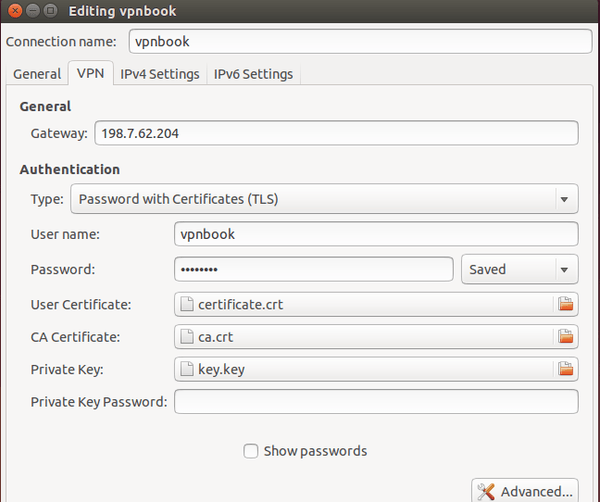
4. Now in VPN editing window, type in:
Connection name: type a name as you want
Gateway: the IP address in the vpnbook-us1-tcp443.ovpn file.
Type: Password with Certificates (TLS)
Username: see the picture under PART 1 -> step 2.
Password: see the picture under PART 1 -> step 2.
User Certificate: choose the certificate.crt file.
CA Certificate: choose the ca.crt file.
Private Certificate: choose the key.key file.
Private Key Password: leave it empty.
5. NOTE: Advanced settings depend on the .ovpn file you selected in PART 1 (step 4), find the ip, port, cipher and so forth at the top of .ovpn file
Click the Advanced button. Check the boxes which say:
Use custom gateway port: 443
Use LZO data compression
Use a TCP connection
Under Security tab, set Cipher to AES-128-CBC
6. When everything is done, connect to the VPN from network menu:
You’re connected to the VPN if you see this message:
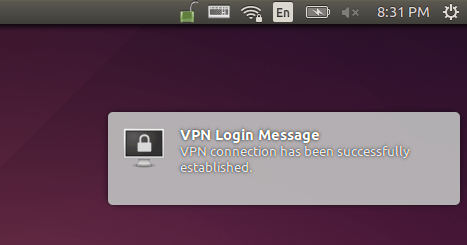
Enjoy!