![]()
This simple tutorial will show you how to add ‘Open As Root’ or ‘Open As Administrator’ option to context menu so that you can easily edit / open file folders as super user privilege within Nautilus file browser.

To get started:
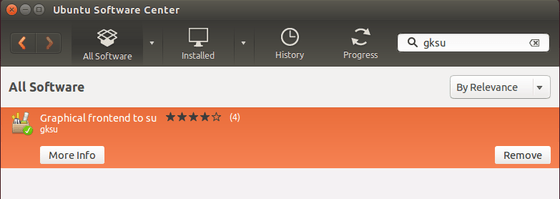
1. Open Ubuntu Software Center. Search for and make sure the package gksu is installed. gksu allows graphical programs to ask a user’s password to run program as root / administrator.
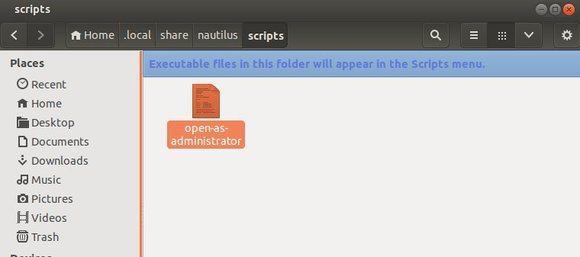
2. Open Nautilus file browser, press Ctrl+H to view hidden files & folders. Navigate to USER Home -> .local -> share -> nautilus -> scripts.
Create an empty document under this directory named ‘open-as-administrator’ or ‘open-as-root’
3. Edit and paste following lines into the file
#!/bin/bash

#

# this code will determine exactly the path and the type of object,

# then it will decide use gedit or nautilus to open it by ROOT permission

#

# Determine the path

if [ -e -n $1 ]; then

obj="$NAUTILUS_SCRIPT_SELECTED_FILE_PATHS"

else

base="`echo $NAUTILUS_SCRIPT_CURRENT_URI | cut -d'/' -f3- | sed 's/%20/ /g'`"

obj="$base/${1##*/}"

fi

# Determine the type and run as ROOT

if [ -f "$obj" ]; then

gksu gedit "$obj"

elif [ -d "$obj" ]; then

gksu nautilus "$obj"

fi
exit 0
4. Press Ctrl+Alt+T to open the terminal. When it opens, run the command below to make executable:
cd .local/share/nautilus/scripts/ && chmod 0755 open-as-administrator
5. Finally restart Nautilus via command nautilus -q, or just log out and back in.