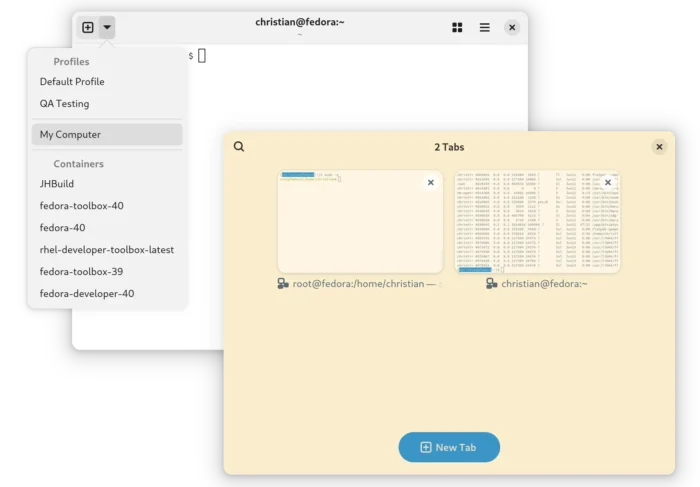
Like the new Ptyxis terminal emulator introduced in Ubuntu 25.10, here’s how to install and set it as default in current Ubuntu 24.04 and 22.04 LTS.
Ptyxis is a modern terminal emulator designed for GNOME with first-class container integration, such as auto-discovery and option to launch a container in new tab, preferences profiles with container integration for Podman, Toolbox, Distrobox, and JHBuild.
Tilix terminal emulator released version 1.9.6 few days ago. Here’s how to install it in Ubuntu 22.04, Ubuntu 23.04, and Ubuntu 23.10.
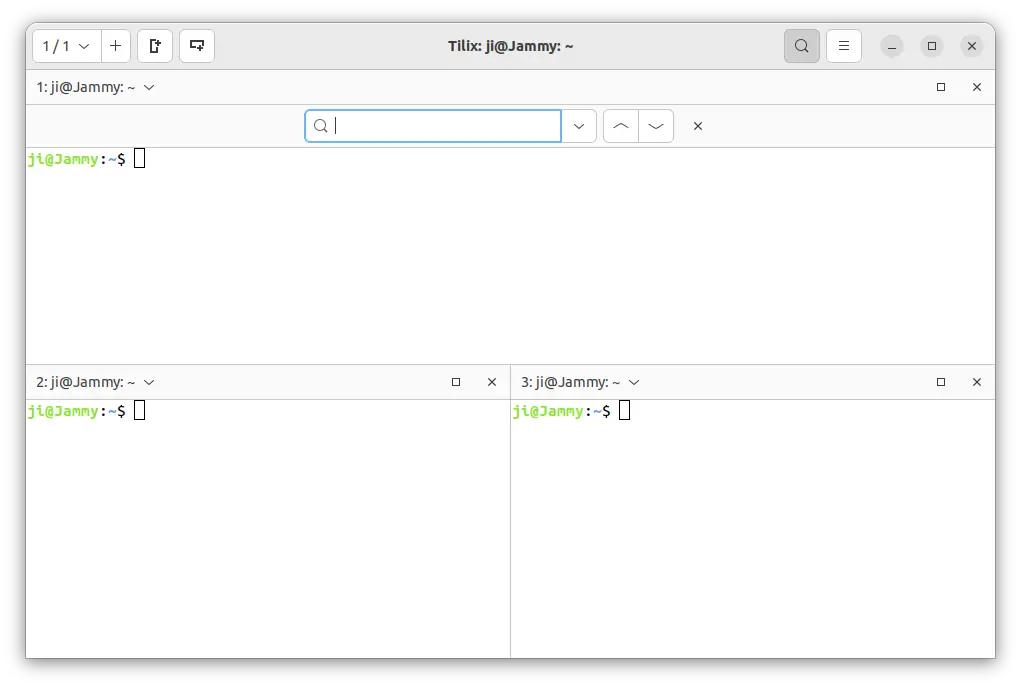
Tilix is a tiling terminal emulator, which uses the VTE GTK+ 3 widget for various features, such as split horizontally or vertically, transparent background, background images, quake mode support, custom hyperlinks, experimental trigger and badge support.
The development of Tilix is moving slowly now due to lack of maintainers. The new 1.9.6 is released more than 20 months after the last stable. And, it only includes minor new features and bug-fixes:
Add close button to search box.
Replace variables in custom link commands
Follow system color-scheme for default theme-variant
Add compatibility with Nautilus 43
Avoid shell injection in open-tilix plugin
Fix GLib critical warnings on startup
Update to GtkD 3.10.0
Tilix search box has close button.
How to Install Tilix 1.9.6 in Ubuntu 22.04, Ubuntu 23.10
The new release provides prebuild package for Linux, which is available to download at the link below:
It’s ‘tilix-1.9.6_x86_64-linux-gnu.tar.gz‘ for 64-bit modern PC and laptop. Just download the package, extract, and run the executable to launch the terminal emulator.
Ubuntu PPA
The official tarball does NOT include run-time libraries. You have to manually figure out “error while loading shared libraries …” errors.
To make the life easy, I’ve upload the new packages into this unofficial PPA, build against the rules from Debian Unstable. So far, it supports Ubuntu 22.04, Ubuntu 23.04, Ubuntu 23.10, on both x86_64 and AArch64(arm64).
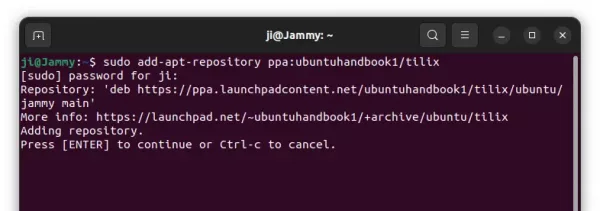
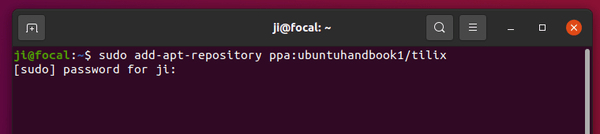
1. First, press Ctrl+Alt+T on keyboard to open terminal. When it opens, run command to add the PPA:
sudo add-apt-repository ppa:ubuntuhandbook1/tilix
Type user password (no asterisk feedback) when it asks and hit Enter to continue.
2. Linux Mint 21 users need to refresh system package cache manually, by either running the command below or using “Refresh” button in Update Manager:
sudo apt update
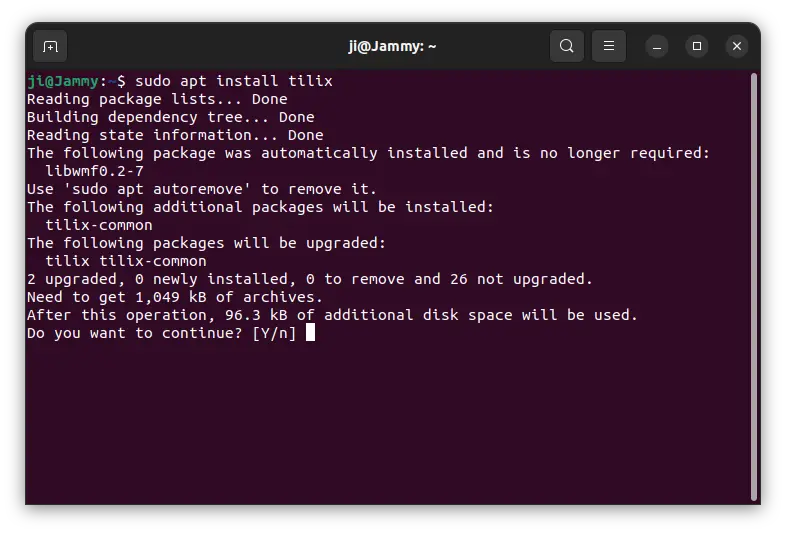
3. Finally, either run command to install the terminal emulator:
sudo apt install tilix
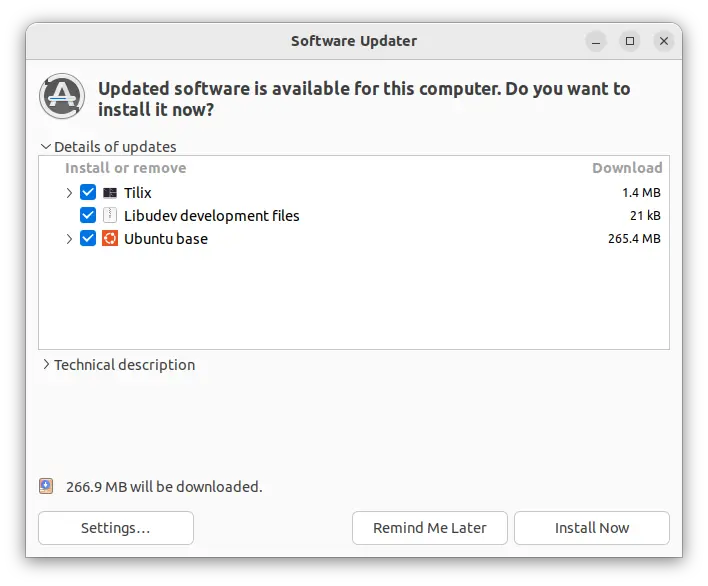
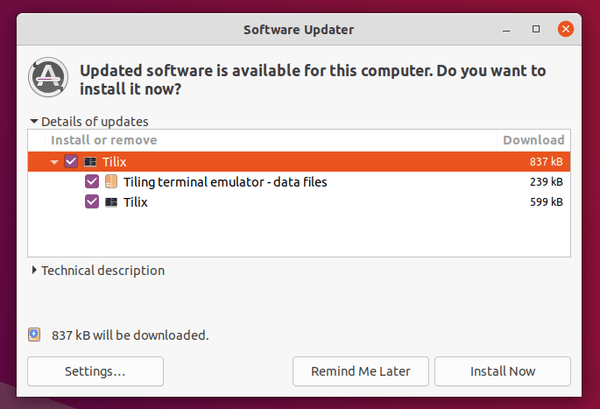
Or, update it through Software Updater (Update Manager) utility.
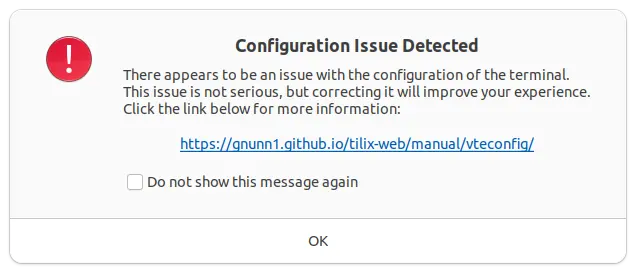
NOTE: Upgrading from v1.9.5 may cause following error pop-up at launch, but I don’t know how to correct the issue.
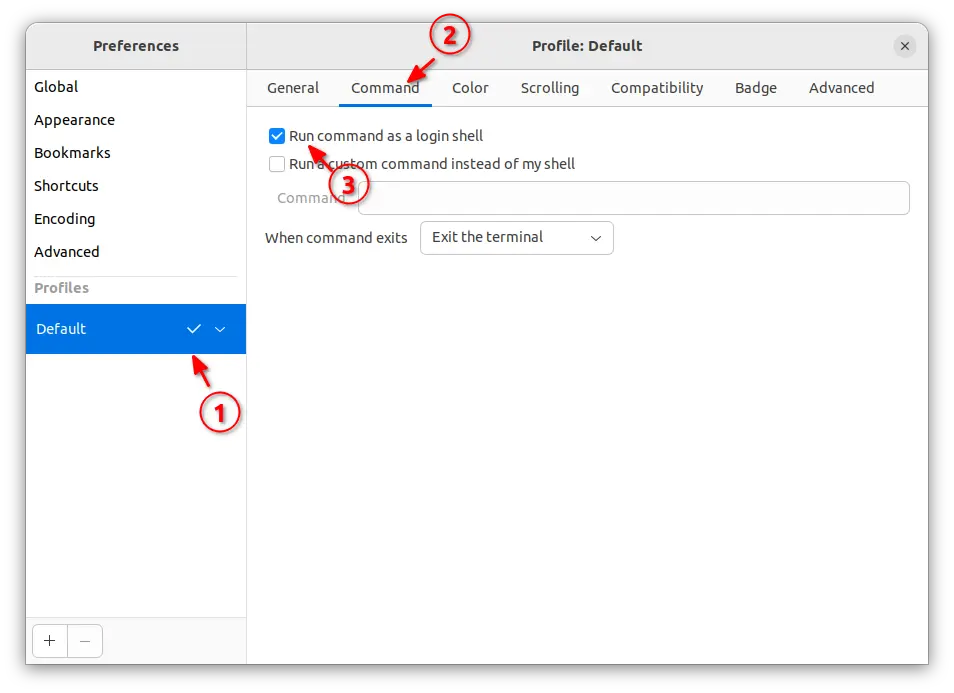
Thanks to @oswald_c, you may fix the issue by enabling ‘Run command as a login shell’ to enable it‘ option under default profile of “Preferences” dialog. See the screenshot below:
Uninstall Tilix
To downgrade Tilix to stock version in your system repository, open terminal (Ctrl+Alt+T) and run command to purge the PPA:
The popular Alacritty terminal emulator got a new release few days ago. Here are the new features and how to install guide for Ubuntu Linux.
Alacritty is a free open-source GPU-accelerated terminal emulator written in Rust programming language. It features Vi mode motion and selection via keyboard, Vi search/normal search, hints, etc.
The new 0.12.0 release features fractional scaling support on Wayland session via wp-fractional-scale protocol. It also added touchscreen input support for click, scroll, select, zoom actions.
Other changes include:
Support for horizontal scrolling in mouse mode and alternative scrolling modes
Support for running on GLES context
New window.resize_increments config option, which is disabled by default
New -T flag, short form for --title.
Always use sRGB color space on macOS.
Resize increments are now set on macOS and X11 to resize by cell sizes.
Proper hint about window transparency in Wayland and macOS.
Change window.decorations_theme_variant to use Dark, Light, and None values
They are as well various other changes and bug-fixes, see the Github releases page for details.
How to Install Alacritty terminal emulator in Ubuntu Linux
This app is not available in Ubuntu system repository until the next Ubuntu 23.04. User can install it via 2 methods: cargo package manager, or third-party Ubuntu PPA.
Option 1: Install Alacritty via cargo package manager
Cargo is the command line package manager for Rust, like Pip for Python. User can use the tool to install Alacritty terminal emulator in most Linux, though user needs to MANUALLY setup PATH variable and create shortcut icon.
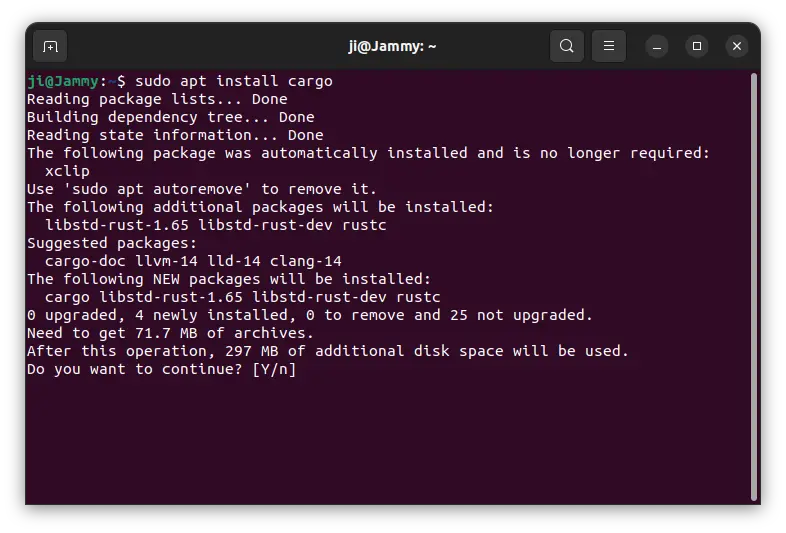
1. First, press Ctrl+Alt+T on keyboard to open terminal. When it opens, run command to install cargo:
sudo apt install cargo
Type user password (no asterisk feedback) when it asks and hit Enter to continue.
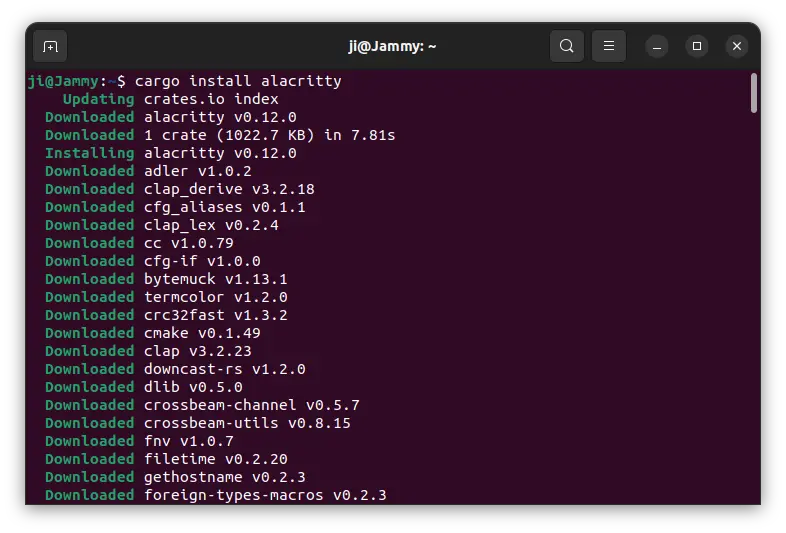
2. Then, install Alacritty for current user only by running command:
cargo install alacritty
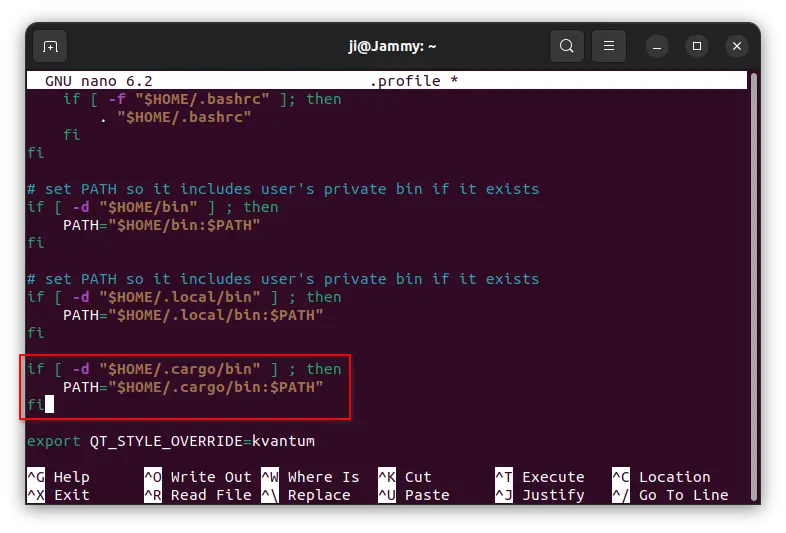
3. As mentioned, cargo package does not add PATH variable by default. You can verify by running $PATH command and see if “/home/USERNAME/.cargo/bin” present in the output.
To add it into user PATH, run command nano ~/.profile to edit user profile and add following lines:
if [ -d "$HOME/.cargo/bin" ] ; then
    PATH="$HOME/.cargo/bin:$PATH"
fi
When done, press Ctrl+X, type y and hit Enter to save change! NOTE: user PATH changes take effect at next login.
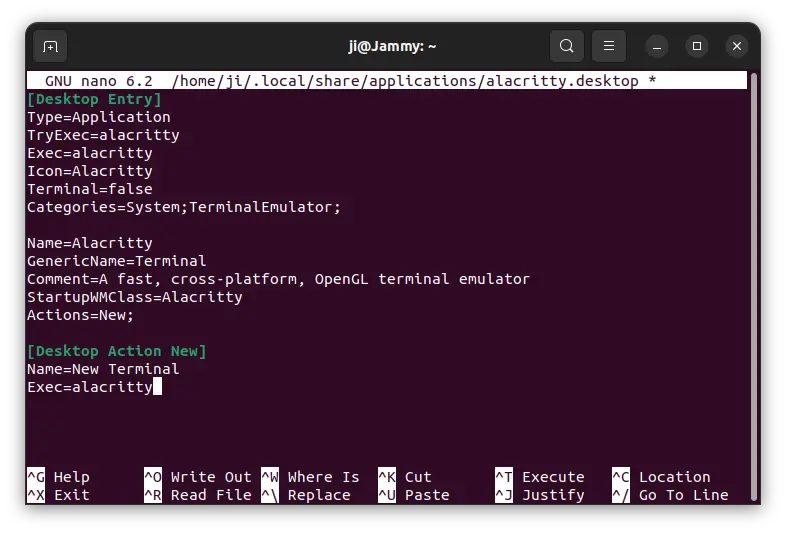
4. The cargo package also does not create shortcut icons. Meaning you need to manually create one by running command:
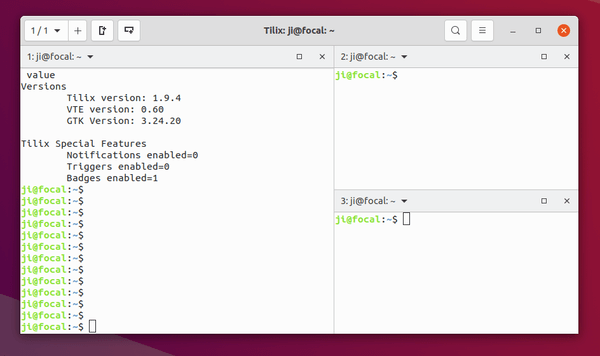
The Tilix terminal emulator released version 1.9.4 a few days ago. Here’s how to install it in Ubuntu 20.04, Ubuntu 20.10 via PPA.
Tilix, formerly Terminix, is a free and open-source terminal emulator that uses the VTE GTK+ 3 widget. It features terminal screen splitting and drop-down mode support.
After one year and a half of development, it finally announced the new release with minimal maintenance. And Tilix is looking for maintainers!
This simple tutorial shows how to install the fastest terminal emulator, Alacritty, in Ubuntu 20.04, Linux Mint 20 via PPA. UPDATED: Ubuntu 22.04 & Linux Mint 21 also supported.
Alacritty is a cross-platform, GPU-accelerated terminal emulator works on macOS, Linux, BSD, and Windows. It’s free and open-source software that strongly focus on simplicity and performance. And it features Vi mode, search, Vi search etc.
To install the software, there’s a PPA repository contains the latest packages for Ubuntu 20.04 and Ubuntu 22.04. Also an old version is available for Ubuntu 18.04.
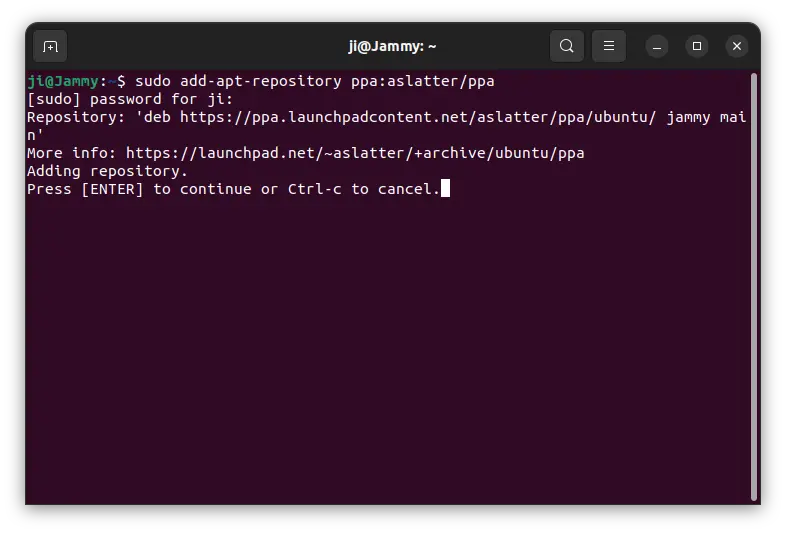
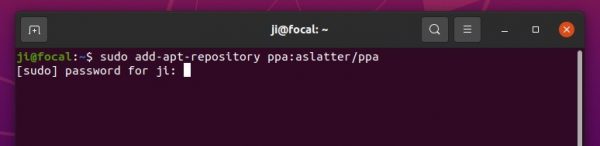
1. Open terminal from your system application launcher. When it opens, run command to add the PPA:
sudo add-apt-repository ppa:aslatter/ppa
Type user password (no asterisk feedback) for sudo prompts and hit Enter to continue.
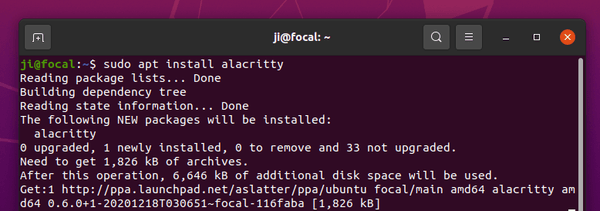
2. While adding the PPA will also automatically refresh system package cache, run apt command to install the terminal emulator:
sudo apt install alacritty
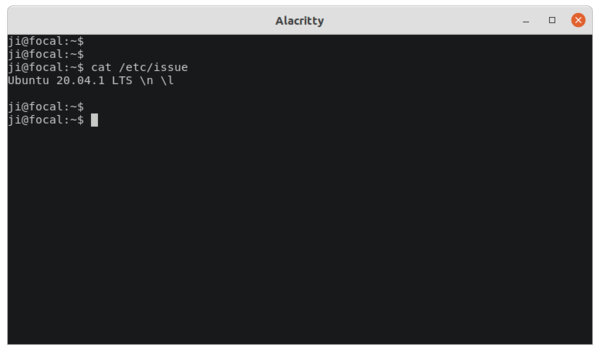
Once installed, either open it either from system application launcher or by pressing Ctrl+Alt+T on keyboard.
Uninstall Alacritty:
To remove the terminal emulator, run command:
sudo apt remove --auto-remove alacritty
To remove the Ubuntu PPA, either run command in terminal:
sudo add-apt-repository --remove ppa:aslatter/ppa
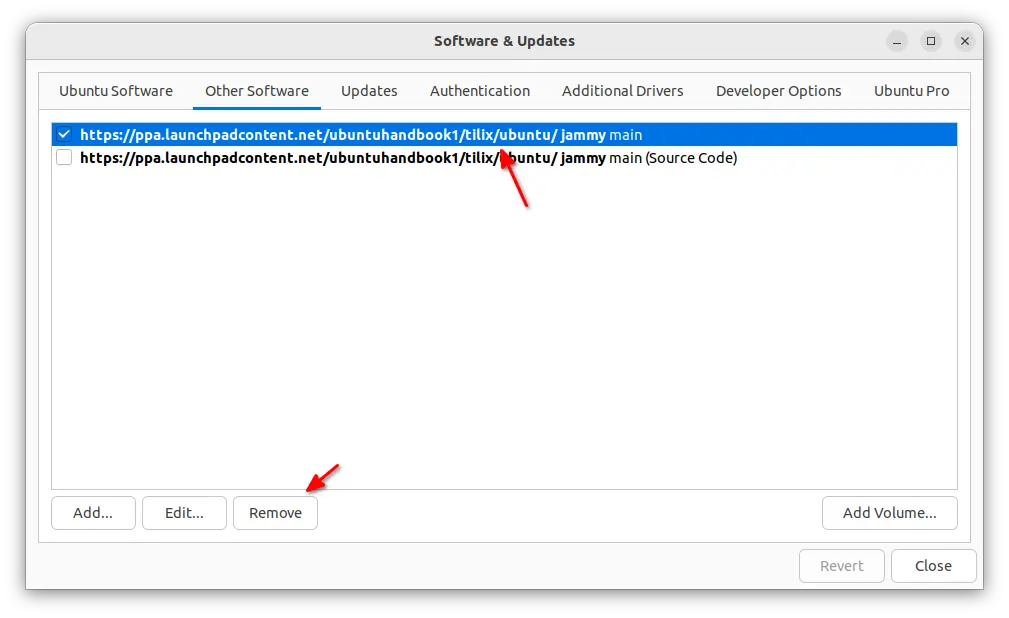
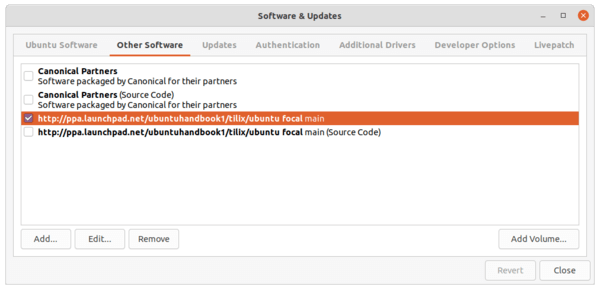
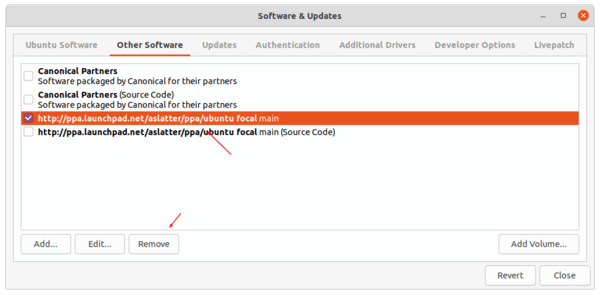
or open Software & Updates and remove the repository line under Other Software tab.
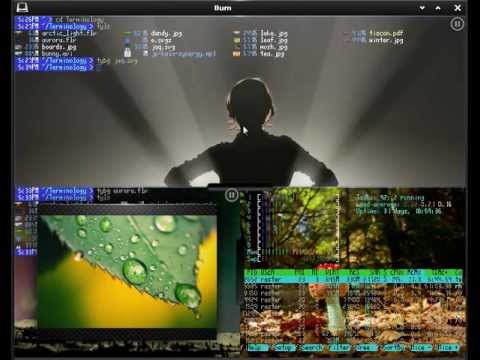
Terminology is a new terminal emulator designed by Enlightenment team. Terminology is probably the most beautiful terminal emulator because it comes with below features:
URL, file path and email address detection and link-handling
Inline display of link content
Multiple copy and paste selections and buffer support
Works in X11
Works in Wayland
Works directly in the linux framebuffer (fbcon)
Can be finger/touch controlled
Scan scale by UI scaling factors
Can render using OpenGL or OpenGL-ES2 (not a requirement – just an option)
Can display inlined media content (images, video, documents)
Can do multiple “tabs”
Can do splitting into multiple panes
Block text selection
Drag and drop of text selections and links
Can stream media from URLs
Tab switcher has live thumbnail content
Single process, multiple windows/terminals support
Fast (gives urxvt a run for its money)
Themable visual bell
Compress backscroll
Text reflow on resize
More…
Install Terminology in Ubuntu Linux Mint
This terminal emulator depends on the core Enlightenment foundation libraries. We can install it as well as the dependencies on Ubuntu 14.04, Ubuntu 13.10, Ubuntu 13.04, Ubuntu 12.10, Ubuntu 12.04 and Linux Mint via PPA.
To get started, press Ctrl+Alt+T on keyboard to open terminal. When it opens, run commands below one by one: