![]()
This simple tutorial shows how to install the latest Cinnamon Desktop 5.8 in Ubuntu 22.04 or Ubuntu 23.04 via PPA.
The source of Cinnamon 5.8 was out a few days ago! It will be officially announced later in this month along with Linux Mint 21.2.
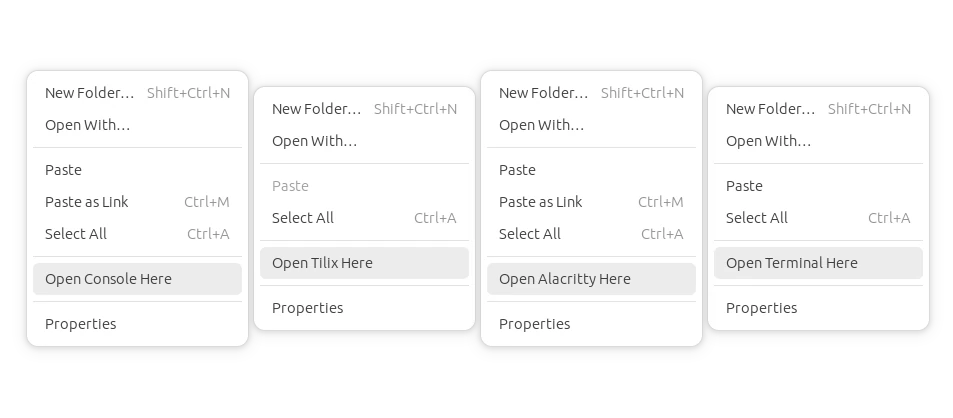
Cinnamon 5.8 features built-in touchpad / touchscreen gestures support! There will be new “Gestures” option in System Settings utility. Where, provides options to configure actions for 3-finger/4-finger swipe, 2-finger/3-finger/4-finger pinch, and activation thresholds.
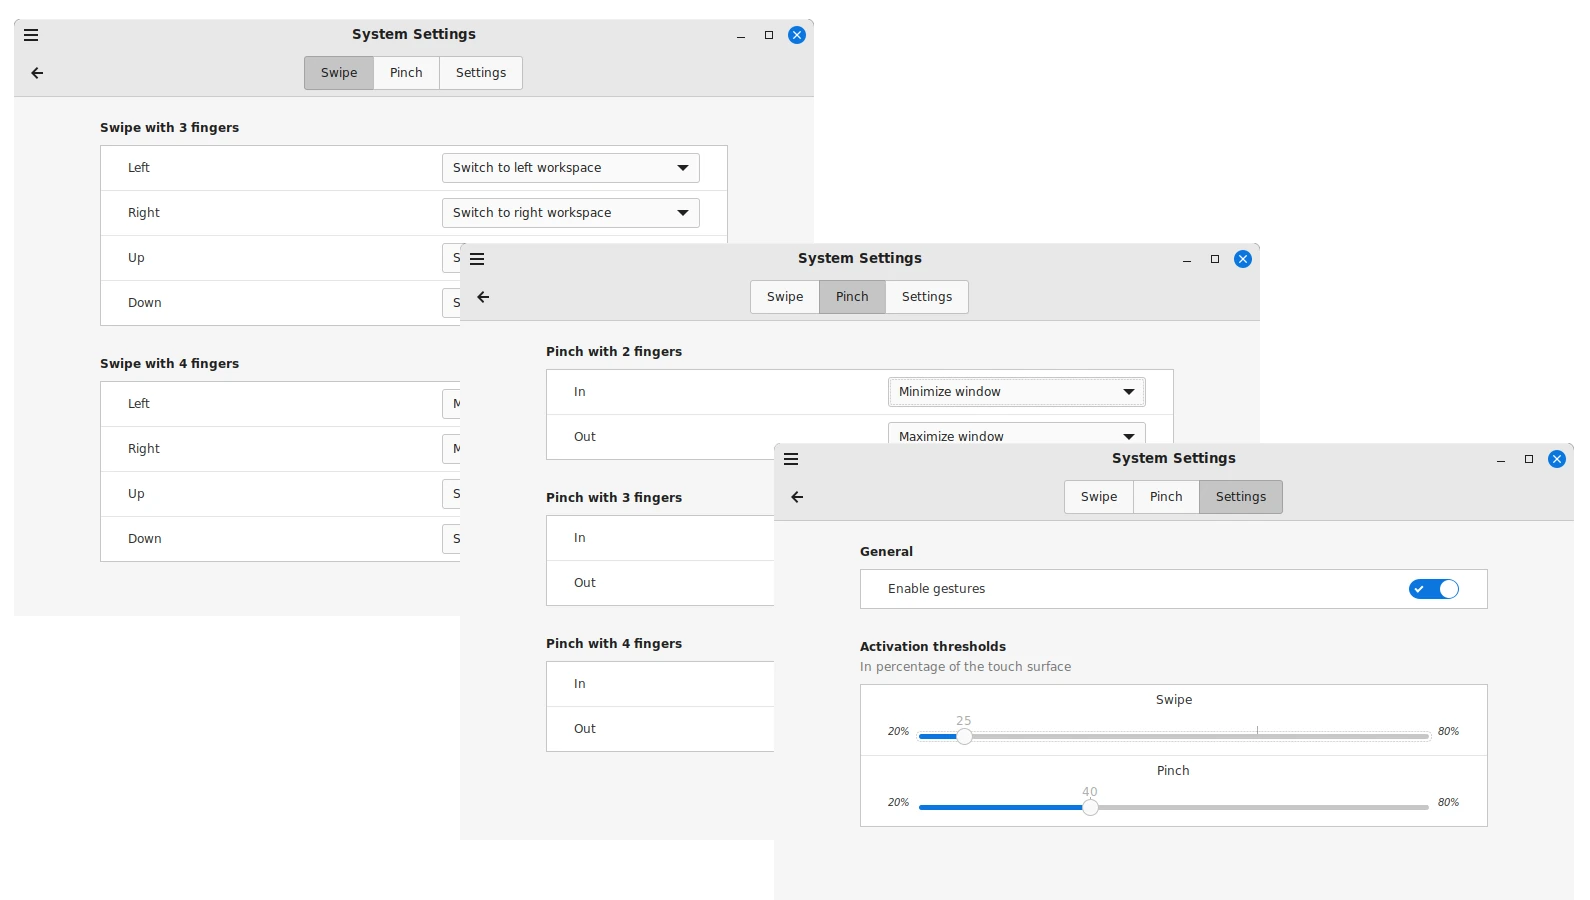
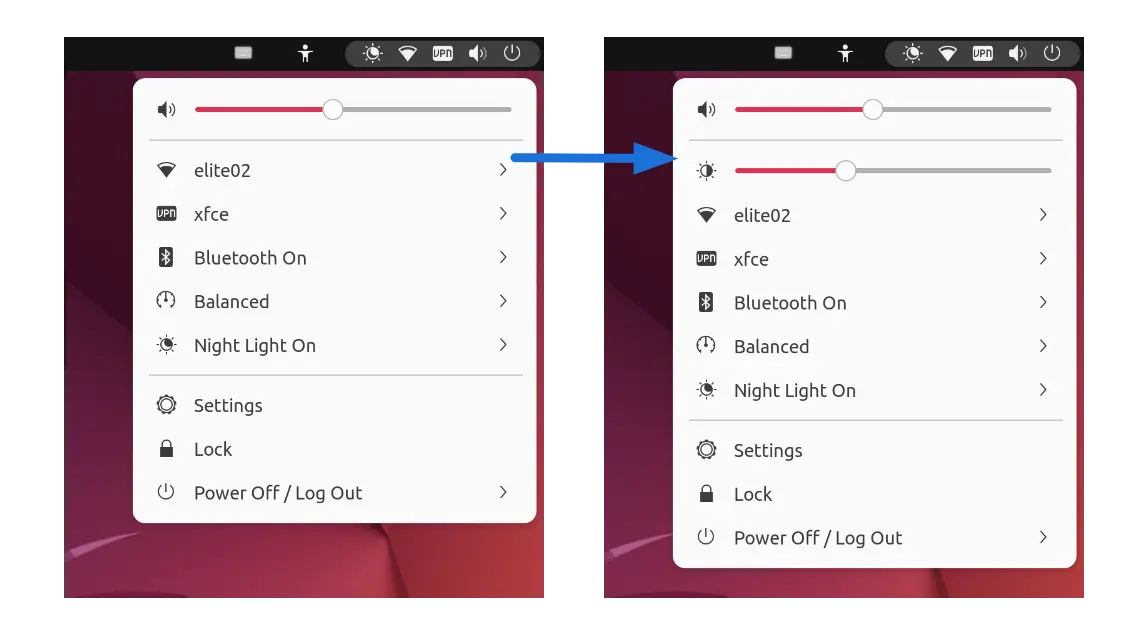
The new release also added new theme option (prefer light, prefer dark, left app decide) to switch between light and dark mode.
How to Install Cinnamon 5.8 via Ubuntu PPA
Cinnamon 5.8 will be default in Linux Mint 21.2 coming later in this month. Ubuntu user can try my PPA repository instead.
NOTE 1: This is an unofficial PPA!
NOTE 2: The packages seem working good in my case in Ubuntu 22.04, but WITHOUT well testing! It MAY or MAY NOT WORK due to various reasons!
NOTE 3: light/dark switching feature does not work in my case. Not sure if something is missing!
NOTE 4: Do NOT install this PPA in production machine!
NOTE 5: New gestures feature seems using touchegg as background service. If the feature does not work, try installing touchegg from its official PPA.
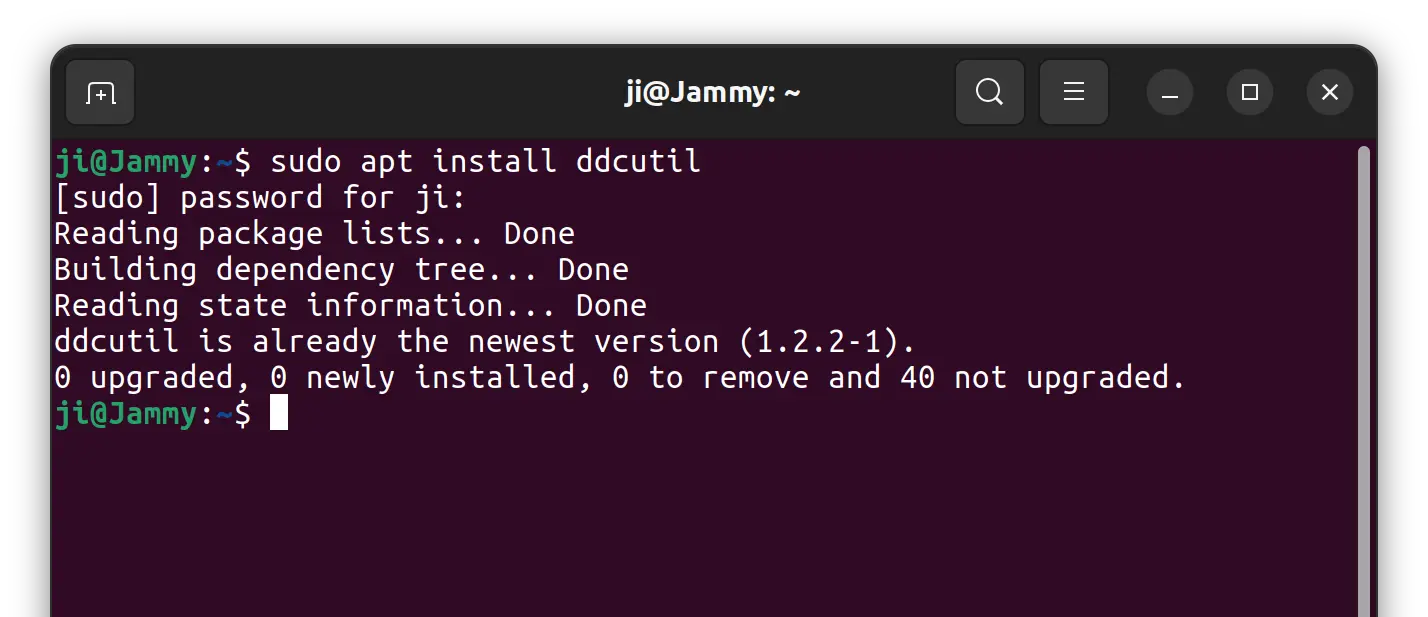
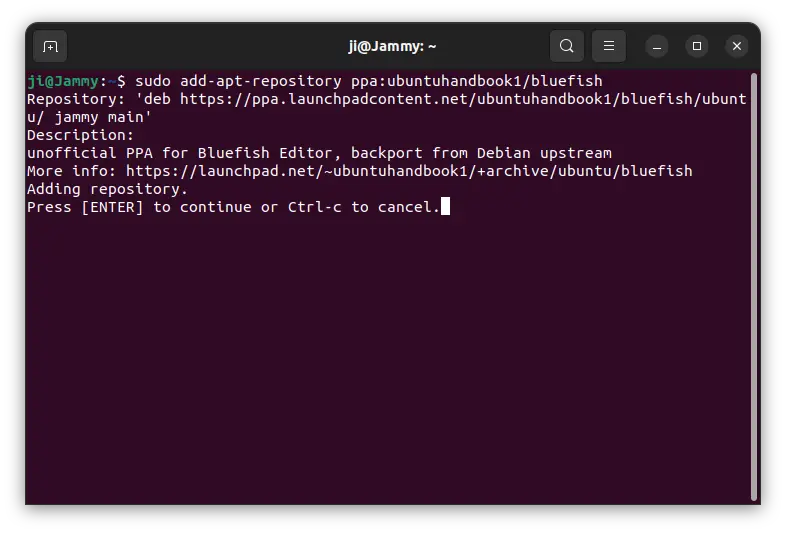
1. First, press Ctrl+Alt+T on keyboard to open terminal. When terminal opens, run command to add the PPA:
sudo add-apt-repository ppa:ubuntuhandbook1/cinnamon
Type user password (no asterisk feedback) when it asks and hit Enter to continue.

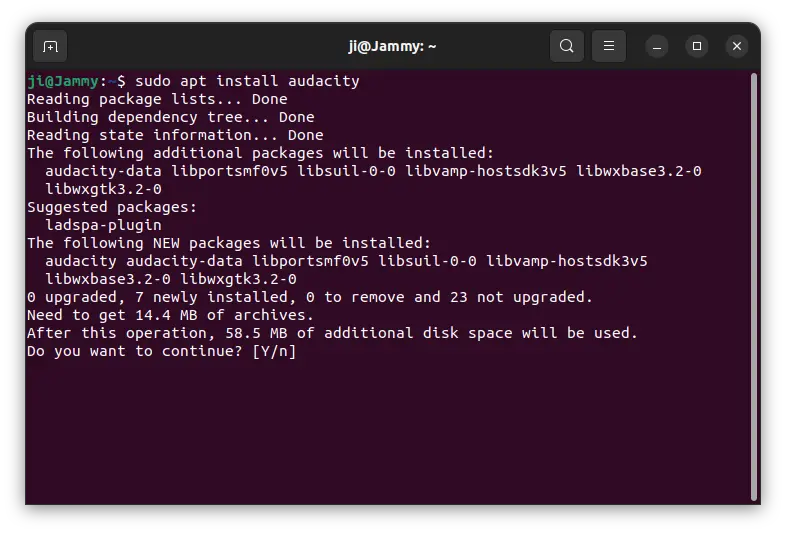
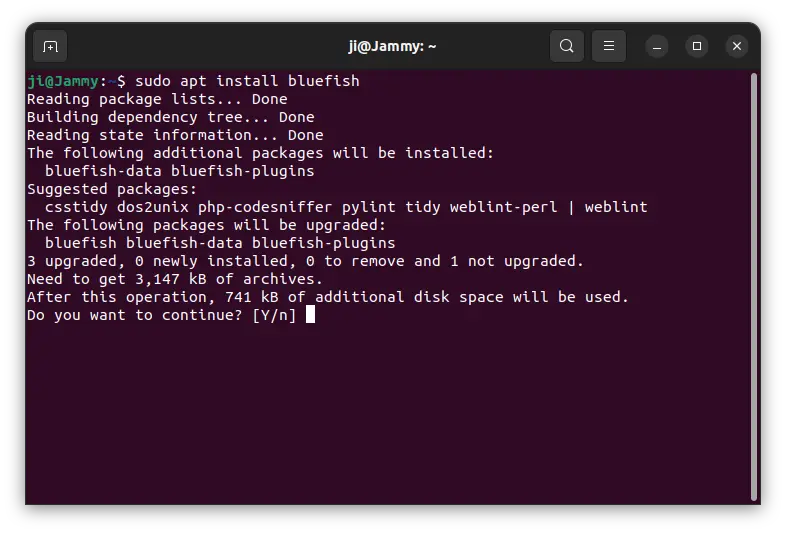
2. While adding PPA, it should automatically refresh package cache. When done, run command to upgrade to Cinnamon 5.8 in Ubuntu Cinnamon:
sudo apt upgrade
For non-Cinnamon desktop environment, run this command instead to install it:
sudo apt install cinnamon-desktop-environment
It’s better to write down what packages it’s going to install, in case you want to completely remove Cinnamon desktop later!
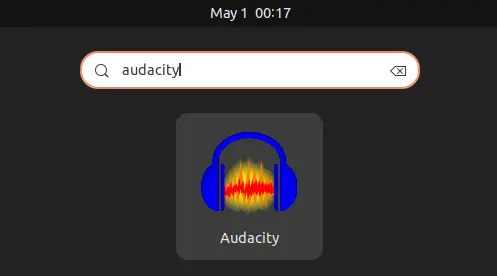
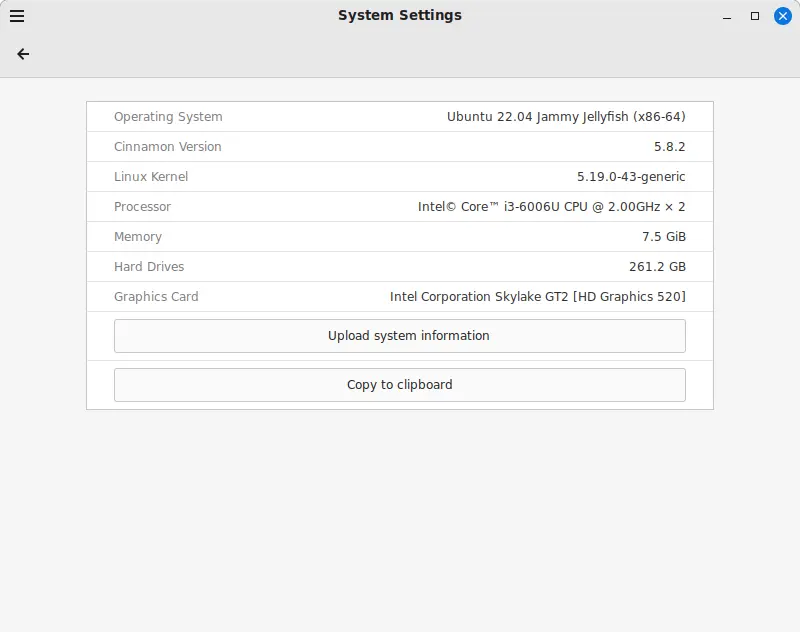
After installation, restart your computer and go to “System Settings -> System Info” to check the desktop version. You need to of course switch to ‘Cinnamon’ session from login screen.
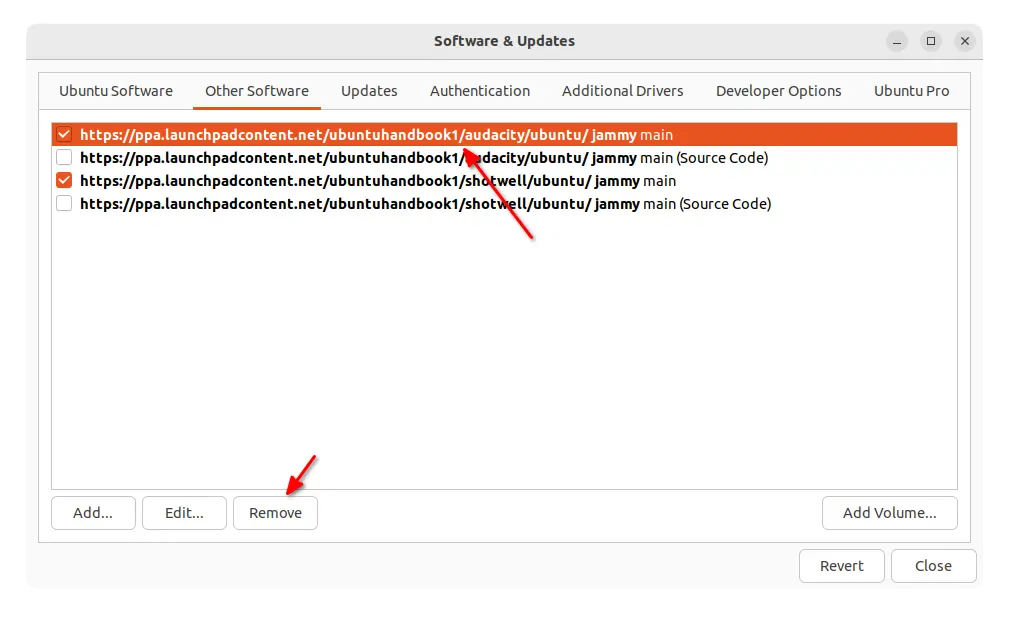
Uninstall:
To restore the original Cinnamon desktop environment, open terminal and run command:
sudo apt install ppa-purge && sudo ppa-purge ppa:ubuntuhandbook1/cinnamon
The previous command will restore Cinnamon to stock version in Ubuntu repository. To completely remove the desktop environment, use sudo apt remove package1 package2 package3 ... by replacing the package names to what you installed in previous step.