![]()
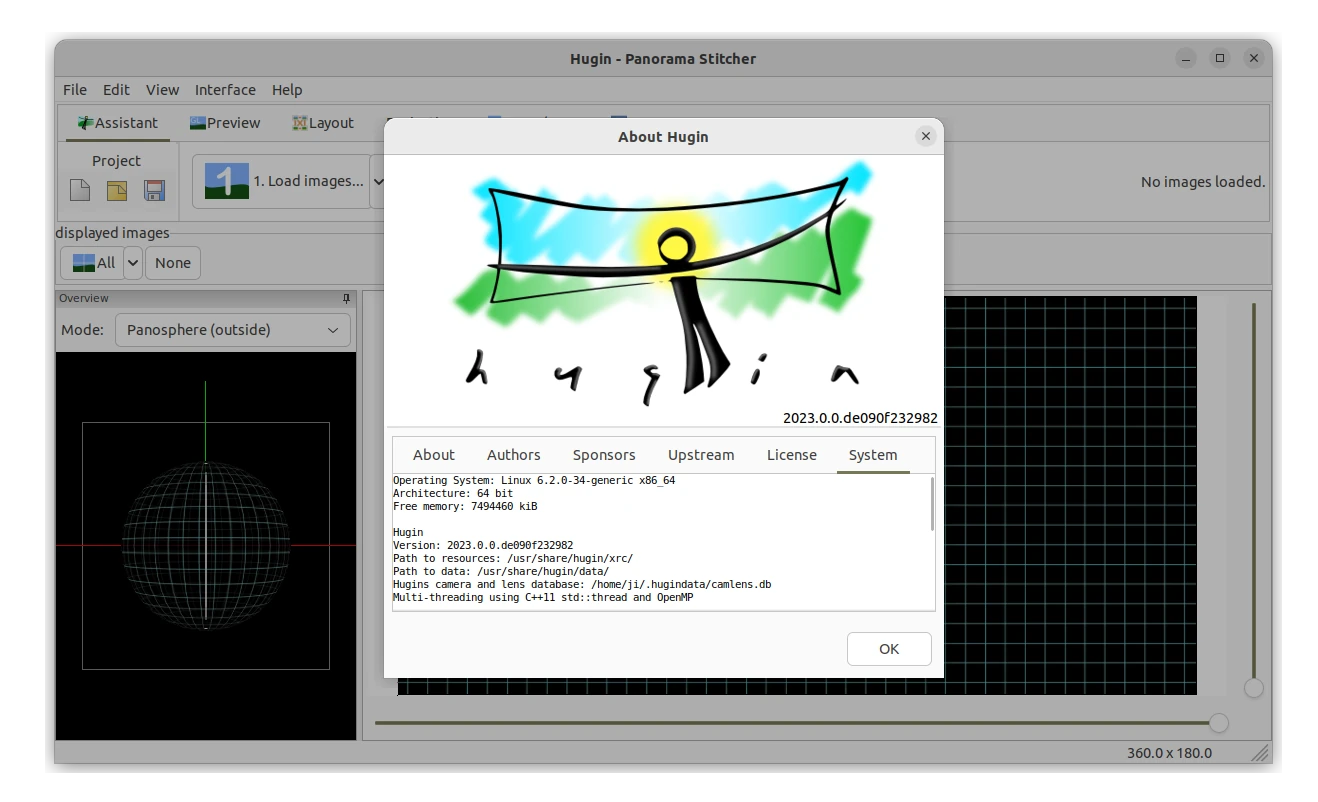
Hugin, the free open-source panorama photo stitching and HDR merging software, rolled out the Beta release of 2023 version few weeks ago.
This Beta so far does not have any release note for changes. But only the changelog according to the changes.txt file in source tarball:
- PTBatcherGUI can now also queue user defined assistant and user defined output sequences.
- PTBatcherGUI: Added option to generate panorama sequences from an existing pto template.
- Assistant: Added option to select different output options like projection, FOV or canvas size depending on different variables (e.g. image count, field of view, lens type).
- Allow building with epoxy instead of GLEW for OpenGL pointer management.
- Several improvements to crop tool (outside crop, aspect ratio, …).
Install Hugin 2023 Beta in Ubuntu:
NOTE 1: This is so far a Beta release for testing purpose!
For those who want to try out the new features, I’ve uploaded the package into this unofficial PPA for Ubuntu 18.04, Ubuntu 20.04, Ubuntu 22.04, Ubuntu 23.04, and Ubuntu 23.10 on both X86_64 and Arm64/hf CPUs.
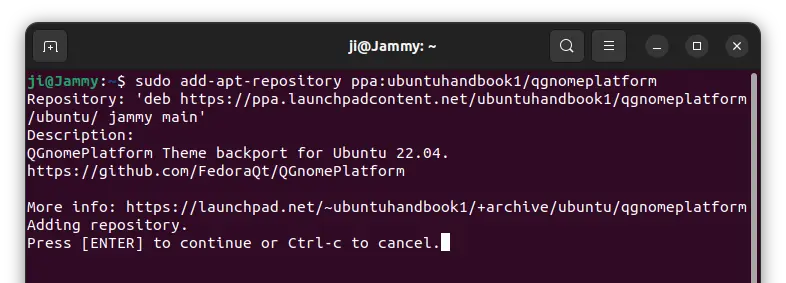
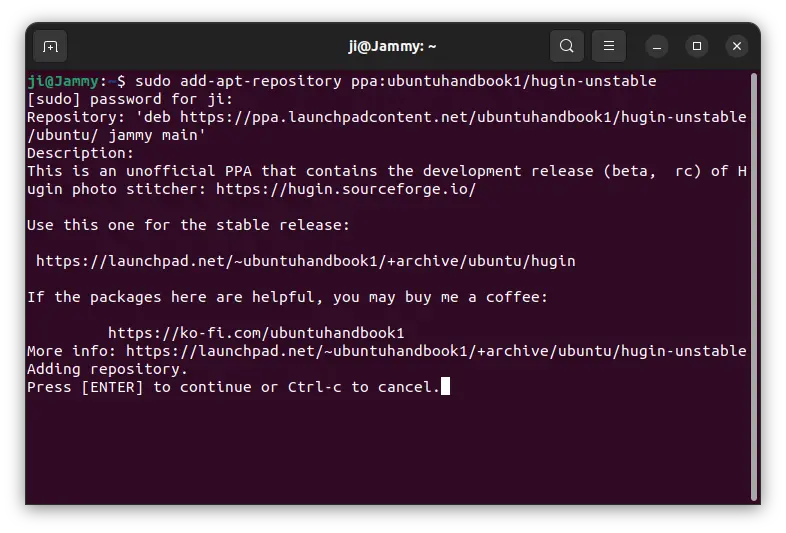
1. First, press Ctrl+Alt+T key combination on keyboard to open terminal. When it opens, run command to add the PPA:
sudo add-apt-repository ppa:ubuntuhandbook1/hugin-unstable
Type user password when it asks (no asterisk feedback) and hit Enter to continue.
2. Ubuntu 18.04, and some Ubuntu based systems may need to manually refresh package cache after adding PPA, though it’s done automatically sine Ubuntu 20.04.
To do so, just run command:
sudo apt update
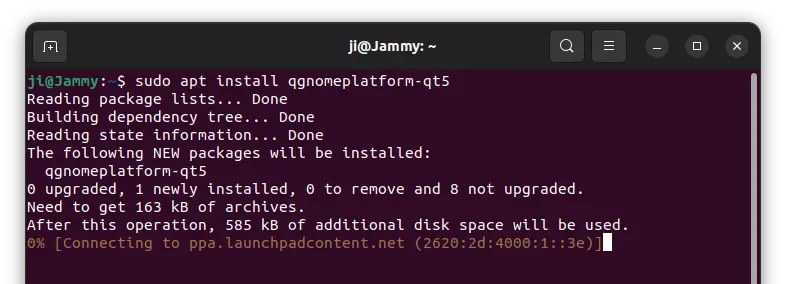
3. Finally, install the Beta release of Hugin by running command:
sudo apt install hugin

Uninstall:
To downgrade the stock version of Hugin in your system repository, simply open terminal and run command to purge the PPA:
sudo apt install ppa-purge && sudo ppa-purge ppa:ubuntuhandbook1/hugin-unstable
Or, remove the software package by running command:
sudo apt remove --autoremove hugin
And, remove the Ubuntu PPA either by running command in terminal:
sudo add-apt-repository --remove ppa:ubuntuhandbook1/hugin-unstable
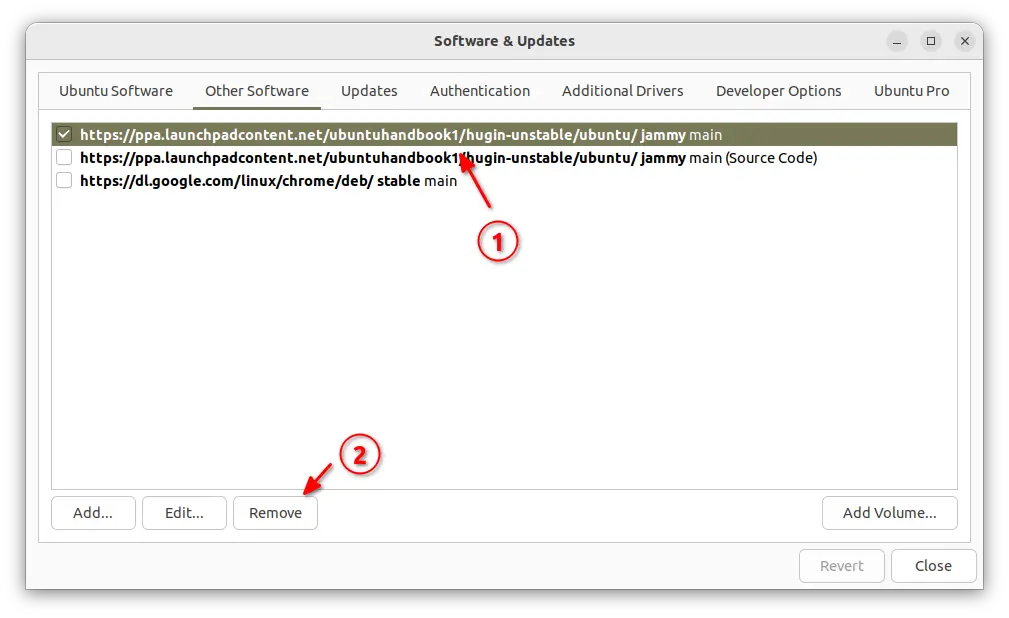
Or use “Software & Updates” by remove the source line under “Other Software” tab.