![]()

This is another tutorial shows how to send the application launcher icons to the Desktop in Ubuntu 19.10.
Where Ubuntu stores the application icons:
Ubuntu stores the application shortcut icons as .desktop files. Most of them are available in /usr/share/applications directory, and few in .local/share/applications.
Since Ubuntu 19.04, you can no longer drop and drop or even copy and paste files directly from file manager to the Desktop, because Nautilus file manager is replaced by a Gnome Shell extension to handle the Desktop.
However, the .desktop files can be directly placed into user’s “Desktop” folder. Like Windows, all files in that folder will be displayed on the Desktop.
1.) Open “Files” (Nautilus file manager) and navigate to the Desktop folder.
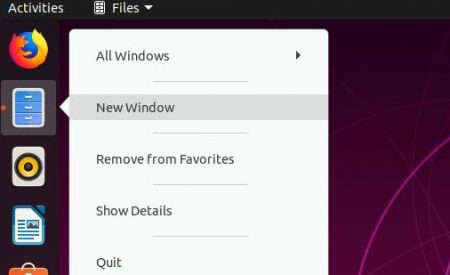
2.) Right-click on “Files” in left panel and open a new file manager window.

3.) In new file manager window, navigate to Other Locations -> Computer -> usr -> share -> applications.
There choose the app launcher files as you want, drag and drop them to the Desktop folder that you opened in step 1.).
![]()
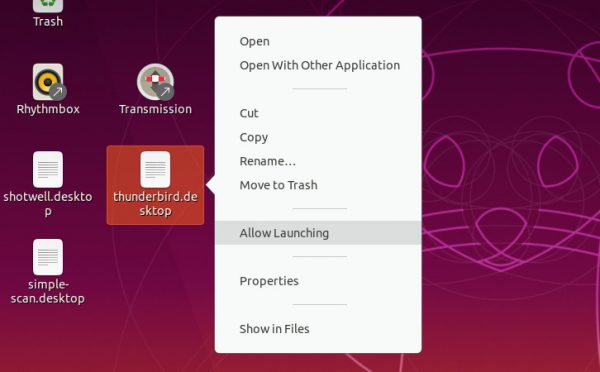
4.) Finally right-click on each file in the desktop, and select ‘Allow Launching’.