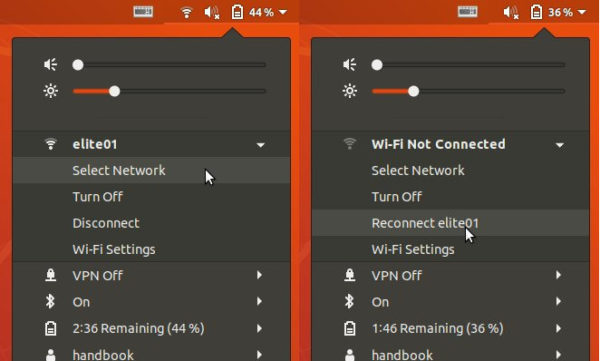
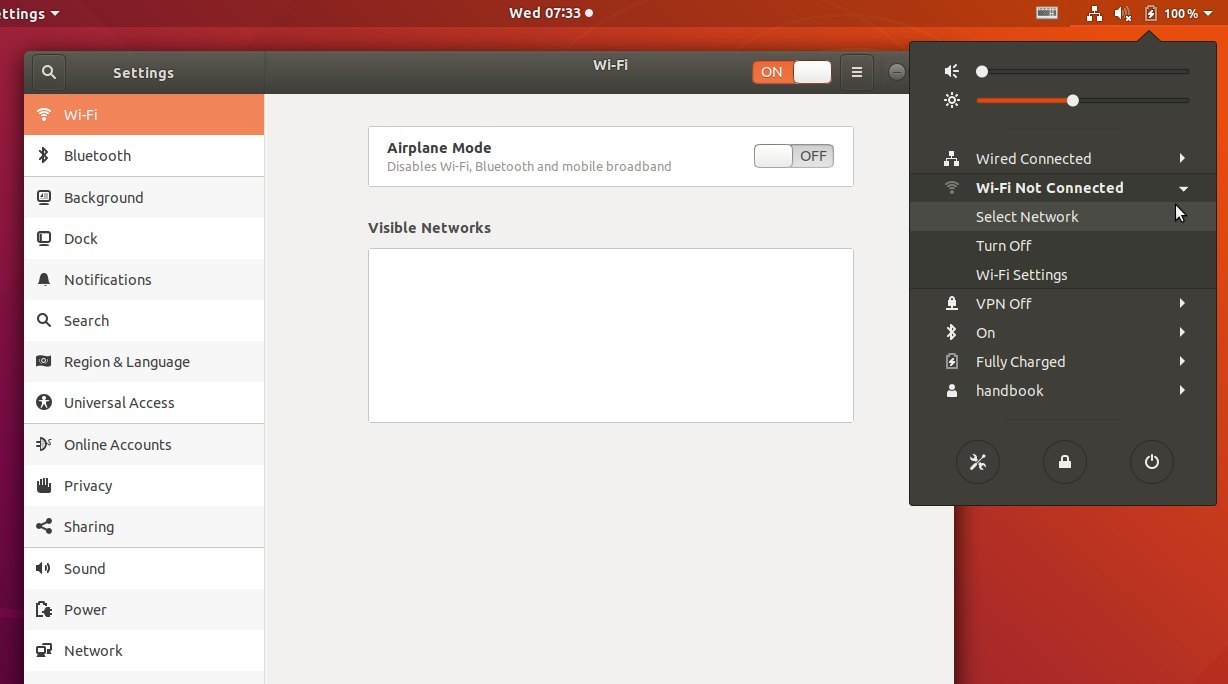
After solved the no wifi adapter issue, I found that in Ubuntu 18.04 Gnome Shell, there’s no Disconnect Wifi option in system tray wireless menu.
It’s inconvenient when I’m going to connect to wired network and temporarily disable wifi connection. Fortunately, there’s a Gnome extension that adds a Disconnect option for Wifi in status menu, and a Reconnect option will be there when wireless network is disconnected.
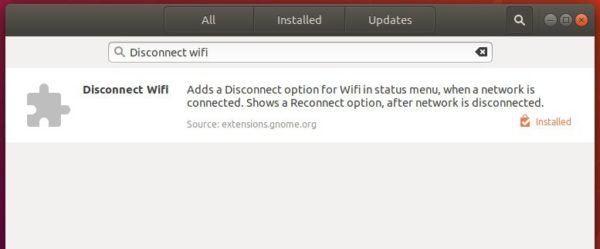
To install the extension, simply open Ubuntu Software, search for and install Disconnect wifi:
You can see the new options once you installed the extension.
mkvmerge: chapter generation: if the name template given by --generate-chapters-name-template is empty, no names (ChapterDisplay
master elements with ChapterString/ChapterLanguage children) will be
generated for the chapter atoms.
mkvmerge: chapters: chapter names generated from MPLS files will now use the
name template if one is set via --generate-chapters-name-template.
mkvmerge: mkvmerge will no longer abort with an error message if no audio,
video and subtitle tracks should be multiplexed. This allows copying of
chapters from non-chapter source files (e.g. Matroska or MP4 files).
MKVToolNix GUI: the font size in the tool selector on the left will scale
with the font size the user selects in the preferences.
MKVToolNix GUI: the GUI will no longer automatically resize the columns in
tree and list views to match the content size. Instead it remembers and
restores the widths set by the user.
MKVToolNix GUI: multiplexer: the chapter name template will now be set
automatically to the name template in the preferences’ “chapter editor”
section. Additionally the option --generate-chapters-name-template … will
be passed to mkvmerge in situations when mkvmerge will generate chapters
(either because automatic generation is enabled or if chapters are generated
for MPLS playlists).
MKVToolNix GUI: chapter editor: if the chapter name template is empty,
chapters will be generated without names.
MKVToolNix GUI: chapter editor: added an option to remove all chapter names
to the “additional modifications” dialog.
How to Install MKVToolNix 26.0.0 in Ubuntu:
The official apt repository offers the latest packages for Ubuntu 16.04, Ubuntu 18.04, Linux Mint 19/18, and their derivatives.
Open terminal via Ctrl+Alt+T or by searching it from app launcher. When it opens, do following steps:
Replace $(lsb_release -sc) with bionic for Linux Mint 19, or xenial for Linux Mint 18.x. And input your password (no asterisks while typing) when it prompts and hit Enter.
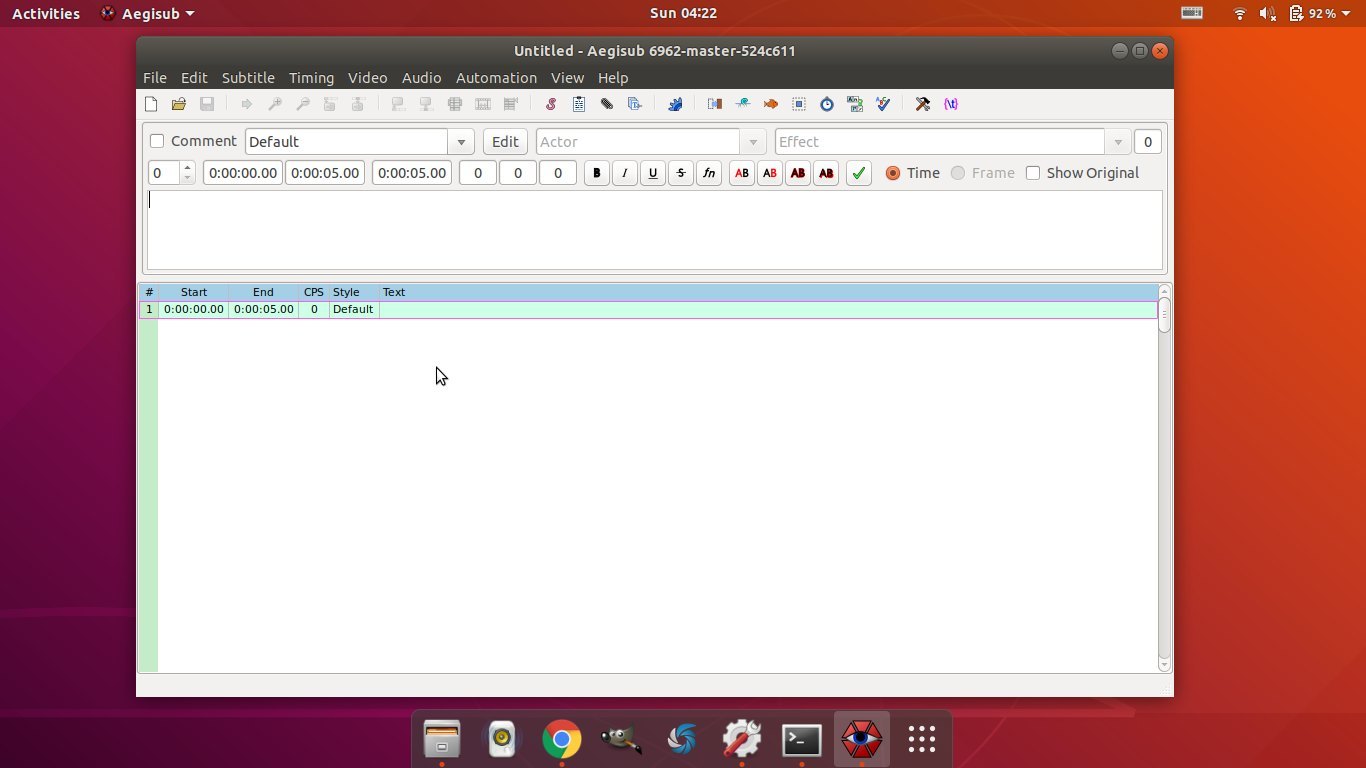
Aegisub is an open-source, cross-platform, highly customizable subtitle editor that features a lot of convenient tools to help you with timing, typesetting, editing and translating subtitles, as well as a powerful scripting environment called Automation (originally mostly intended for creating karaoke effects, Automation can now be used much else, including creating macros and various other convenient tools).
Although Ubuntu 18.04 dropped the Aegisub binary package from its universe repository, it’s still easy to install Aegisub via one of the developer’s PPA.
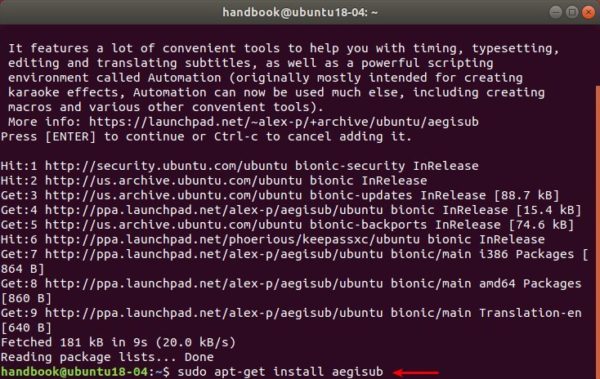
1. Open terminal either via Ctrl+Alt+T shortcut key, or by searching for ‘terminal’ from software launcher. When it opens, run command to add the PPA:
sudo add-apt-repository ppa:alex-p/aegisub
Type your password (no asterisks feedback) when it prompts and hit Enter to continue.
2. Then run command to install the subtitle eidtor:
sudo apt-get install aegisub
Uninstall:
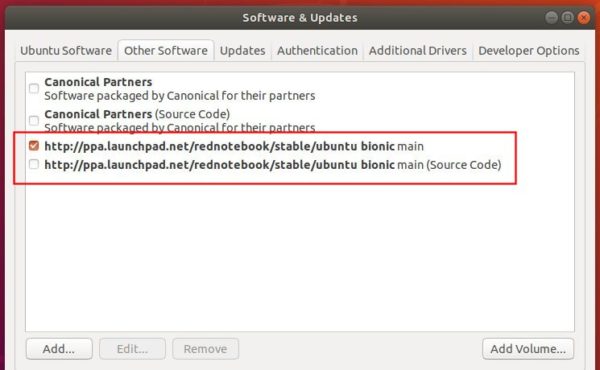
To remove the PPA, either open Software & Updater and navigate to Other Software tab, or run command:
A new bug-fix release for the Kid3 audio tag editor 3.6 series was released earlier today. Here’s how to install it in Ubuntu 18.04, Ubuntu 16.04, Ubuntu 14.04, Linux Mint 19/18, and their derivatives.
This bug-fix release fixes the use of free form MP4 atoms, import from CSV with DOS line endings, the application icon in KDE wayland sessions and other bugs. The generation of file names from tags is improved by supporting conditional text around a value from the tags, which is only inserted when the corresponding value exists.
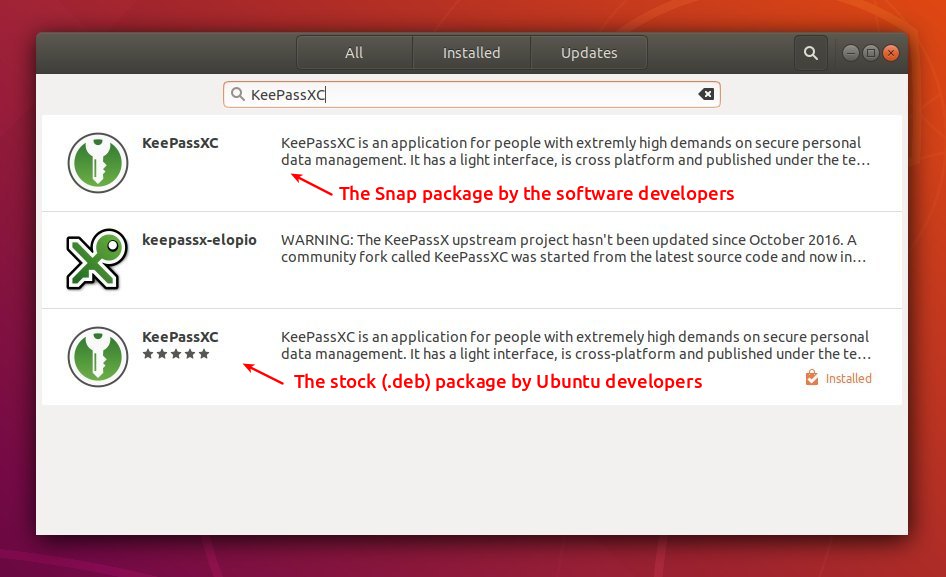
KeePassXC 2.3.4, community driven port of the windows application “Keepass Password Safe”, was released a day ago with various bug-fixes and improvements.
Fix intermittent crashes with favorite icon downloads
Provide potential crash warning to Qt 5.5.x users
Disable apply button when creating new entry/group to prevent data loss
Allow for 12 hour timeout to lock idle database
Multiple SSH Agent fixes
Multiple Browser Integration enhancements
Fix browser proxy application not closing properly
Add real names and Patreon supporters to about dialog
Add settings button to toolbar, Donate button, and Report a Bug button to help menu
Enhancements to release-tool to appsign intermediate build products
How to Install KeePassXC 2.3.4 in Ubuntu via Snap:
The official snap package (runs in sandbox and auto-updates itself) has been updated to version 2.3.4 for Ubuntu 16.04, Ubuntu 18.04, and higher.
The snap can be easily installed via Ubuntu Software:
Or run command in terminal to install the snap package:
snap install keepassxc
How to Install KeePassXC in Ubuntu via PPA:
The official KeePassXC PPA contains the most recent .deb packages for Ubuntu 14.04, Ubuntu 16.04, Ubuntu 18.04. With it, you can receive future updates via Software Updater.
1. Open terminal either via Ctrl+Alt+T shortcut key or by searching for ‘terminal’ from software launcher. When it opens, run command to add the PPA:
sudo add-apt-repository ppa:phoerious/keepassxc
Type your password (no asterisks feedback) when it prompts and hit Enter to continue.
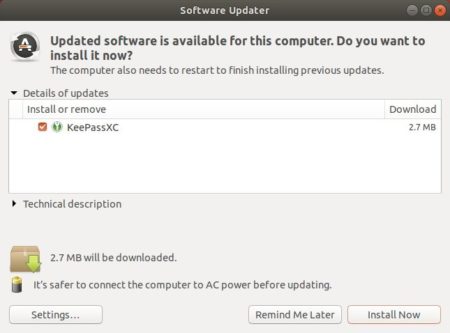
2. Then upgrade KeePassXC via Software Updater:
or run commands one by one in terminal to install the latest package:
sudo apt update

sudo apt install keepassxc
Uninstall:
To remove the PPA, open Software & Updates and navigate to Other Software tab.
To remove KeePassXC .deb package, run command in terminal:
sudo apt-get remove --autoremove keepassxc
To remove the snap package, simply click uninstall button in Ubuntu Software utility.
This tutorial is a quick fix for HP laptops that wireless does not work on Ubuntu 18.04 Gnome desktop.
On my cheap laptop HP 246 G6 I found that the wireless network does not work out-of-box after installed Ubuntu 18.04. No wifi option in system tray menu, and System Settings says ‘No Wifi adapter found‘.
This happens on many HP devices including HP 15-bs000, 15-bs100, 15g-br000, 15q-bu000, and Pavilion 15-br000, HP 280 G3, 290 G1, and more. And the reason is Ubuntu does not support RTL8723de wifi driver.
Here’s what I did to fix no wifi adapter issue in Ubuntu 18.04:
1. Reboot and go to BIOS to make sure wireless network are enabled. And plug laptop into a wired connection.
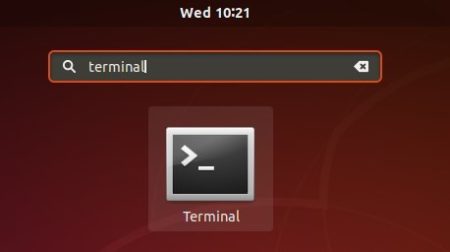
2. Open terminal either via Ctrl+Alt+T shortcut key or by searching for ‘terminal’ from software launcher.
3.1 You may first install the building tools first via command:
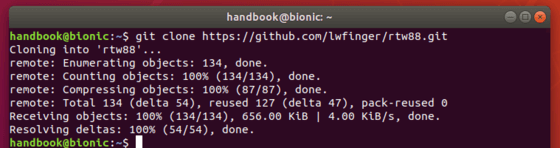
3.2 Run command to get the Realtek rtlwifi codes that includes rtl8192ce, rtl8192cu, rtl8192se, rtl8192de, rtl8188ee, rtl8192ee, rtl8723ae, rtl8723be, and rtl8821ae.:
git clone https://github.com/lwfinger/rtw88.git
4. In this terminal window, install the drivers via command:
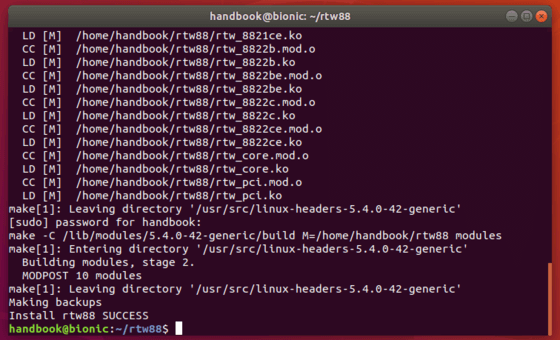
cd rtw88/ && make && sudo make install
Type your password (no asterisk feedback) when it prompts and hit Enter.
5. If the installation success, run 2 commands load the new driver:
6. If that does not work, you may remove and blacklist the broadcom drivers and restart:
sudo apt purge bcmwl-kernel-source

sudo sed -i '/blacklist bcma/ d' /etc/modprobe.d/blacklist.conf

sudo sed -i '/blacklist brcmsmac/ d' /etc/modprobe.d/blacklist.conf
In addition, (thanks to jeremy31) if you notice weak signal try command:
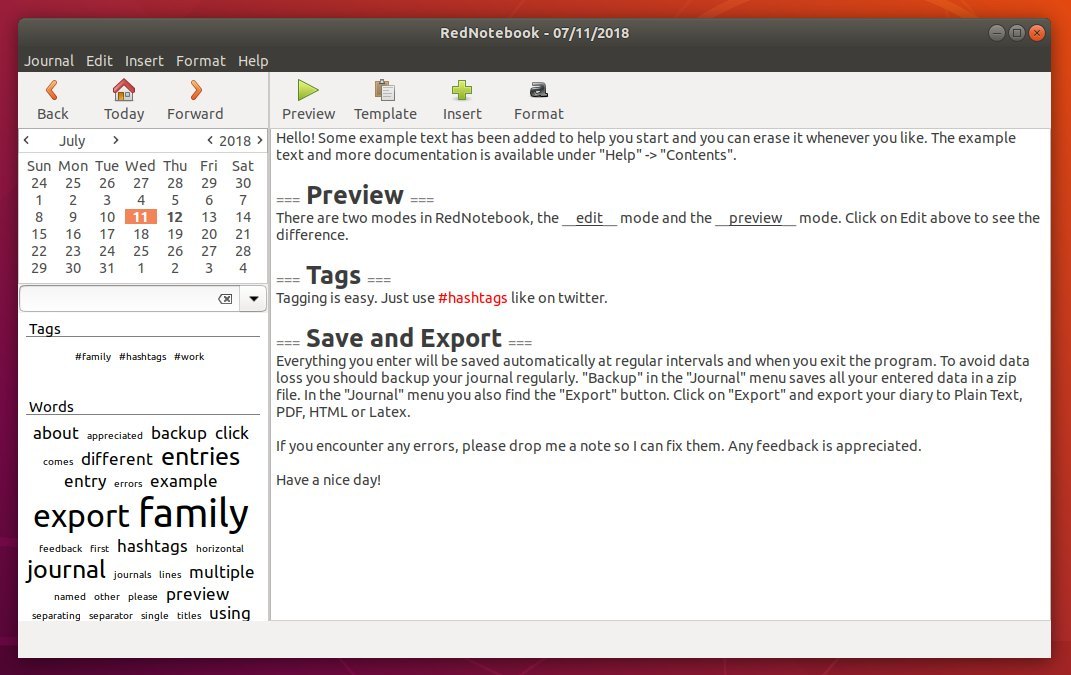
Rednotebook 2.6, a GTK+3 desktop journal software, was released recently with date format improvements and few other changes.
RedNotebook is a modern journal lets you format, tag and search your entries. You can also add pictures, links and customizable templates, spell check your notes, and export to plain text, HTML, Latex or PDF.
The otto06217’s PPA contains the most recent packages for Ubuntu 18.04 and higher, as usual GIMP 2.10.6 will be available a few days later.
1. Open terminal either via Ctrl+Alt+T keyboard shortcuts, or by searching for ‘Terminal’ from app launcher. When it opens, run command to add the PPA:
You can now install the open-source team chat Zulip desktop client easily via Snap in Ubuntu and receive future updates automatically.
Zulip is a powerful, group chat software with clients for Linux, Windows, mac OS, Android, iOS, and web UI. For Ubuntu Linux, it offers an apt repository with the latest .deb packages and appimage single executable package.
Now Zulip is available as Snap, a containerised software package designed to work securely within most Linux desktop. Snap bundles most required dependencies and auto-updates itself.
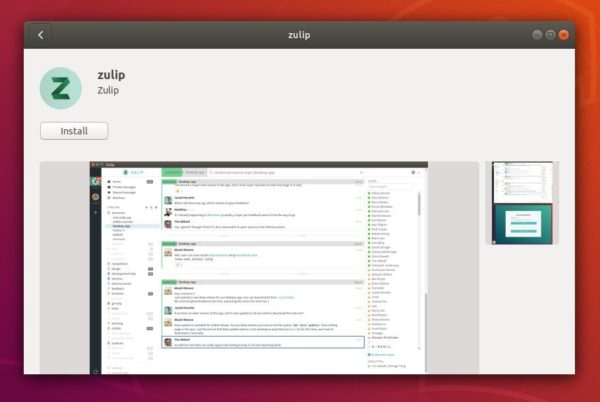
To install Zulip via snap, simply open Ubuntu Software, search for and install zulip:
For those familiar with Linux command, open terminal (Ctrl+Alt+T) and run:
snap install zulip
Once installed, open the client either from software launcher or by running command in terminal and enjoy:
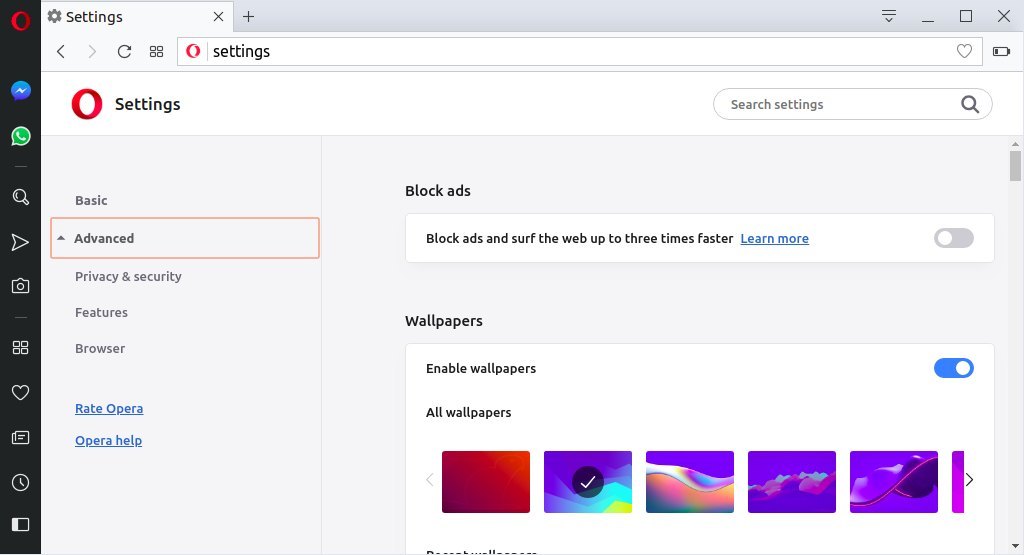
New layout of settings page options for the start page, the user interface, dark theme support, languages, downloads, system, shortcuts and for reset settings.
Better control of the pages you visit with an expanded badge pop-up menu
Add install button when visiting Chrome extensions web store.
Bookmarks bar now is enabled by default. Click the heart icon on the right side to add new bookmarks.
How to Install Opera 55 in Ubuntu:
The Opera team offers snap package (containerised software package), which is always up-to-date (auto-updates itself). And you can simply install it in Ubuntu Software:
Also traditional Opera binary package for Ubuntu is available for download at the link below:
You can make Software Updater receive future updates for the traditional Opera package by adding its official apt repository:
1. Open terminal (Ctrl+Alt+T) and run command to add the opera repository:
sudo sh -c 'echo "deb http://deb.opera.com/opera-stable/ stable non-free" >> /etc/apt/sources.list.d/opera.list'