
![]()
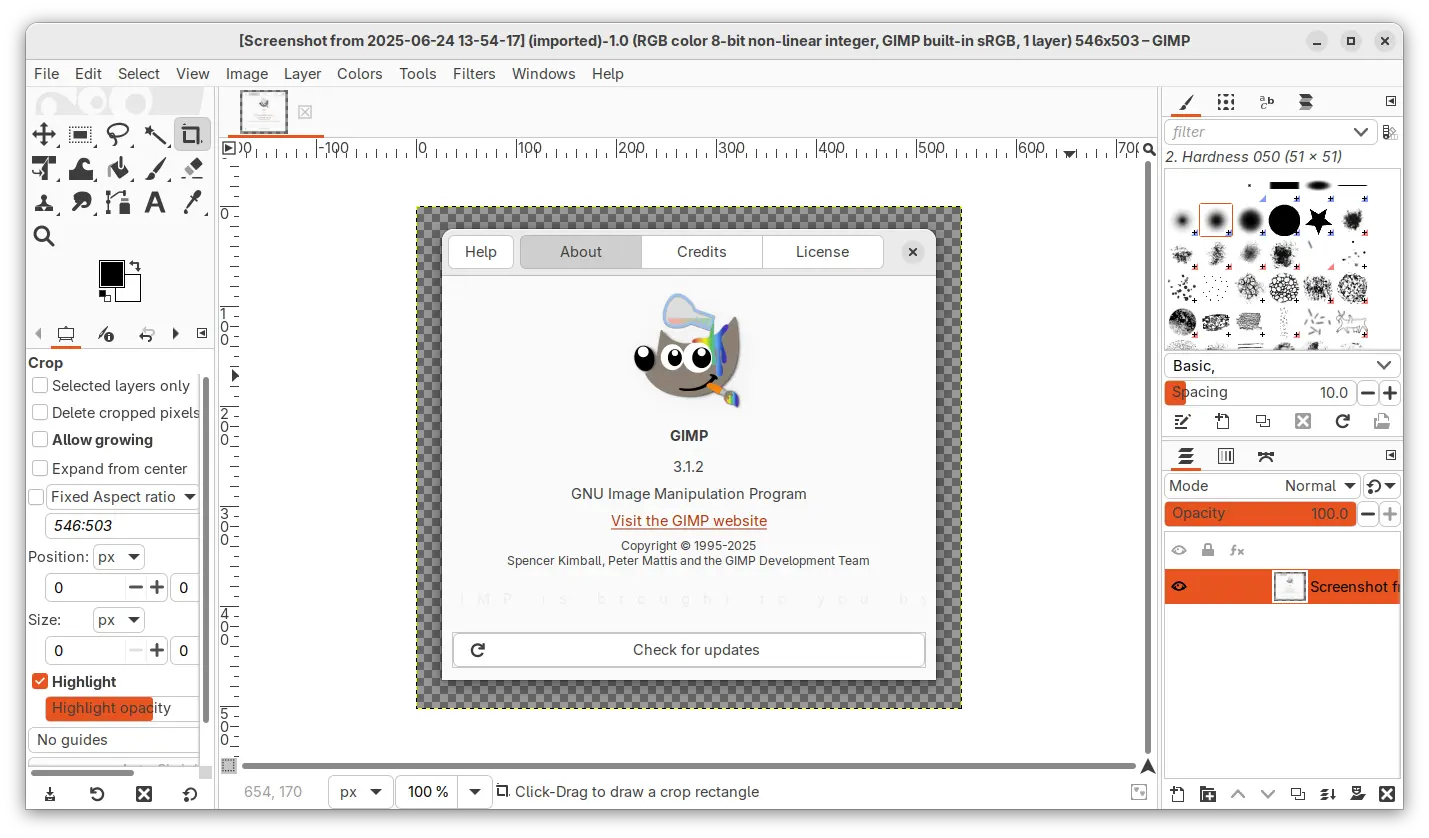
GIMP 3.1.2, the first development release for the next major GIMP 3.2, was released!
The new release of this popular image editor improved the built-in system theme, added many new file formats support, and introduced new painting mode.
News, Tutorials, Howtos for Ubuntu Linux
![]()
GIMP 3.1.2, the first development release for the next major GIMP 3.2, was released!
The new release of this popular image editor improved the built-in system theme, added many new file formats support, and introduced new painting mode.
![]()
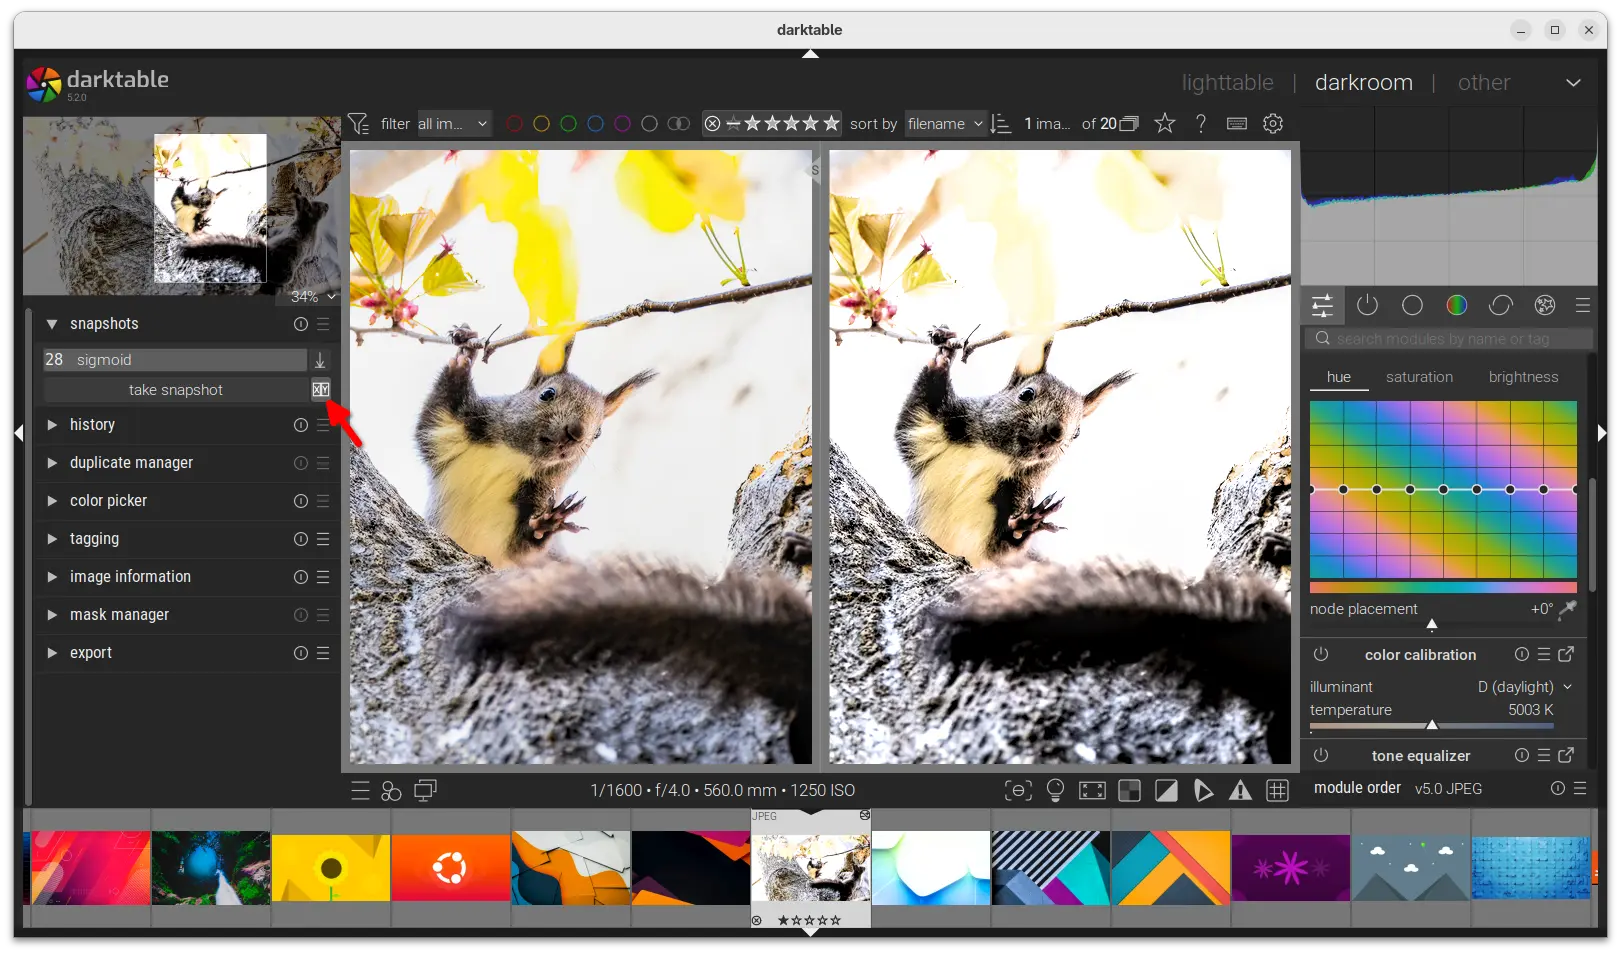
Darktable, the popular free open-source photography app and raw developer, released new 5.2.0 version few days ago!
The new release introduced side-by-side view (aka split view) to preview the different between snapshot and current images. And, it can be enabled by clicking on the “X|Y” icon next to “take snapshot” button.
![]()
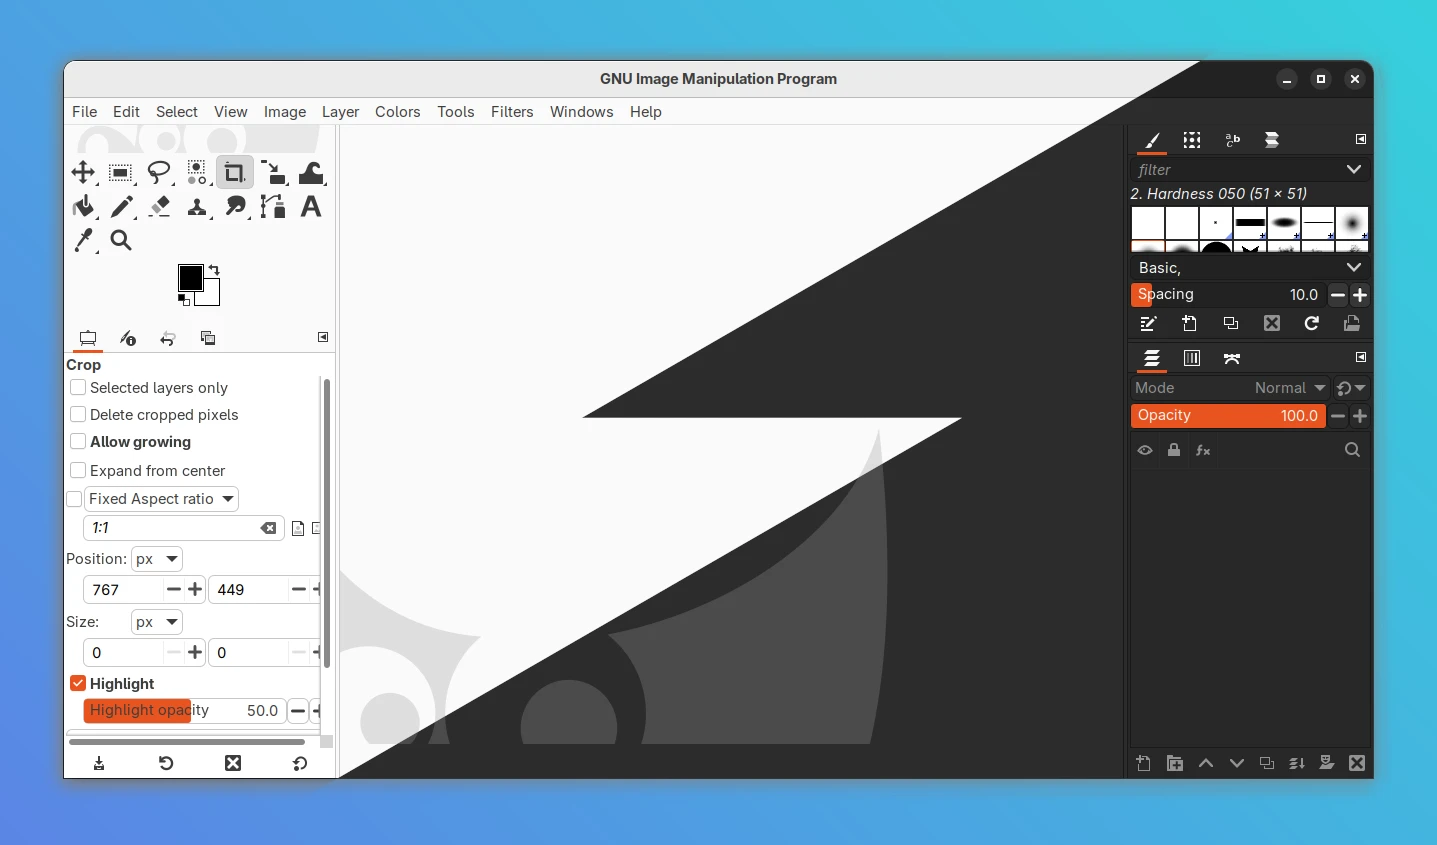
As you may know, GIMP provides official Linux packages through Flatpak and AppImage. The Flatpak package however does NOT automatically switch app color to light or dark depends on system color scheme.
That’s because Flatpak is running in sandbox environment. The sandbox isolation enhances security and makes easy to distribute newer software releases without worrying about dependency issue. However, it has limited access to host resources causing issues, including theming.
![]()
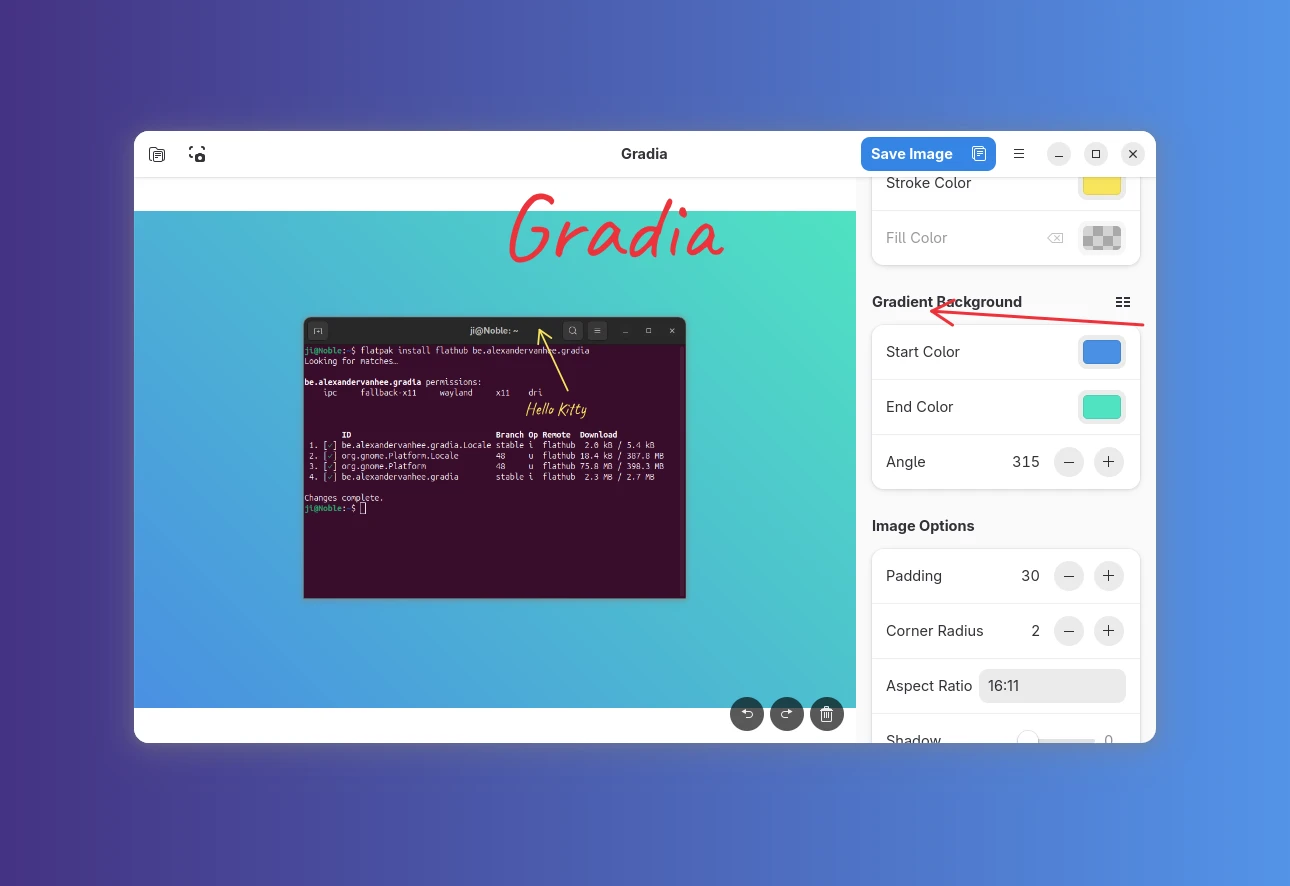
Looking for an app to quickly edit your images or screenshots for social media, blog posts, or websites? Here’s a new app to do the job in Linux Desktop.
It’s Gradia, a free and open-source tool written mostly in Python programming language, and uses GTK4 and LibAdwaita for its modern user interface that well integrated with GNOME Desktop.
![]()
GIMP 3.0.4, the second update for the major 3.0 release series of this popular image editor, is out!
The official release note is not ready at the moment of writing, though it should be available in next few days. According to the NEWS file in source code, GIMP 3.0.4 features bug-fixes, tools/plug-ins updates, and various improvements.
![]()
Pinta, the popular free open-source drawing and image editing app, released new major 3.0 release yesterday. Here are the new features and how to install guide for Ubuntu users.
Pinta 3.0 features GTK 4.0 and Libadwaita for its modern user interface that’s well integrated in recent GNOME desktop environments. It now automatically switches between light and dark depends on desktop color style, and fits well in different screen sizes with adaptive interface.
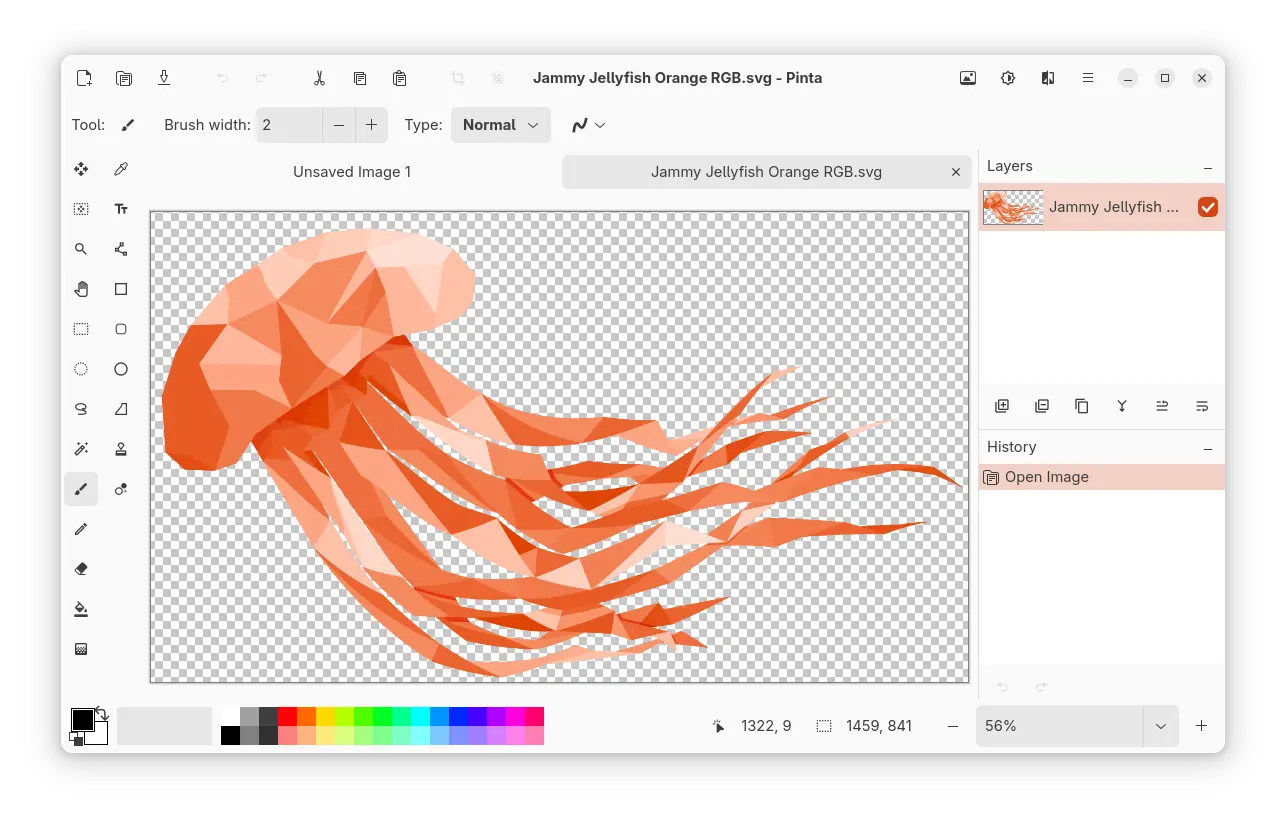
Pinta 3.0 light mode
![]()
Inkscape 1.4.2, the free open-source vector graphics editor, is out with new features and many bug-fixes.
The new v1.4.2 is the first minor release in the 1.4 release series, as v1.4.1 has been merged with 1.4.2 due to a signficant bug.
![]()
Just a week after the 3.0.0 major release, GIMP announced the first maintenance update for the 3.0 series on this Sunday.
The new image editor release fixed more than a dozen of bugs, improved the official installers, updated translations, and introduced 2 new download mirrors for users from India.

To help users switching from Adobe PhotoShop, PhotoGIMP project updated today with support for the new GIMP 3.0 image editor.
PhotoGIMP is a free open-source project that optimizes GIMP for AdobeShop users. By changing the local app data, it organised the tools and their options to be PhotoShop style, assigned keyboard shortcuts to similar to the ones in Photoshop for Windows, following Adobe’s Documentation, and added new default settings to maximize space on the canvas.
![]()
After more than 4 years of development, GIMP image editor 3.0 finally goes stable!
GIMP 3.0 is a new major release! Here are the new features and how to install guide for Ubuntu users in 3 different ways:
.deb package.

