![]()
This simple tutorial shows how to install and use Kvantum theme engine to change themes for your Qt5 and Qt6 applications in Ubuntu 20.04, Ubuntu 22.04, Ubuntu 24.04, Ubuntu 25.04, and 25.10.
GNOME Desktop uses GTK toolkit for its applications and KDE/LxQt uses Qt toolkit instead. These apps work on each other desktop environment, but may NOT look native.
To unify the look and feel, Fedora Qt developer team has QGnomePlatform, adwaita-qt, and QAdwaitaDecorations projects to make Qt apps look better in GNOME. So far, only QAdwaitaDecorations is in active development for implementing Adwaita-like window header and border for Qt apps.
For Qt app window color, buttons, and other components, Kvantum is good choice to do the job.
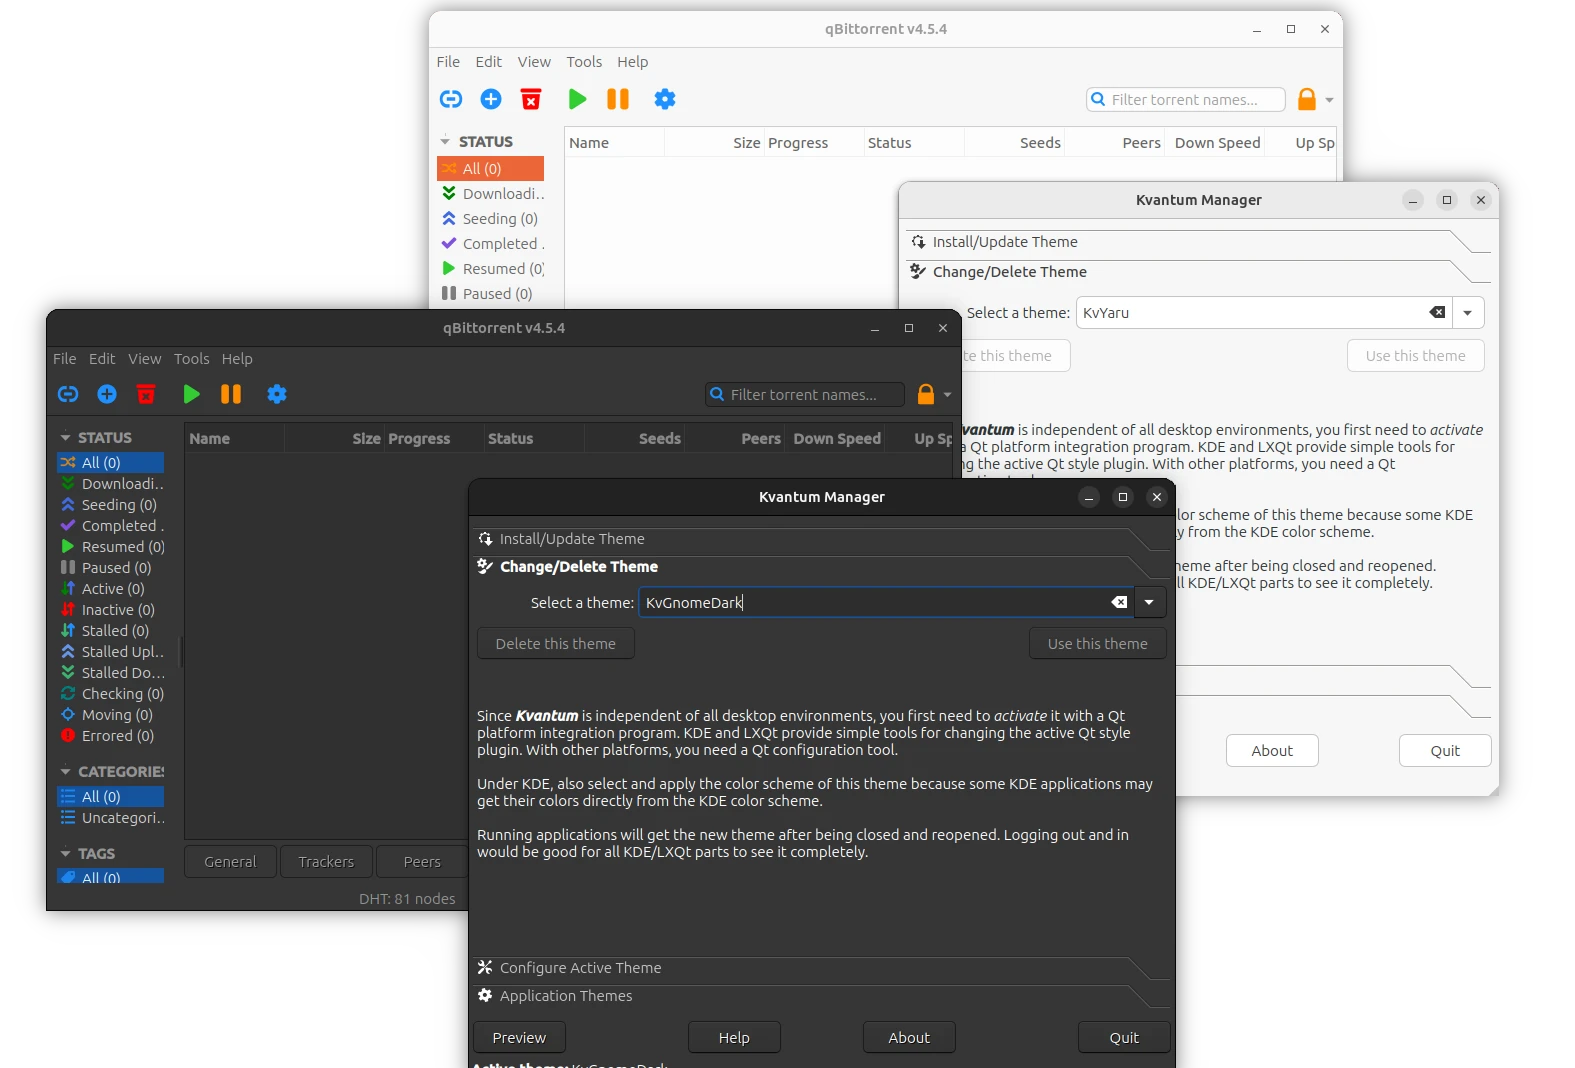
qBittorrent (Qt6) with Kvantum theme in Ubuntu