Darktable, the free open-source photography app and raw developer, released new 5.4.1 version one day ago.
This is a minor release that focuses on bug-fixes, stability improvements, as well as camera support changes and translation updates, but no new features.
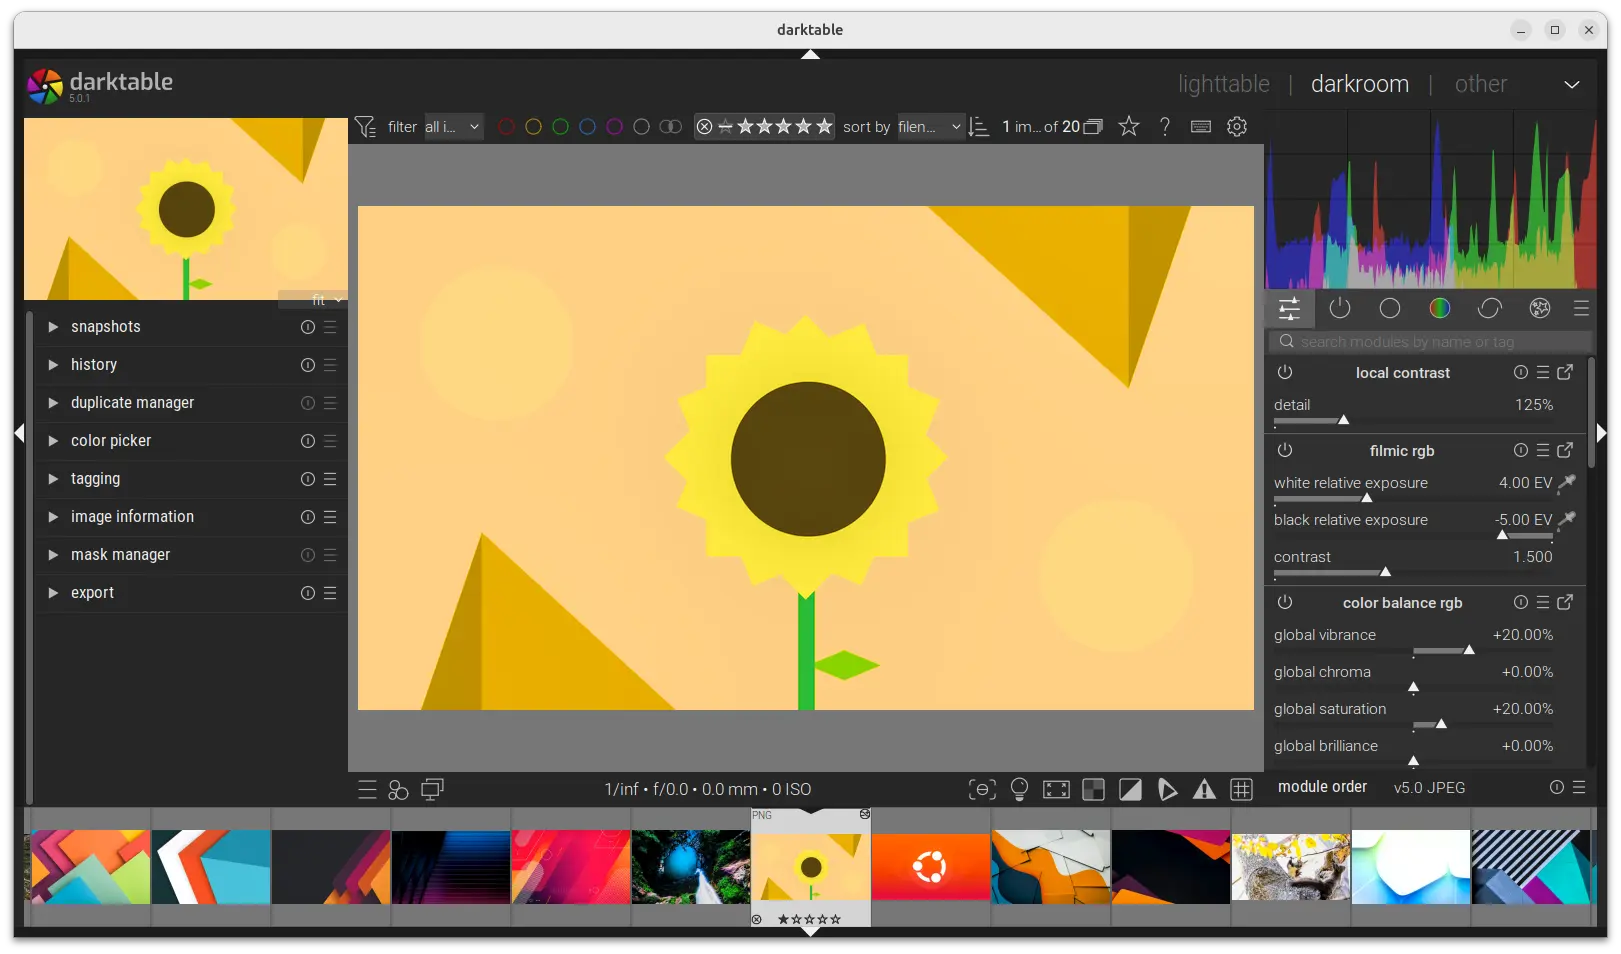
Darktable, the free open-source photography app and raw developer, released new major 5.4.0 version yesterday.
The new release of this GTK software introduced multiple workspace support. Like “user profile” feature for Firefox, user can now add custom workspaces at app start for Darktable. And, each workspace has it’s own database and configuration file.
GIMP, the popular image editing software, announced the first release candidate for the next major 3.2 version yesterday.
This is the third development release for GIMP 3.2. It introduced some new keyboard shortcuts, new and improved image formats support, API changes and UI/UX improvements.
Hugin, the free open-source panorama photo stitching and HDR merging program, release new 2025.0.0 version few days ago.
The new version of this yearly release software, introduced new GUI tool called Hugin Toolbox, which provides a graphical user interface for enfuse and simple perspective correction.
digiKam, the popular Qt-based photo management software, released new 8.8.0 version after 4 months of development.
This is probably the last release in 2025, as the developer team plans to add Qt 6.10 bundle and AI-power tools for image enhancement and management in next version for 2026.
gThumb, the Gnome image viewer, browser, and organizer application, released new 3.12.8 version in last week.
The new release of this application finally added support viewing the GPS metadata in your photo images. Meaning for photos taken by cameras or phones have location services enabled, the image viewer will show where they were taken with latitude and longitude location data.
Darktable, the popular raw image processing software, released new 4.8.1 version few days ago.
This is the first minor release for the current 4.8 release series, which contains only bug-fixes. The release fixed the issue that export without high quality sampling but with up-scaling activated, crash when using the -d imageio option, and image jump if collection is empty.
There are as well fixes for importing/exporting issues, including large image exports due to a bug in finalscale module, JPEG2000 loading issue due to unspecified color space, and empty lighttable when importing from command-line. For more, see the official release note.
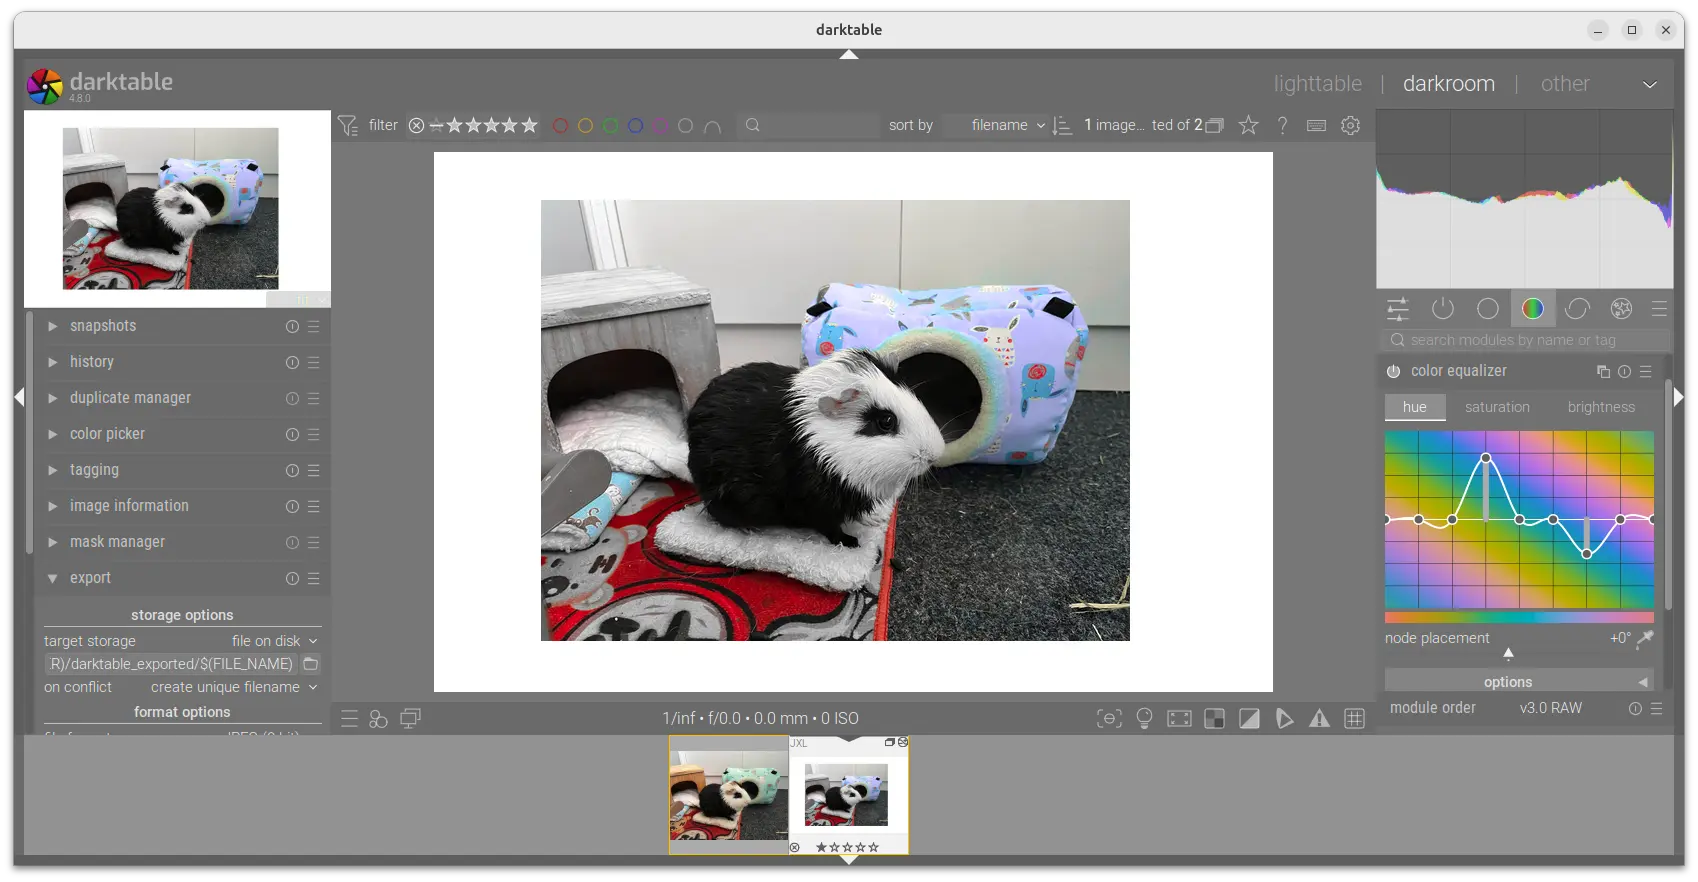
Darktable, the free open-source raw image processing software, released new 4.8.0 version this Friday!
Darktable 4.8.0 introduced a few new modules. They include the color equalizer module, allowing to control hue, lightness, and/or saturation based on colors.
There are as well new Enlarge Canvas module, allowing to add areas on top, bottom, left, and/or right of the image, and fill with different colors, or some other part of the image by using Retouch module.
By drag-and-dropping from the filmstrip to the new Overlay module, it can now add overlay on top of current image. And, the overlay can be scaled, rotated and shifted horizontally or vertically.
Darktable 4.8.0 Enlarge Canvas and Color Equalizer
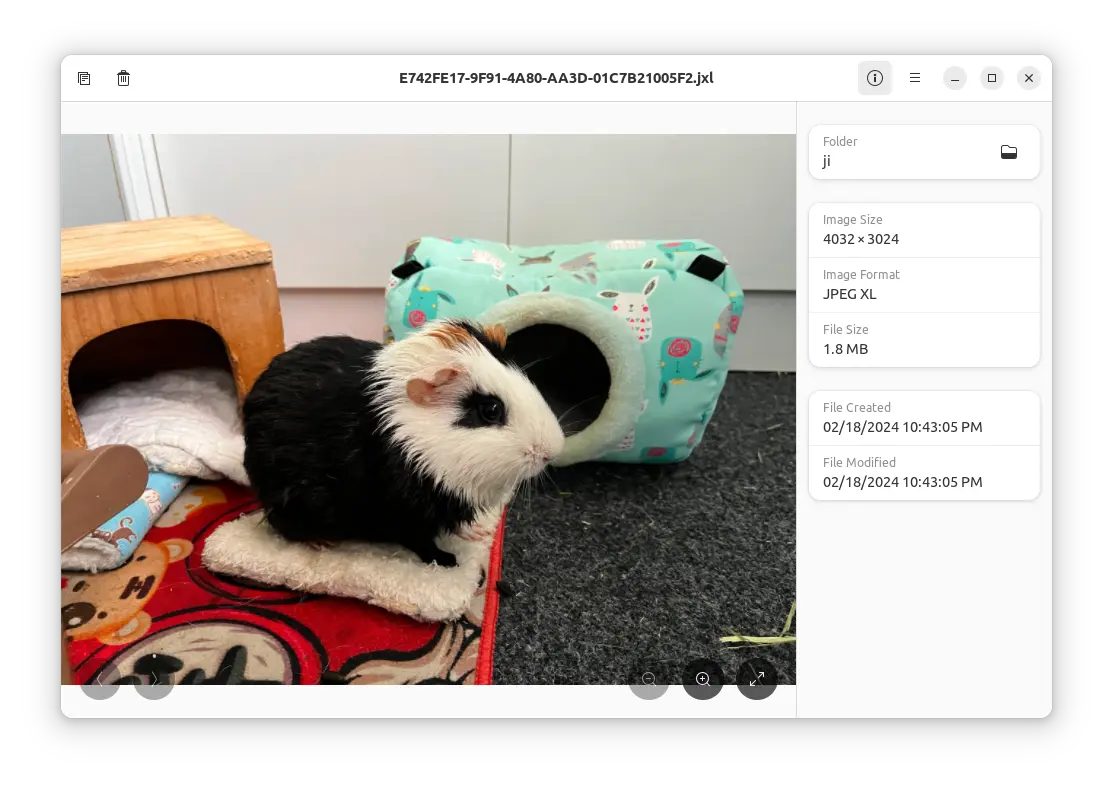
This tutorial shows how to enable .jxl file support for system image viewer, GIMP, and some other apps in Ubuntu 24.04, Ubuntu 22.04, Ubuntu 20.04, and even Ubuntu 18.04.
JPEG-XL is a new image format by JPEG committee. It supports both lossy and lossless compression, and includes features such as animation, alpha channels, layers, thumbnails, and has better compression efficiency (60% improvement) comparing to JPEG.
For encoding and decoding JPEG-XL images, there’s a free open-source libjxl library available. Ubuntu has included the library in system repository since 24.04, however lacks GdkPixbuf loader plugin until Ubuntu 24.10 (still in development so far).
Meaning system default image viewer, and many other apps do not work with .jxl file in current 3 Ubuntu LTS releases out-of-the-box.