![]()

Kodi Media Center 18.8 was released today with various fixes. Here’s how to install it in Ubuntu 16.04, Ubuntu 18.04, and Ubuntu 20.04.
Kodi 18.8 is likely to be the final release in the 18.x “Leia” series. Release highlights include:
- Fixes a severe security issue in gnutls (Linux)
- Other significant library/compatibility updates
- Gets client/server on MariaDB 10.5.4 working for Android
- Fixes video database access for Ubuntu 20.4 (search and other filtering failed)
- Fixes subtitle handling from archives
- Fixes CDDB access
- Makes minor improvements to logging and memory reporting/display
- Fixes EDLs where skip points are at the very start of a file
- Contains code improvements to fix specific events, e.g. race conditions in the EPG or “pause” on end of streams on Android
- Enables alpha blending for the video player (Windows)
- Better handles specific exceptions (Android, mostly)


How to Install Kodi 18.8 in Ubuntu:
Kodi Team PPA has made the new release packages for all current Ubuntu releases and derivatives.
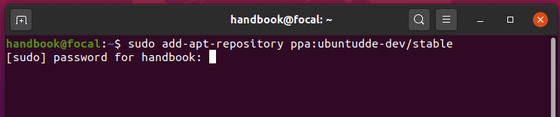
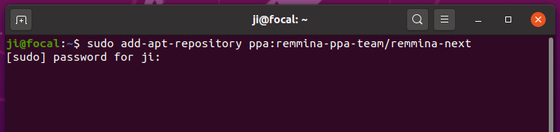
1. Open terminal either from application menu or by pressing Ctrl+Alt+T on keyboard. When it opens, run command to add the PPA:
sudo add-apt-repository ppa:team-xbmc/ppa
Type user password (no asterisk feedback) when it prompts and hit Enter to continue.


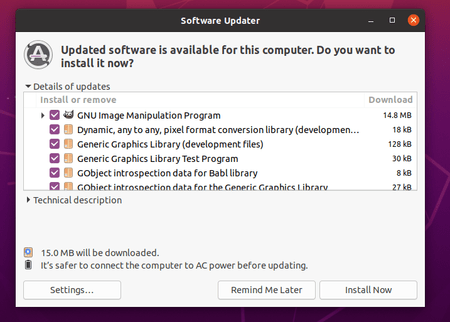
2. Then either upgrading Kodi from an existing version via Software Updater:
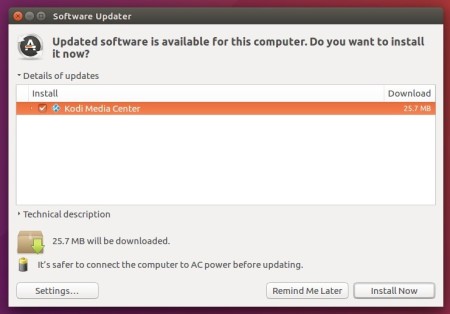

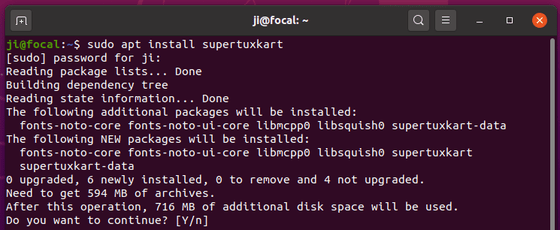
or refresh system package cache and install Kodi 18.8 via commands:
sudo apt update

sudo apt install kodi


Uninstall:
To remove the Kodi PPA repository, simply open Software & Updates -> Other Software.


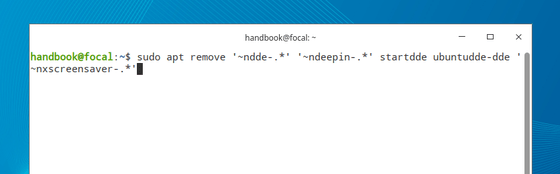
To remove Kodi, run command:
sudo apt remove --autoremove kodi kodi-data kodi-bin