![]()

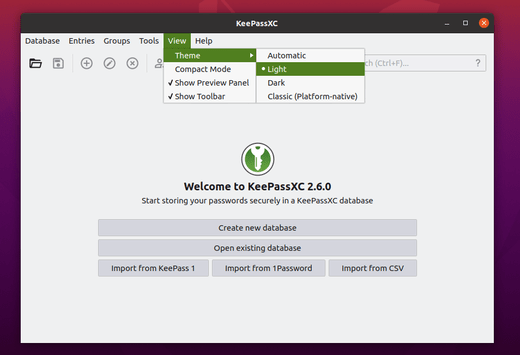
KeePassXC, a cross-platform community-driven port of the Windows application “Keepass Password Safe”, released version 2.6.0 a few days ago.
KeePassXC 2.6.0 release highlights include:
- Custom Light and Dark themes
- Compact mode to use classic Group and Entry line height
- New monochrome tray icons
- View menu to quickly switch themes, compact mode, and toggle UI elements
- Save Database Backup feature
- Adds autostart option.
- And many other new features, improvements. See here for details.

How to Install KeePassXC in Ubuntu:
The official upstream PPA has made the packages of the password manager for Ubuntu 16.04, Ubuntu 18.04, Ubuntu 19.10, Ubuntu 20.04, and derivatives.
1.) Open terminal either by pressing Ctrl+Alt+T on keyboard, or by searching for ‘terminal’ from system application launcher.
When terminal opens, run command to add the PPA:
sudo add-apt-repository ppa:phoerious/keepassxc
Type your password (no asterisk feedback) when it prompts and hit Enter to continue.


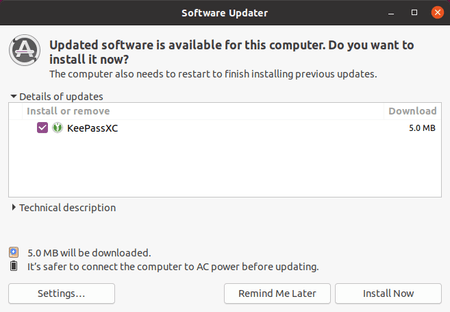
2.) Then either update the software package using Software Updater

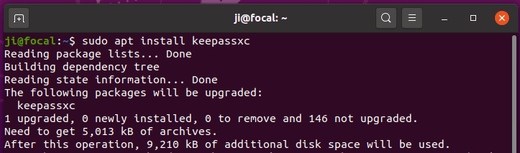
or run command to install the software:
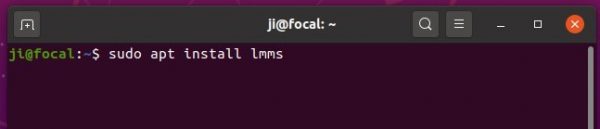
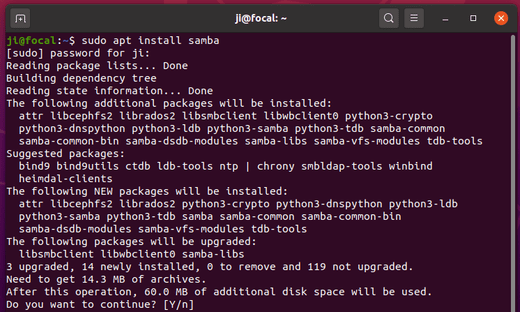
sudo apt update && sudo apt install keepassxc

Uninstall:
You can run the PPA repository simply by running command in terminal:
sudo add-apt-repository --remove ppa:phoerious/keepassxc
And if you want, remove keepassxc password manger via command:
sudo apt remove --autoremove keepassxc