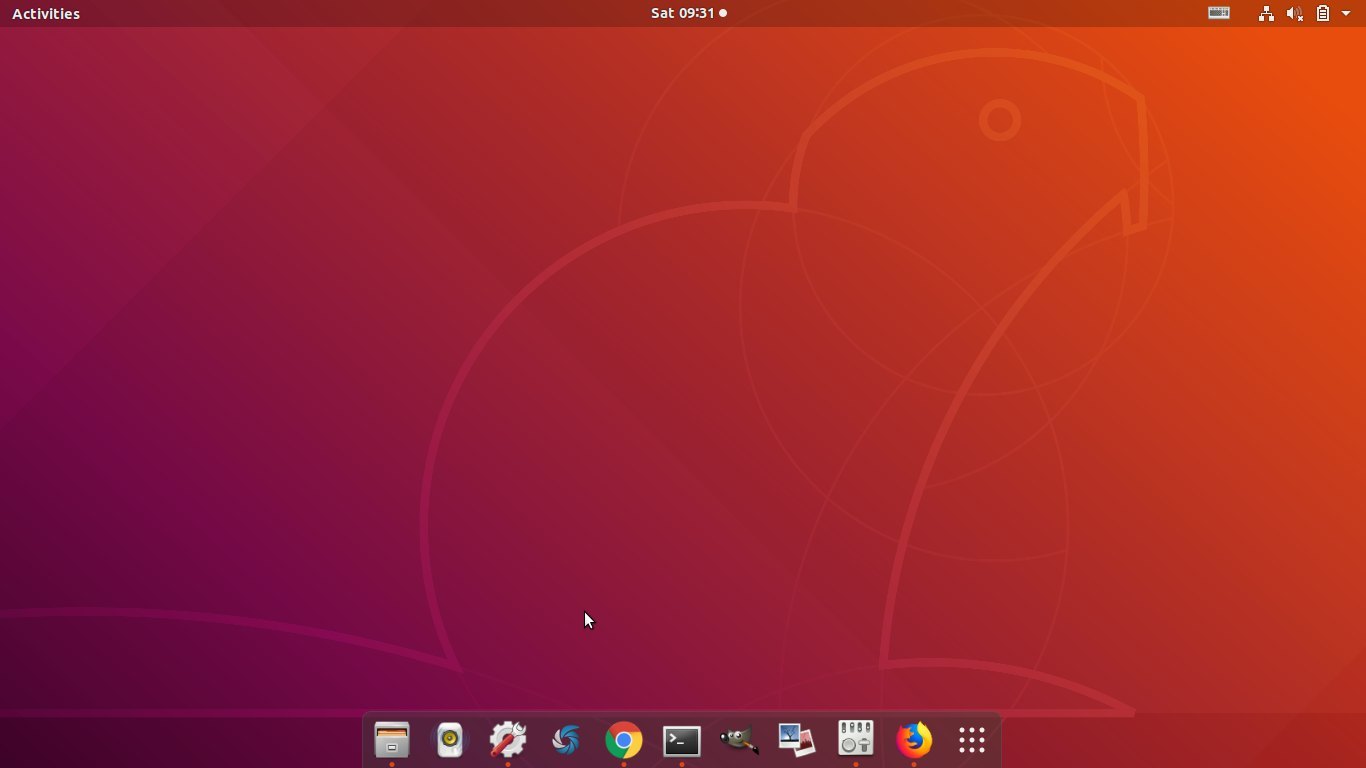
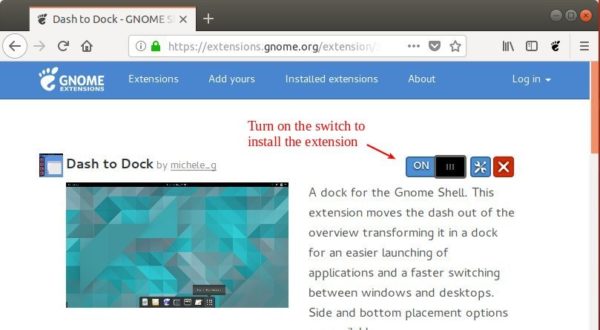
For those who want to change the look and feel of the left panel “Ubuntu Dock” in Ubuntu 18.04, Dash to Dock is a Gnome extension that replaces left panel with Mac OS style Dock application launcher.
Dash to Dock is a popular Gnome extension that Ubuntu Dock (the default left panel) is forked from. With it, you can get Ubuntu 18.04 desktop looks like:
1. First time to install a Gnome extension? Then you need to install an add-on for your web browser:
Opera web browser 53 stable was released earlier today with improvements to tab’s display and the address bar.
Opera 53 optimized and made the tabs’ favicons more visible when a plenty of tabs are open. And click on a tab will make it more visible and easier to manage.
Also there’s some fresh, sharpened coloring done to the address bar.
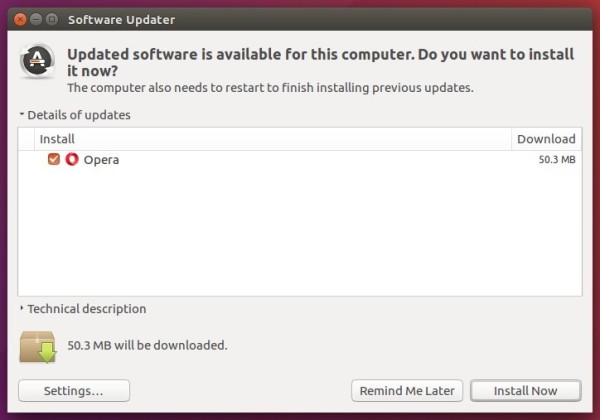
How to Install Opera 53 in Ubuntu:
The opera website offers official .deb binaries for Ubuntu Linux, available for download at the link below:
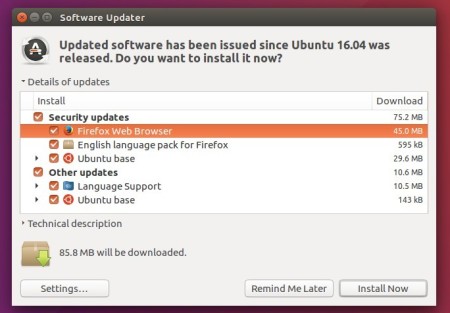
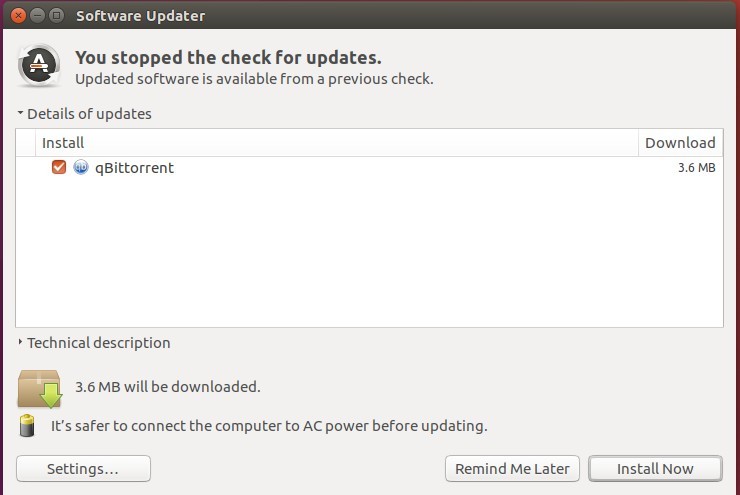
If you have a previous release installed, and enabled the official Opera Linux repository, upgrade it via Software Updater:
To manually add the Opera for Linux repository, open terminal via Ctrl+Alt+T or from app launcher, when it opens, run commands:
1. Add the opera repository:
sudo sh -c 'echo "deb http://deb.opera.com/opera-stable/ stable non-free" >> /etc/apt/sources.list.d/opera.list'
Mozilla Firefox 60 was released a few hours ago with new enterprise features, Web Authentication / YubiKey support, and new tab enhancements.
“Firefox 60 offers something for everyone and a little something extra for everyone who deploys Firefox in an enterprise environment. This release includes changes that give you more content and more ways to customize your New Tab/Firefox Home. It also introduces support for the Web Authentication API, which means you can log in to websites in Firefox with USB tokens like YubiKey.”
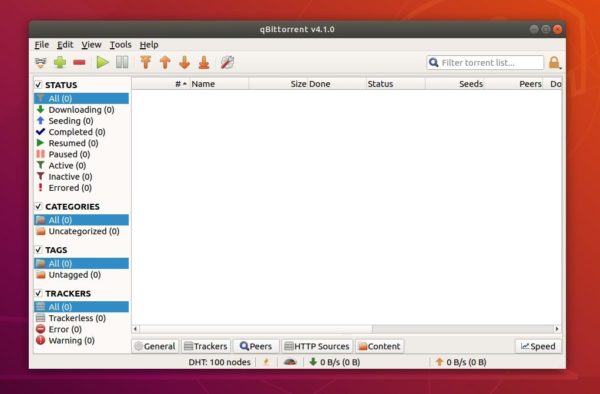
Transmission, the default BitTorrent client, reached the 2.94 release a few days ago. Now you can install it in Ubuntu 16.04, Ubuntu 17.10, Ubuntu 18.04 easily via PPA.
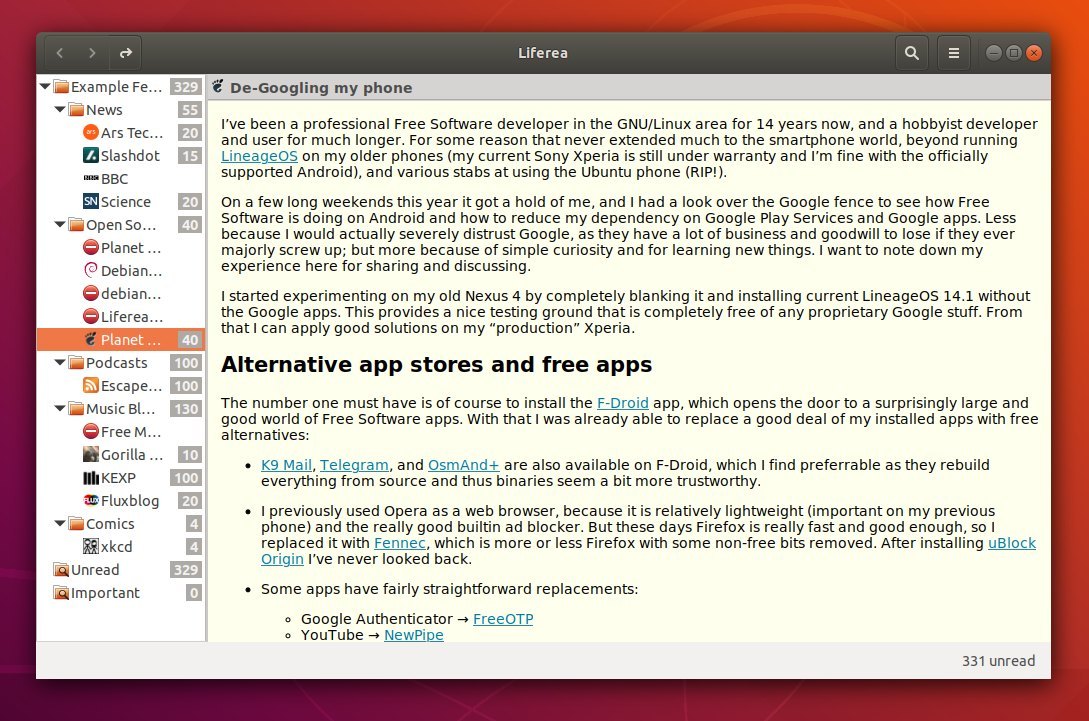
The Liferea feed reader reached the 1.12.3 release earlier today with various bug fixes. Here’s how to install it in Ubuntu 18.04, Ubuntu 17.10, Ubuntu 16.04.
“Today sees a new 1.12 release which addresses some long-standing user concerns. One being accidentally marking all your headlines as read, we have no a confirmation dialog. Another issue addressed is that of custom download tools. The list provided is not always sufficient so we now provide a CLI command you can enter to use you favorite downloader. A lot of refactoring also allowed us to provide a GTK headerbar plugin for all fans of GNOME style window decorations.”
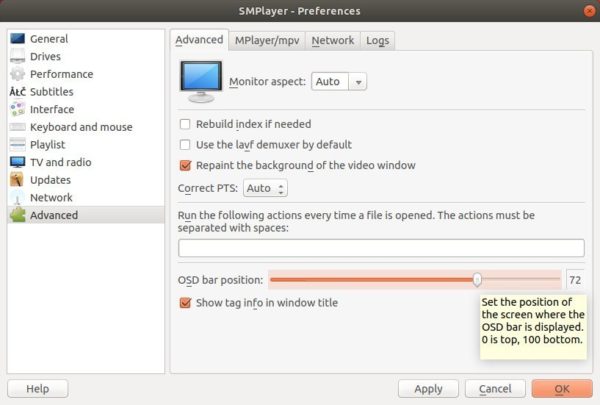
SMPlayer media player 18.4.0 was released a few days ago with new feature to change the position of OSD bar.
Other than that, the time displayed by a tooltip when the mouse is over the seekbar is now much more accurate. And now it’s possible to turn off the use of the system native file dialog in Preferences -> Interface.
How to Install SMPlayer 18.4 in Ubuntu:
For Ubuntu 14.04, Ubuntu 16.04, Ubuntu 17.10, Ubuntu 18.04, and derivatives, do following steps to install or upgrade SMPlayer via its PPA repository.
1. Search for and launch “terminal” from application launcher. When it opens, run command:
sudo add-apt-repository ppa:rvm/smplayer
Input your password (no visual feedback while typing) when it asks and hit Enter.
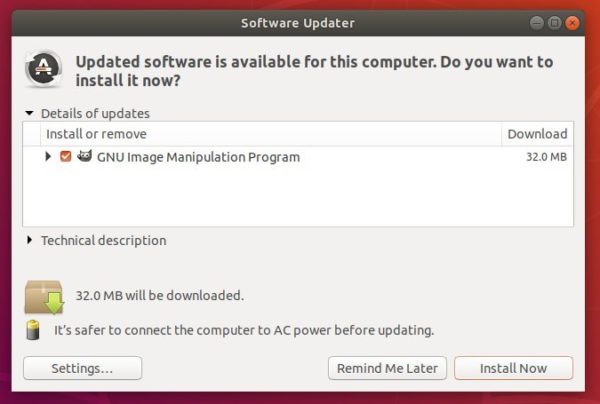
2. Then upgrade SMPlayer using Software Updater (or Update Manager):
or run commands in terminal to install (or upgrade) the media player:
HPLIP 3.18.4, an HP developed Linux drivers for HP inkjet and laser based printers, was released recently with Ubuntu 18.04 beta support and new printers support.
HPLIP 3.18.4 adds support for following new devices:
HP LaserJet Pro MFP M28a
HP LaserJet Pro MFP M29a
HP LaserJet Pro MFP M30a
HP LaserJet Pro MFP M31a
HP LaserJet Pro MFP M30c
HP LaserJet Pro MFP M31c
HP LaserJet Pro MFP M28w
HP LaserJet Pro MFP M29w
HP LaserJet Pro MFP M30w
HP LaserJet Pro MFP M31w
HP LaserJet Pro MFP M30cw
HP LaserJet Pro MFP M31cw
HP LaserJet Pro M14a
HP LaserJet Pro M15a
HP LaserJet Pro M16a
HP LaserJet Pro M17a
HP LaserJet Pro M14c
HP LaserJet Pro M17c
HP LaserJet Pro M14w
HP LaserJet Pro M15w
HP LaserJet Pro M16w
HP LaserJet Pro M17w
HP LaserJet Pro M14cw
HP LaserJet Pro M17cw
HPLIP 3.18.4 also adds support for Ubuntu 18.04, Debian 9.2, 9.3, and 9.4.
Download / Install HPLIP 3.18.4:
To install the software, download the package “hplip-3.18.4.run” from the link below:
Then open terminal via Ctrl+Alt+T or search for “terminal” from app launcher. When it opens, run command:
cd ~/Downloads/ && chmod +x hplip-3.18.4.run && ./hplip-3.18.4.run
Input your password (no visual feedback while typing) when it prompts and hit Enter.
Then follow the terminal outputs, answer some questions to build and install HPLIP on your system. When everything is done, plug/re-plug your printers and enjoy!
GIMP 2.10, a new major release of the most popular Linux image editing software, was announced a day ago with huge list of changes.
The most notable changes in GIMP 2.10 include:
Nearly fully ported to GEGL, allowing high bit depth processing, multi-threaded and hardware accelerated pixel processing, and more.
Color management is a core feature now, most widgets and preview areas are color-managed.
Many improved tools, and several new and exciting tools, such as the Warp transform, the Unified transform and the Handle transform tools.
On-canvas preview for all filters ported to GEGL.
Improved digital painting with canvas rotation and flipping, symmetry MyPaint brush support…
Support for several new image formats added (OpenEXR, RGBE, WebP, HGT), as well as improved support for many existing formats (in particular more robust PSD importing).
Metadata viewing and editing for Exif, XMP, IPTC, and DICOM.
Basic HiDPI support: automatic or user-selected icon size.
New themes for GIMP (Light, Gray, Dark, and System) and new symbolic icons meant to somewhat dim the environment and shift the focus towards content.
And more, better, more, and even more awesome! See the release note.
How to Install GIMP 2.10 via PPA in Ubuntu:
The new release has been made into PPA repository for Ubuntu 18.04, Ubuntu 17.10.
Ubuntu 16.04 is not supported at the moment due to inextricably Glib dependencies.
1. Open terminal either via Ctrl+Alt+T keyboard shortcuts, or by searching for ‘Terminal’ from app launcher. When it opens, run command to add the PPA: