
MuPDF, a lightweight PDF, XPS, and E-book viewer, reached 1.12.0 release recently. Here’s how to install it in Ubuntu 16.04, Ubuntu 17.04, Ubuntu 17.10, and their derivatives.
MuPDF 1.12.0 release highlights:
- LCMS2 library for color management.
- CMYK rendering with overprint simulation.
- Spot color rendering.
- Reworked structured text API.
- Faster text searching.
- New semantic XHTML output format.
- New layout preserving HTML output format.
- Improved non-AA rendering with new scan converter.
- Improved support for LARGEFILE and TIFF
- Add PCLm, and PSD output.
- New “mutool trace” tool.
- New “mutool sign” tool (work in progress).
- And lots of bug fixes, See NEWS for details.
How to Install MuPDF 1.12.0 in Ubuntu / Linux Mint:
Besides building the tool from source, there’s an unofficial PPA with the packages for Ubuntu 16.04, Ubuntu 17.04, Ubuntu 17.10, and their derivatives.
1. Open terminal by pressing Ctrl+Alt+T or searching for “Terminal” from start menu. When it opens, run command to add the PPA:
sudo add-apt-repository ppa:ubuntuhandbook1/apps
Type in password (no visual feedback due to security reason) when it asks and hit Enter.


2. Then install mupdf and mupdf-tools packages either via Synaptic Package Manager or by running following commands in terminal:
sudo apt-get update

sudo apt-get install mupdf mupdf-tools
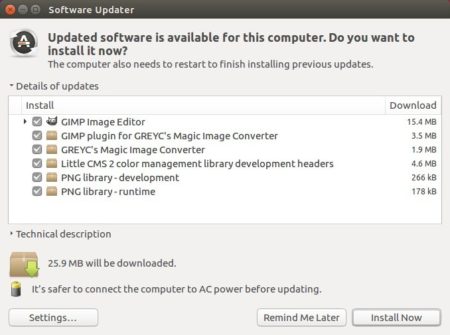
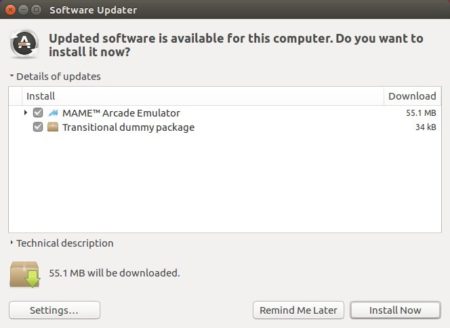
If you have a previous release installed, simply launch Software Updater to upgrade the tool after checking for updates.
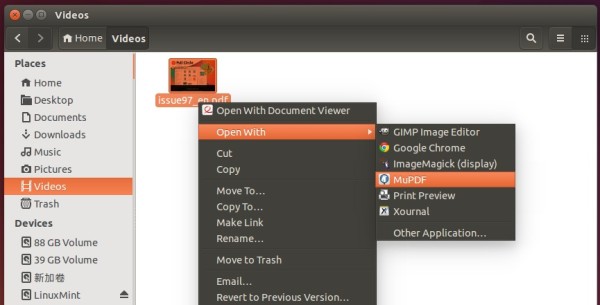
To use the PDF/XPS viewer, right-click on your file and select open with MuPDF. You can also set MuPDF as default in the Properties window.

Uninstall:
To restore MuPDF to the stock version available in your Ubuntu’s main archive, run command in terminal to purge the PPA:
sudo apt-get install ppa-purge && sudo ppa-purge ppa:ubuntuhandbook1/apps