![]()

Prefer installing Chromium web browser via deb over the snap package? Linux Mint 20 now includes the browser and keeps it updated in its own repository for both Ubuntu based and LMDE editions.
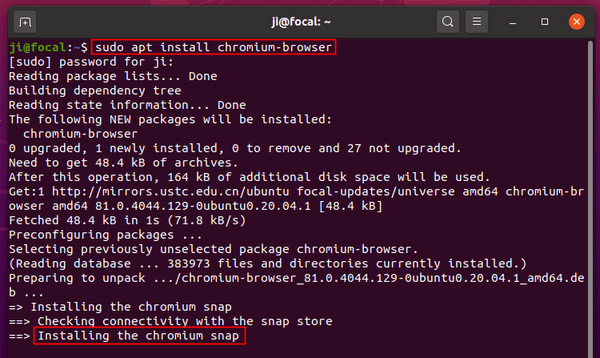
Since Ubuntu 20.04, chromium browser in the main repository is a dummy package. It’s redirected to the SNAP (containerized software package) when you trying to install it.

The Linux Mint team argued against this change and removed the package from its main repositories.
When it starts replacing packages for no good reason though, when it starts harming our interaction with upstream projects and software vendors and reducing our choice, it becomes a threat.
Now the Chromium browser is back to the official repositories for both Linux Mint and LMDE. And it’s a deb package built by the Linux Mint team.
How to Install Chromium Deb Package in Ubuntu 20.04:
Though there’s already an Ubuntu PPA that maintains the deb package, the one from Linux Mint is available for choice:
Just click the button below, download the deb package, install it and you’re done!
Note: For Ubuntu grab the package with “ulyana” in filename. For Debian download the one with “debbie” in filename.


Add the Linux Mint repository & receive updates:
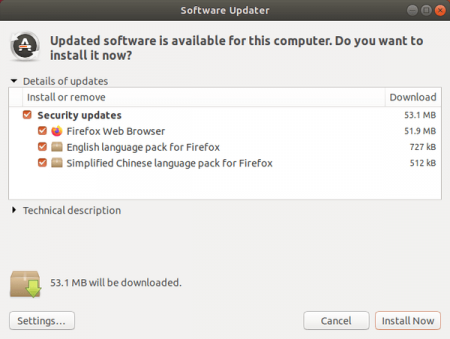
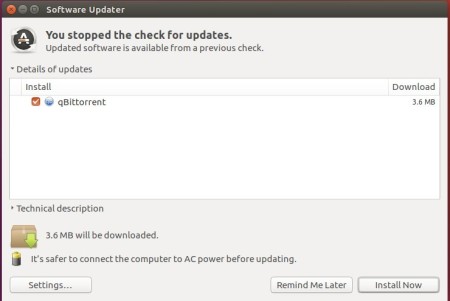
You can add the Linux Mint repository, so you’re able to receive the package updates through Software Updater.
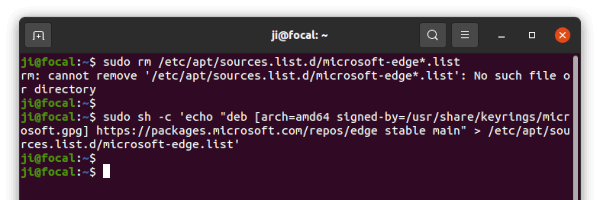
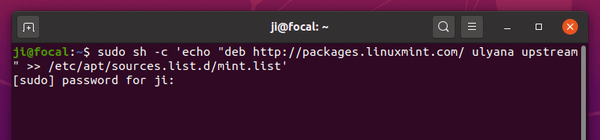
1. Open terminal (Ctrl+Alt+T) and run command to add the Linux Mint 20 upstream repository:
sudo sh -c 'echo "deb http://packages.linuxmint.com ulyana upstream" >> /etc/apt/sources.list.d/mint.list'

2. Download and click install the key (its “linuxmint-keyring_2016.05.26_all.deb” so far):
3. Set the priority to make Ubuntu only install chromium from Linux Mint repository.
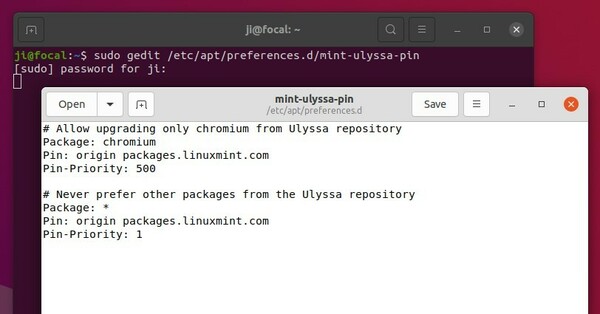
Run command to create and open the configuration file in text editor:
sudo gedit /etc/apt/preferences.d/mint-ulyssa-pin
When it opens, paste below lines and save the file.
# Allow upgrading only chromium from Ulyssa repository
Package: chromium
Pin: origin packages.linuxmint.com
Pin-Priority: 500

# Never prefer other packages from the Ulyssa repository
Package: *
Pin: origin packages.linuxmint.com
Pin-Priority: 1

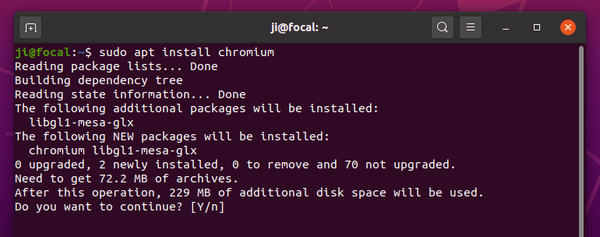
4. Finally check updates and install the web browser:
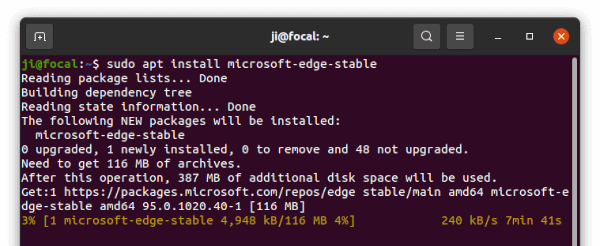
sudo apt update

sudo apt install chromium
Note the package is chromium rather than chromium-browser.

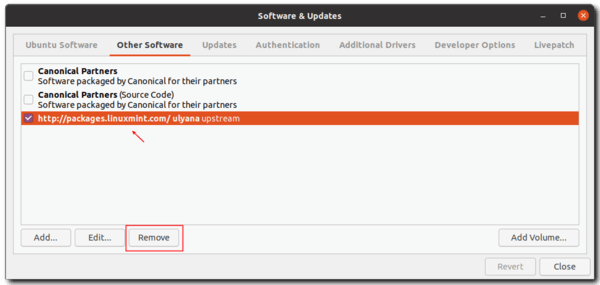
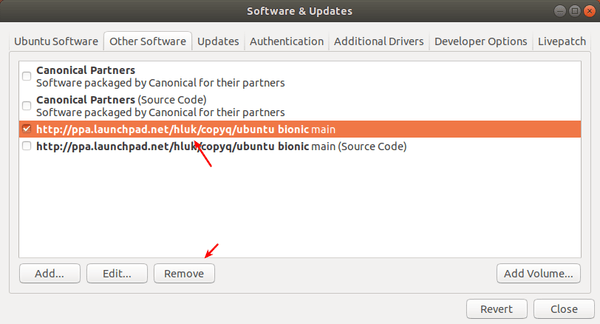
To remove Linux Mint repository:
Simply go to Software & Updates -> Other Software tab and remove the repository line.