HPLIP 3.19.8, HP developed printer and scanner drivers for Linux, was released today with new devices and new Linux Distro’s support.
HPLIP 3.19.8 add following new printers and scanners support:
- HP DesignJet T1530 Postscript
- HP DesignJet T2530 Postscript
- HP DesignJet T930 Postscript
- HP DesignJet T1600 Postscript Printer
- HP DesignJet T1600dr Postscript Printer
- HP DesignJet T2600 Postscript MFP
- HP LaserJet Pro MFP M329dn
- HP LaserJet Pro MFP M329dw
- HP LaserJet Pro M305d
- HP LaserJet Pro M304a
- HP LaserJet Pro M305dn
- HP LaserJet Pro M305dw
It also added support for following new Distro’s: OpenSuse 15.1, Debian 9.9, Debian 10, Manjaro 18.0.4, Linux Mint 19.2, RHEL 8.0.
1. To install the software, download the package “hplip-3.19.8.run” from the link below:
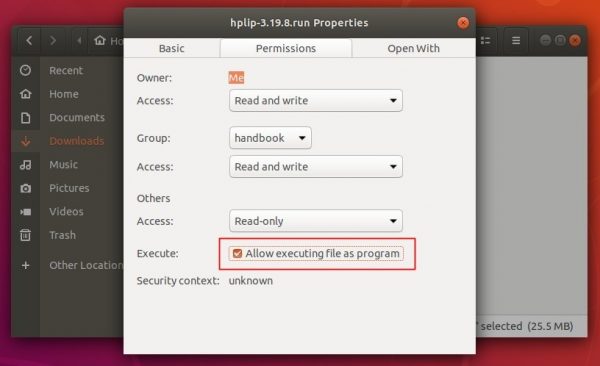
2. Then make the downloaded file executable from its Properties dialog > Permissions tab:

3. Finally open terminal either via Ctrl+Alt+T or search for “terminal” from app launcher. When it opens, run command to start installing it:
./Downloads/hplip-3.19.8.run
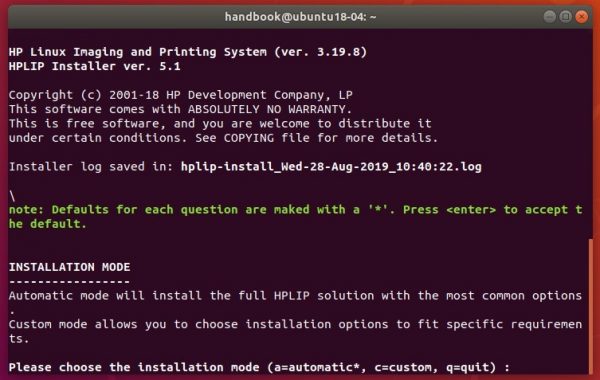

4. Follow the terminal prompts, answer some questions to build and install HPLIP on your system. When everything is done, plug/re-plug your printers and enjoy!