![]()
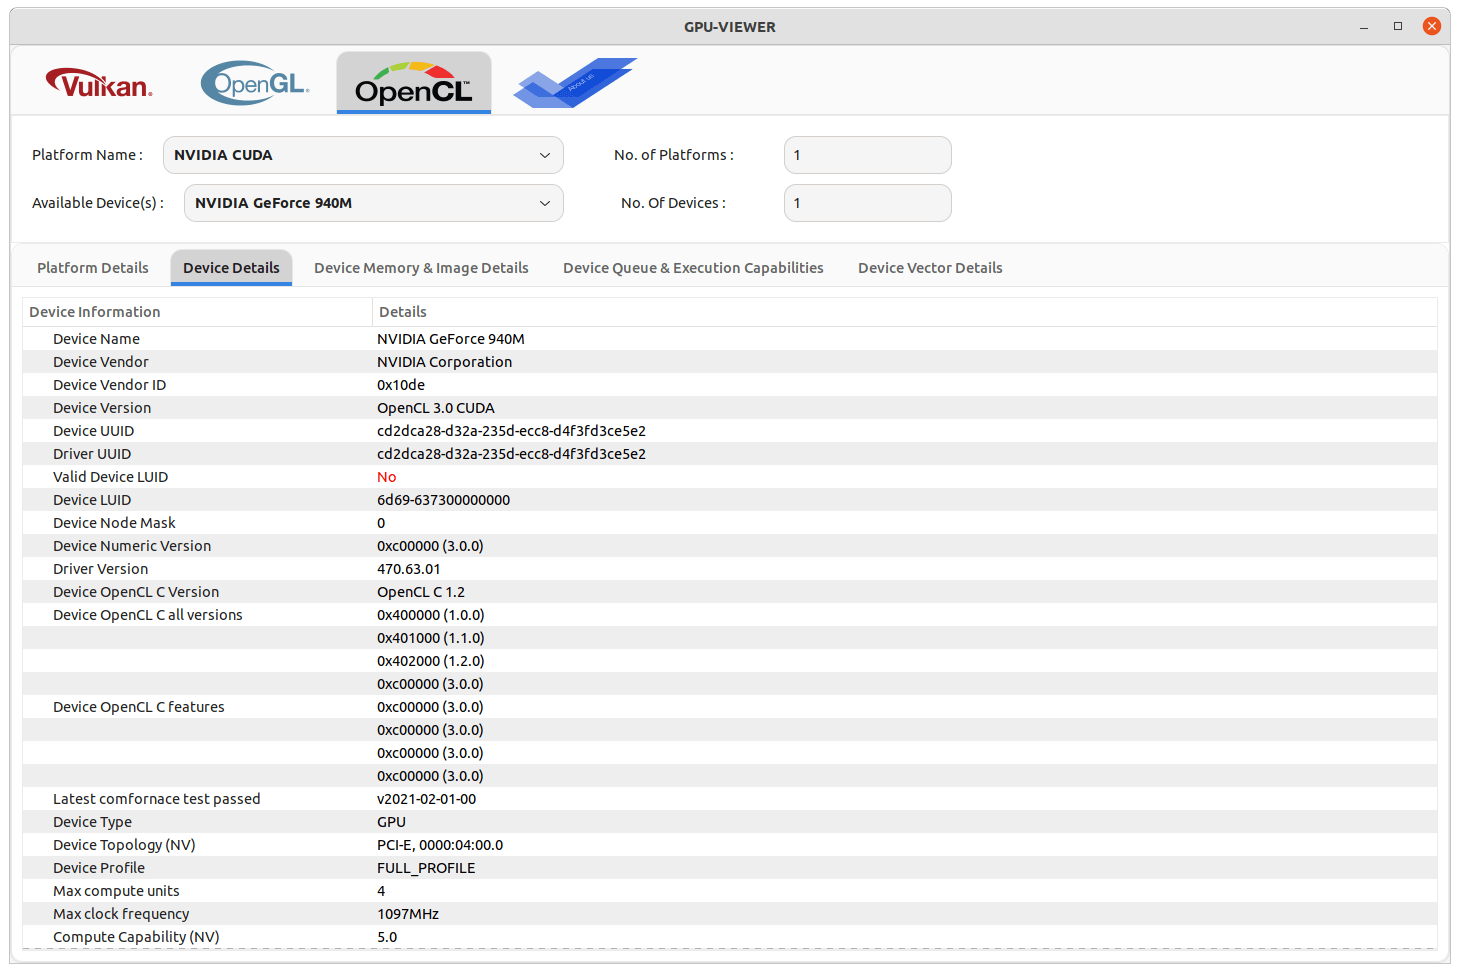
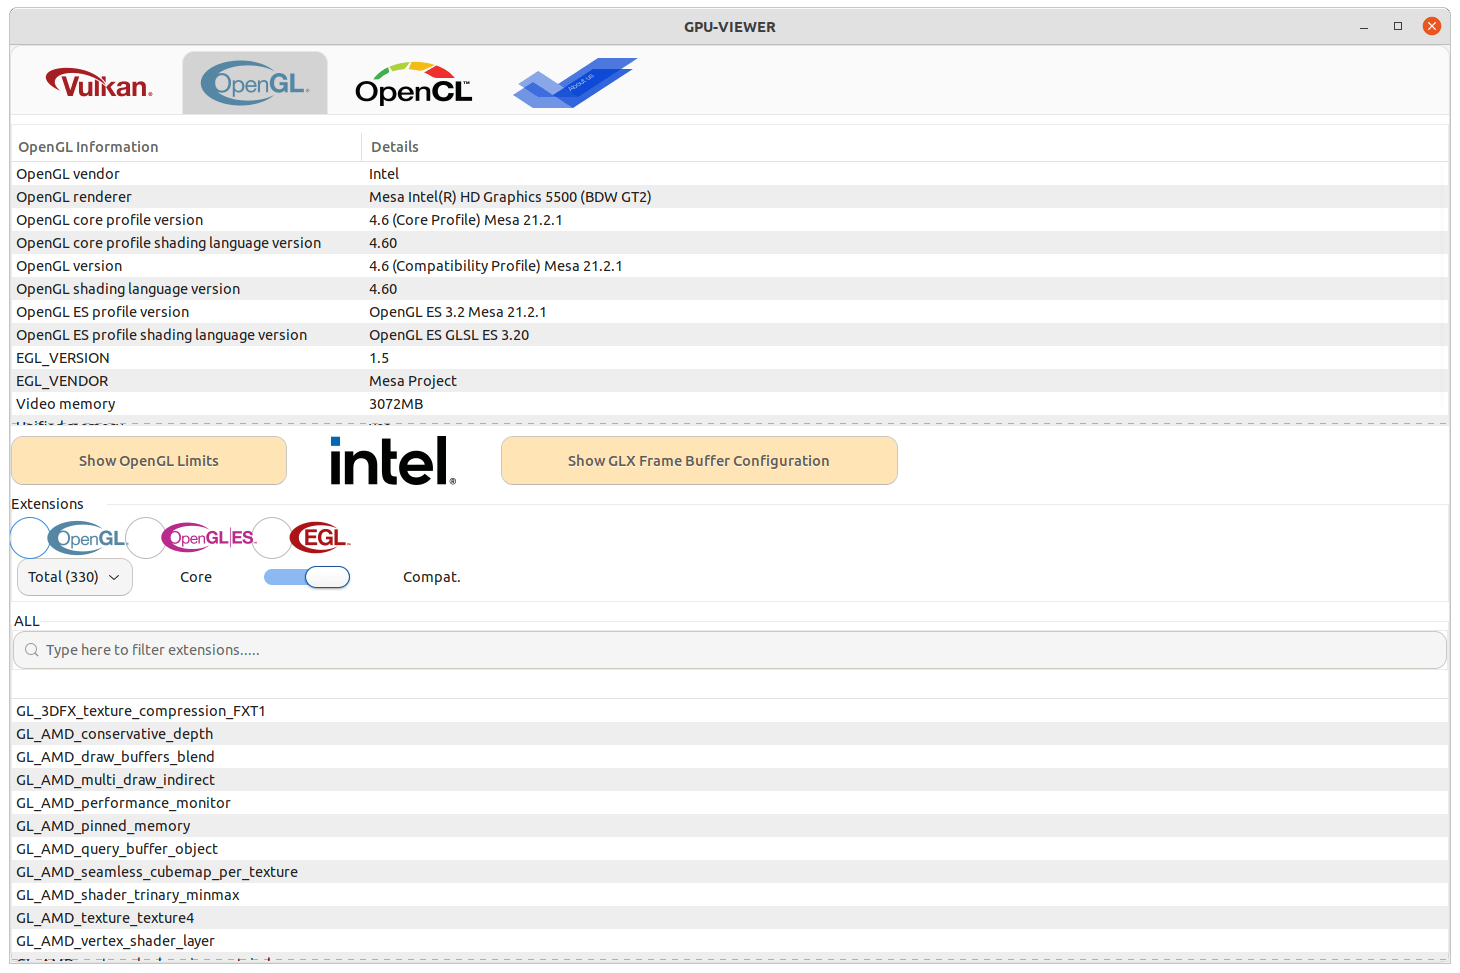
GPU-Viewer is graphical tool to show the detailed information about OpenGL, Vulkan, and/or OpenCL graphics libraries.
Without struggling with glxinfo, vulkaninfo and clinfo command line tools, the GTK+3 tool provides a graphical front-end that shows all the important details.
There is no hard OpenGL Programming involved, until glxinfo, vulkaninfo and clinfo works the GPU-viewer will also work.
GPU-Viewer makes it easy to check the Vulkan or OpenGL version, and detailed GPU information.

How to Install GPU Viewer in Ubuntu Linux:
The software has an official Ubuntu PPA contains the packages for Ubuntu 18.04, Ubuntu 20.04, Ubuntu 21.04, and Ubuntu 21.10.
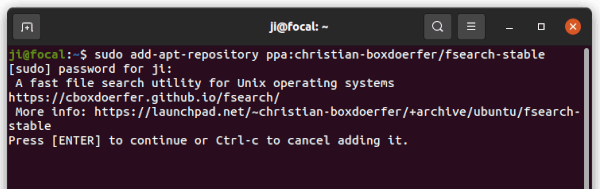
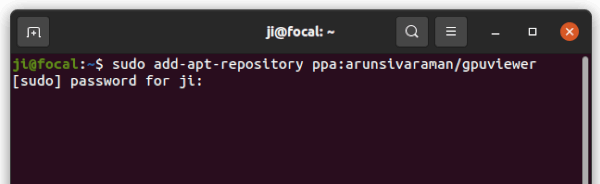
1. Add the PPA
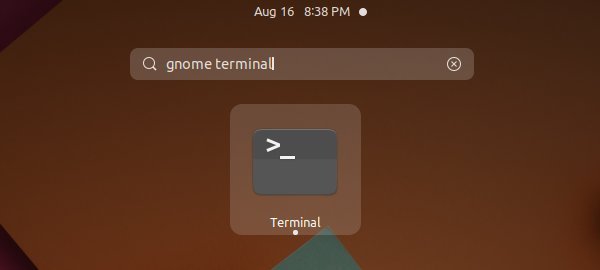
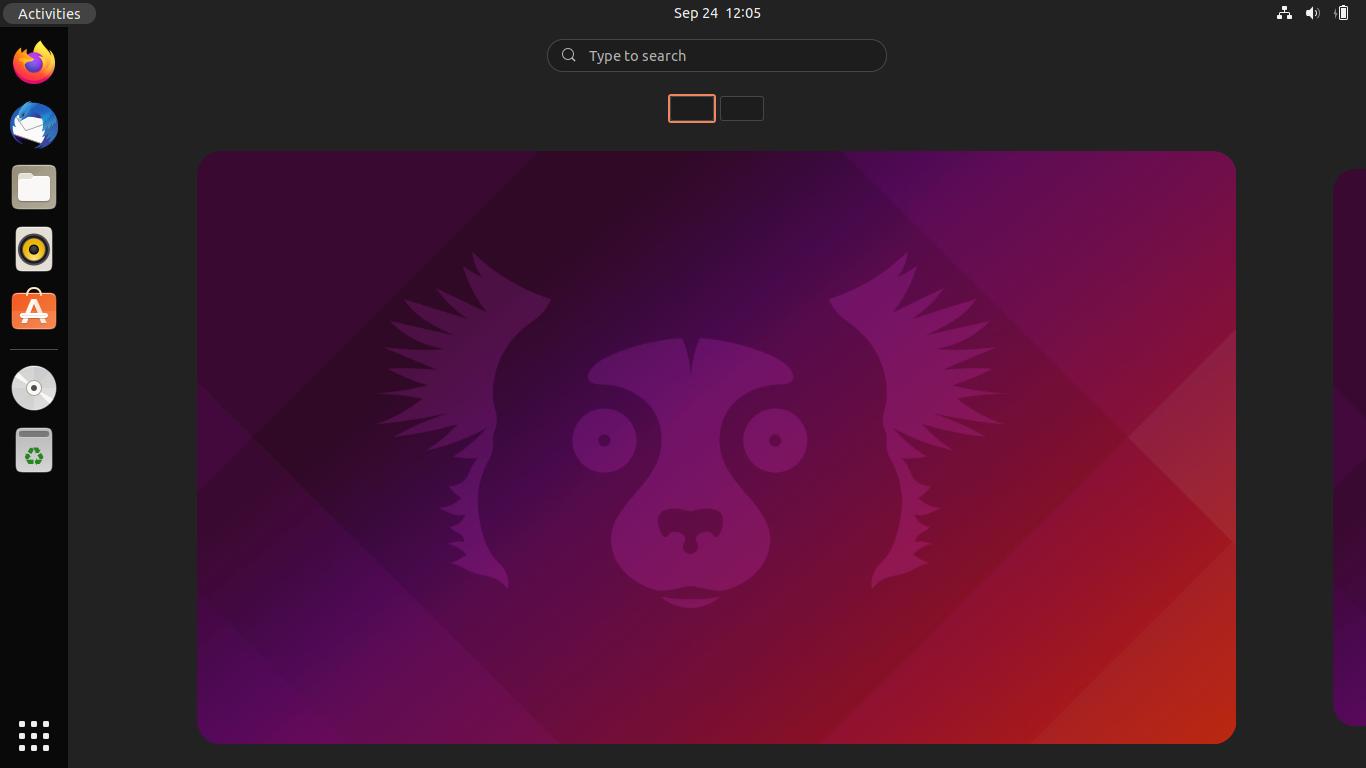
Open terminal by either searching from activities overview screen or pressing Ctrl+Alt+T key combination on keyboard. When terminal opens, paste the command below and hit Enter:
sudo add-apt-repository ppa:arunsivaraman/gpuviewer
2. Refresh system package cache
For Ubuntu 18.04 and some Ubuntu based Linux Distribution, users may need to manually update the system package cache by running command:
sudo apt update
For Ubuntu 20.04 and higher, this is done automatically while adding PPA.
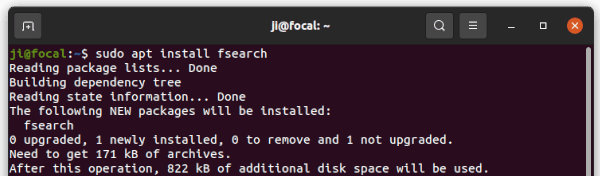
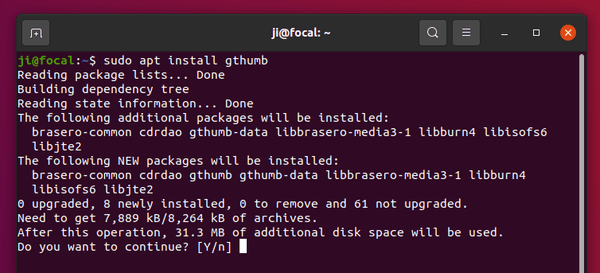
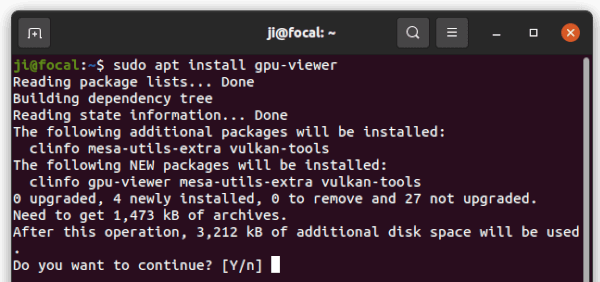
3. Install GPU Viewer:
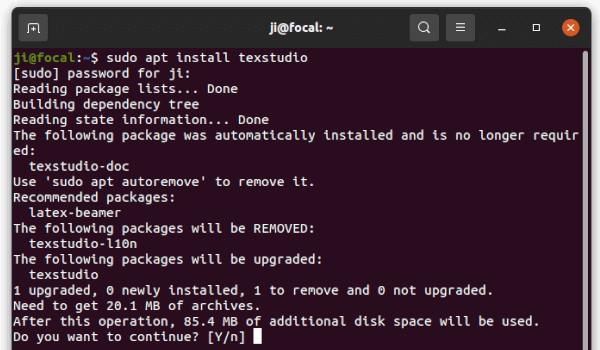
Finally, run the apt command in terminal window will install the GTK tool as well as its dependencies:
sudo apt install gpu-viewer
Once installed, search for and open it from the overview screen and enjoy!
Uninstall GPU Viewer
To remove the software package, open terminal and run command:
sudo apt remove --autoremove gpu-viewer
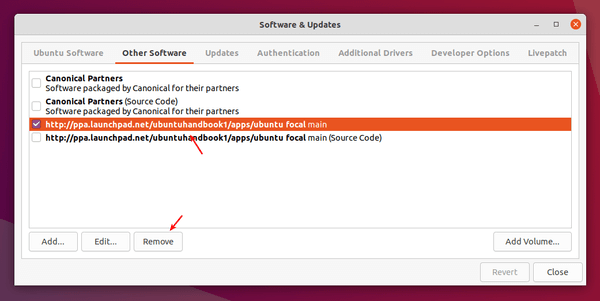
And remove the PPA repository either via “Software & Updates” utility under ‘Other Software’ tab, or by running command in terminal:
sudo add-apt-repository --remove ppa:arunsivaraman/gpuviewer
In addition for Debian .deb package, Arch Linux AUR repository, and Fedora Linux, go to the PROJECT PAGE.