This simple tutorial shows how to install the latest Android Studio (2025.2.1 updated) in Ubuntu 22.04 and/or Ubuntu 24.04.
Android Studio, the official IDE for Android app development, is easy to install in Ubuntu in different ways! They include Snap, Flatpak, and official tarball.
NOTE: All the Android Studio packages below support only amd64 (Intel/AMD) CPU architecture type.
Method 1: Install Android Studio via Snap package
The easiest way to install the IDE is using the Snap package, which however runs in sandbox environment. At the moment of writing, the Snap package is at version 2025.1.3, though the newer 2025.2.1 is in dev channel now. Just install it and wait, it will automatically update to the latest once published.
Simply launch App Center (or Ubuntu Software for 22.04), then search & install Android Studio:
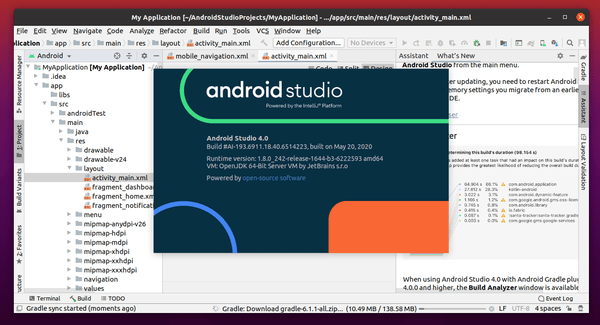
Android Studio 4.0 was released a day ago. Here’s how to install it in Ubuntu 18.04, Ubuntu 19.10, Ubuntu 20.04.
Android Studio 4.0 features a new Motion Editor, improved Layout Inspector, Clangd support for C++, smart editor features, enhancements to the CPU Profiler, Java 8 language library desugaring in D8 and R8, and much more other changes. See the release note for more.
How to Install Android Studio 4.0 in Ubuntu:
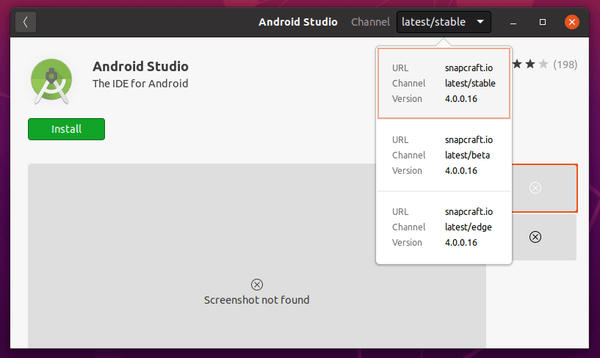
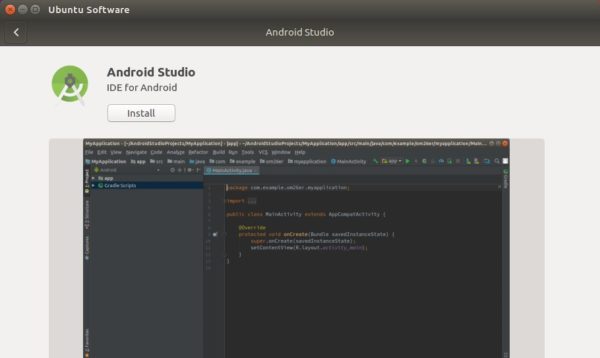
The containerized Snap package is available to install in Ubuntu Software for Ubuntu 18.04 and higher:
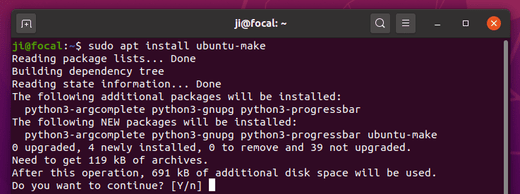
Don’t like Snap application? You can also install Android Studio 4.0 easily via Ubuntu Make.
1.) Install the latest Ubuntu Make:
Open terminal (Ctrl+Alt+T) and run command to add the PPA which contains the latest Ubuntu Make packages for Ubuntu 16.04, Ubuntu 18.04, Ubuntu 19.10, and Ubuntu 20.04.
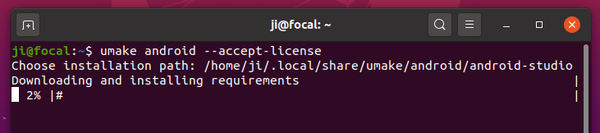
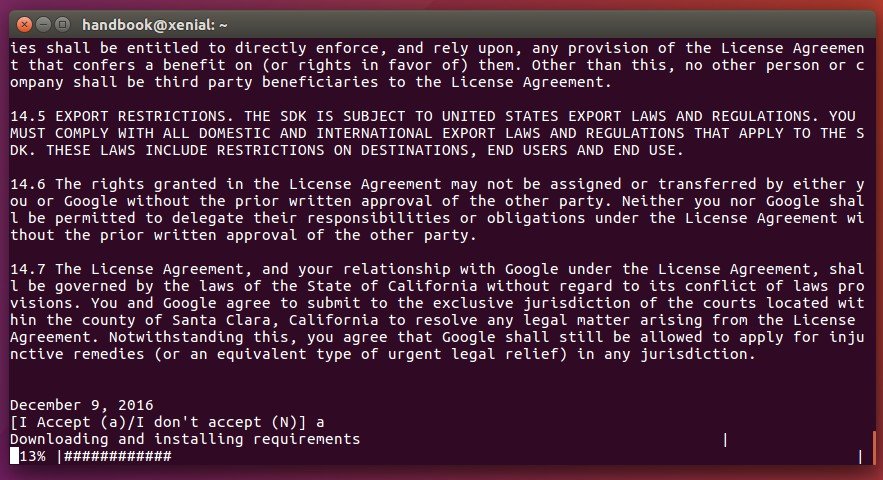
It automatically downloads the software package and dependencies from Google and installs on your system for single use by default.
3.) Once installed, launch the IDE from ‘Show Applications’ menu. Restart you machine if you don’t see the icon, or run sh ~/.local/share/umake/android/android-studio/bin/studio.sh command to launch it from terminal.
Uninstall:
You may remove Ubuntu Make PPA by running command:
Android Studio IDE 3.1 was released a few days ago. Here’s how to install it in Ubuntu 16.04, Ubuntu 17.10, Ubuntu 18.04 easily via Snap package.
Android Studio 3.1 introduced a C++ performance profiler for trying to analyze CPU bottlenecks in application code. It also adds lint checks for the Kotlin programming language, SQL code completion support, D8 is now the default Dex compiler, a new build output window, and other enhancements.
The community has built the IDE into snap, the universal Linux package format, that can be easily installed on all current Ubuntu releases.
1. For Ubuntu 14.04 and Ubuntu 16.04 users never installed a snap package, you need to install the snapd daemon while it’s not shipped by default in the two LTS.
Open terminal either via Ctrl+Alt+T or by searching ‘terminal’ from app launcher. When it opens, run command:
sudo apt-get install snapd snapd-xdg-open
2. Then launch Ubuntu Software, search for and install Android Studio.
For those who prefer command console, run command in terminal to install the snap:
snap install android-studio --classic
Once installed, launch the Android IDE from your application launcher (log out and log in back if you don’t see the app icon) and enjoy!
Ability to develop apps with Kotlin, a newer programming language designed to interoperate with existing Java code
An SDK for creating Instant Apps
New templates for Android Things applications, XML and downloadable fonts for Android 8.0 and higher
A new wizard for creating adaptive icons.
Android Plugin for Gradle 3.0.0 with significant performance improvements to large multi-module projects.
Ability to create Android 8.0 emulators with the Google Play Store pre-installed
How to Install Android Studio 3.0 in Ubuntu:
You can easily install it either via Maarten Fonville’s PPA or by using Ubuntu Make in Ubuntu 14.04, Ubuntu 16.04, Ubuntu 17.04, and Ubuntu 17.10.
The Maarten Fonville’s PPA contains installer script that automatically downloads Linux package from Google, and installs it into /opt/ for global use.
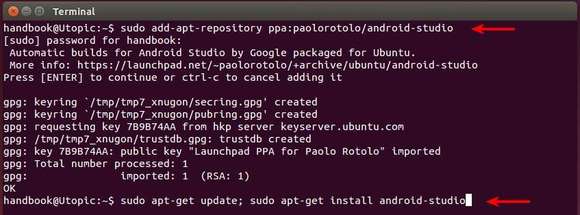
1. Open terminal via Ctrl+Alt+T and run command to add the PPA:
To install Android Studio 3.0 via Ubuntu Make, you need to first install the latest Ubuntu Make from this PPA. Then run command to install the IDE after accepting license.
Quick tutorial shows you how to install Android Studio, a new Android development environment developed by Google and based on IntelliJ IDEA, via PPA in Ubuntu 14.10, Ubuntu 14.10, Ubuntu 12.04 and the next Ubuntu 15.04.
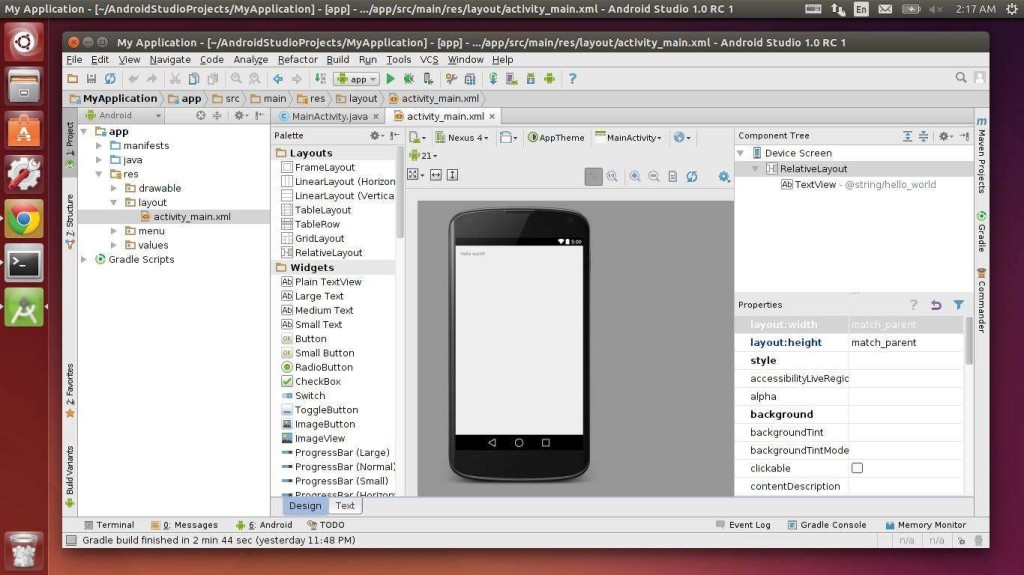
Similar to Eclipse with the ADT Plugin, Android Studio provides integrated Android developer tools for development and debugging.
On top of the capabilities you expect from IntelliJ, Android Studio offers:
Gradle-based build support.
Android-specific refactoring and quick fixes.
Lint tools to catch performance, usability, version compatibility and other problems.
ProGuard and app-signing capabilities.
Template-based wizards to create common Android designs and components.
A rich layout editor that allows you to drag-and-drop UI components, preview layouts on multiple screen configurations, and much more.
Built-in support for Google Cloud Platform, making it easy to integrate Google Cloud Messaging and App Engine as server-side components.
Install Android Studio via PPA in Ubuntu:
Installing Android Studio in Ubuntu becomes easy. A Ubuntu PPA contains simple script that automatically downloads and installs the latest release from Google download server. So far, Ubuntu 15.04, Ubuntu 14.10, Ubuntu 14.04, and Ubuntu 12.04 are supported.
1. Android Studio depends on Java, and Oracle Java 7 or 8 is recommended. Press Ctrl+Alt+T on keyboard to open terminal. When it opens, run the commands below one by one: