Archives For November 30, 1999

This is a step by step guide shows how to install Blender app in Ubuntu 24.04 Desktop.

Blender is a popular free open-source 3D graphics software works in Linux, Windows, and MacOS.

Ubuntu includes the software package in system repository, but always old as you know. The upside is that it supports all platforms, including x86_64 (AMD/Intel), arm64 (e.g., Raspberry Pi), ppc64el (IBM Power platform), RISC-V 64, and s390x (IBM zSystems and LinuxONE).

For Ubuntu user on x86_64 (AMD/Intel) computers, the latest version can be installed through following packages:

  • Official Linux Tarball.
  • Official Snap package (runs in sandbox).
  • Flatpak package (Community maintained and runs in sandbox).

Continue Reading…

Blender, the popular free open-source 3D creation software, announced new 4.1 major release this Tuesday.

Blender 4.1 introduced new geometry nodes, including Index Switch, Musgrave, Split to Instance, Sort Elements, Rotate Rotation, Active Camera. It replaces mesh “Auto Smooth” option with a modifier node group asset, adds support for Blackbody shader node, new Manage panel in Geometry Nodes modifier.
Continue Reading…

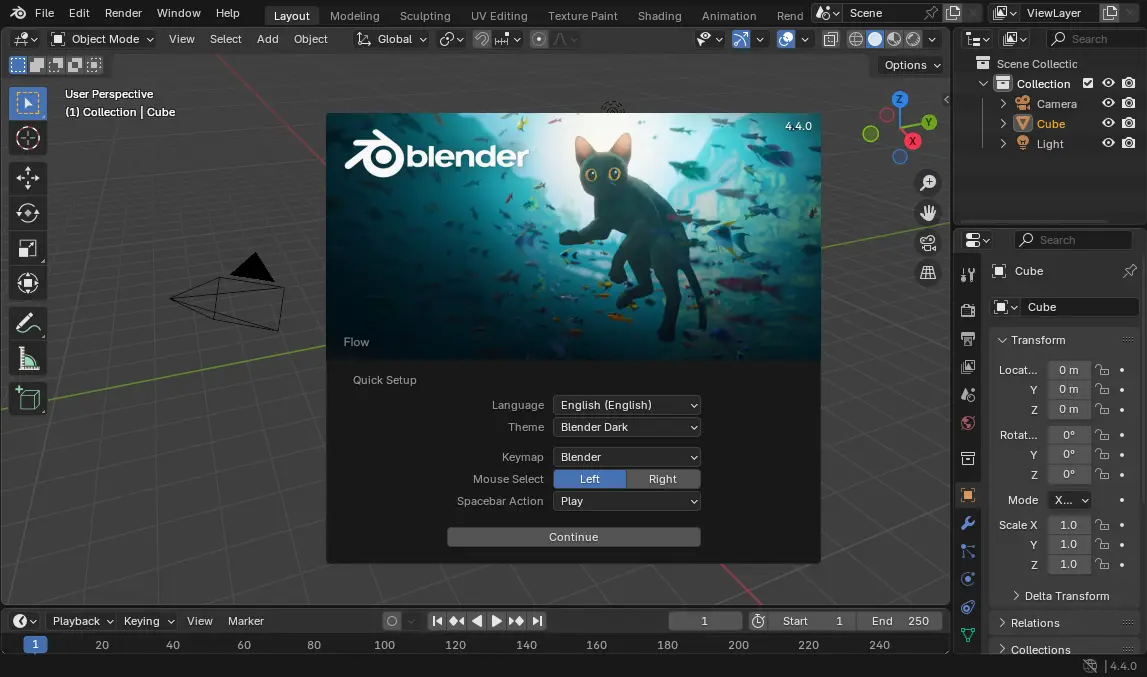
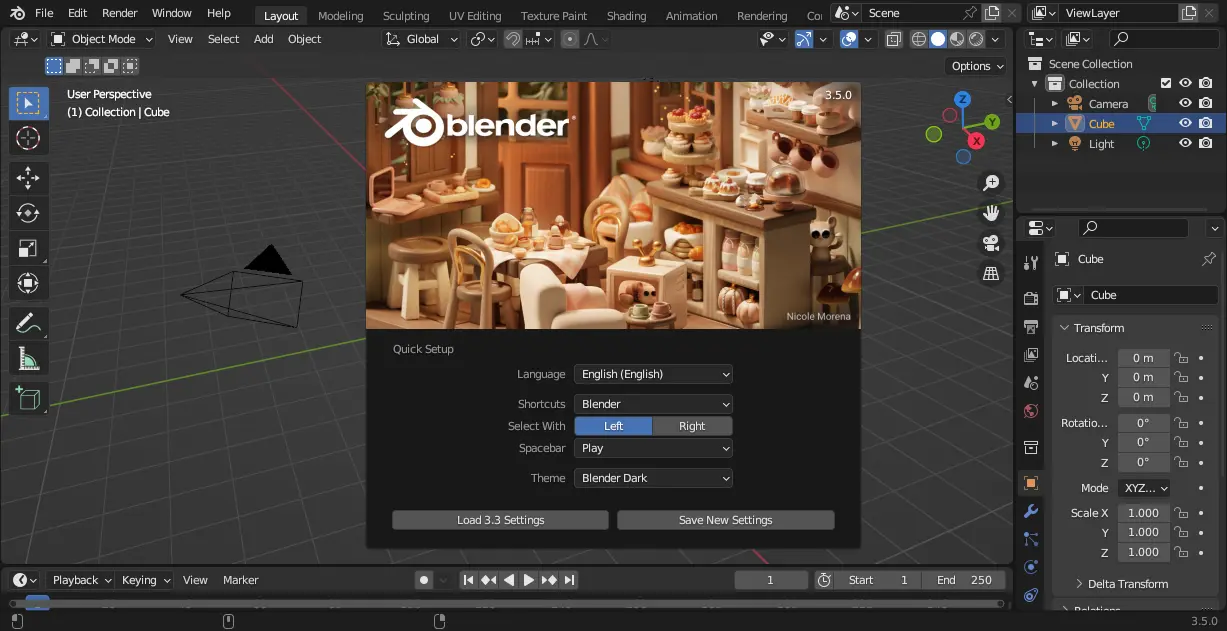
Blender 3.5, the popular 3D creation software, was released few days ago. Here are the new features and how to install guide for Ubuntu users.

The new release features 26 built-in hair assets, allows to drag and drop to use onto your setups. As well, it allows to do many actions on hair curves, such as generate, duplicate, deform, trim, rotate, roll up, and more.

It also added support for Vector Displacement Maps (VDM) brushes, new GPU-based 3D viewport compositor, many lights sampling for Cycles.

Other changes in Blender 3.5 include:

  • Use native Metal in macOS for 3D viewport.
  • New options and shortcuts for Pose Library.
  • New Ease operator in the Graph Editor
  • New Natural Drawing Speed timing mode in the Build modifier
  • Support for Importing and exporting USDZ files.

How to Install Blender 3.5 in Ubuntu

Option 1: Install Blender as Snap

For Ubuntu 20.04 and higher, it’s super easy to install the latest Blender package through the official Snap package.

Simply open Ubuntu Software, search for ‘Blender’ and click install it.

I’m not sure if Ubuntu software in 18.04 has added support for Snap, but user can just press Ctrl+Alt+T on keyboard to open terminal and run command to install the daemon & Blender as snap:

sudo apt install snapd && sudo snap install blender --classic

Option 2: Install Blender via the Linux tarball

Some users do not like the snap package that runs in sandbox. For choice, Blender website offers the portable Linux tarball:

And here’s a step by step guide shows how to create app shortcut for the portable package.

Blender is also available to install as Flatpak package. For those prefer the classic .deb package, there’s a third-party PPA, though not updated at the moment of writing.

The free open-source 3D creation software Blender 3.2.0 was released! Finally, it adds support for AMD GPU rendering for Linux!

Blender 3.2.0 introduced a new type of Cycles render pass that contains only the lighting from a subset of light sources. It’s ‘Light Groups’ which can be used to modify the color and/or intensity of light sources in the compositor without re-rendering.

Cycles now supports selective rendering of caustics in shadows of refractive objects. Paint is now available in Sculpt mode. New paint brush comes with a bunch of new settings like tip shape, wet mixing, flow and density.

And there are many other changes including:

  • Using the voxel remesher all color attributes will be preserved.
  • Masking, auto-masking and face sets are fully supported with color attribute painting.
  • Duplicate Elements Node that can duplicate points, edges, faces, instances, and curves
  • Asset collections (no longer experimental)
  • Curve pen tool to quickly add, delete, and tweak control points
  • New Envelope modifier.
  • Manage video sequencer channels by giving channels a name, as well as mute and lock options
  • Webp image import/export support.
  • OpenColorIO color space aliases support
  • And much more.

How to Install Blender 3.2.0 in Ubuntu

It’s quite easy to install Blender in Ubuntu, since the official Snap package is available in Ubuntu Software. You just need to keep an eye on the source info in the header bar, and make sure it’s from Snap Store.

Don’t like the sandbox applications? Blender website also provides 64-bit Linux tarball for downloading:

Just extract, and run the executable file from extracted folder will launch the software. Or, you may follow this guide to create app shortcut for it.

The free open-source 3d modeling software, Blender released new major 3.1.0 version a day ago.

Blender 3.1.0 introduced new Metal GPU backend for the Cycles renderer, contributed by Apple. It currently works on M1 computers running macOS 12.2+, and Apple computers with AMD graphics cards running macOS 12.3 or newer.

The release also has big performance improvements to Geometry Nodes. Many nodes are now multi-threaded. Medium loads up to 10x faster. Memory usage reduced up to 100x in large fields.

Other features include:

  • Instances can now have own dynamic attributes!
  • Support for Pixar OpenSubDiv
  • Copy Global Transform add-on
  • The Fill tool now allows negative values.
  • GPU acceleration support for Subdivision modifier.
  • Faster OBJ, FBX export.
  • Image editor now handle much larger images
  • See release note for more.

How to Install Blender 3.1.0 in Ubuntu:

Method 1: Blender Snap.

The easiest way to install the latest Blender is using the Snap package. It’s official, and can be installed directly from Ubuntu Software:

Ubuntu Software sucks. It may not load apps sometimes. To workaround it, press Ctrl+Alt+T on keyboard to open terminal and run command to install the Snap package:

sudo snap install blender --classic

Method 2: Blender Linux Tarball.

For those don’t like the universal Snap package, Blender website also provides the ‘.tar.xz‘ Linux tarball.

After download the ‘Blender-3.1.0-linux-x64.tar.xz’ package, just extract and run the executable to launch the software. Or, you may follow this step by step guide to add app shortcut.

For those don’t like the Snap package, this is a step by step guide shows how to install latest Blender via its official Linux tarball in Ubuntu.

The latest Blender is quite easy to install in Ubuntu since it’s available in Ubuntu Software. However, it’s Snap package!

For choice, the Blender foundation provides the portable Linux tarball, but it lacks app shortcut for launching from system start menu. So, I’m writing this how to tutorial to deal with it.

NOTE: This tutorial should work on most Linux (e.g., Debian, Fedora, Linux Mint) that support .desktop file, though the title said for Ubuntu.

Install Blender via Linux Tarball:

1. Download Linux Tarball

First, go to the official download page. Click download Blender for Linux. It’s a 64-bit tarball ‘blender-x.x.x-linux-x64.tar.xz‘ for modern PC/laptop:

After downloading the package, extract, and finally click run the executable file will launch the 3D creation software.

If you want to make it show in system start menu (Activities overview search results), you need to do following more steps.

2. Extract Tarball to /opt for global use:

Here I’m going to extract the tarball to /opt directory and create app shortcut for Blender.

1.) Press Ctrl+Alt+T on keyboard to open terminal. When it opens, run command to backup old blender folder under ‘/opt’ if any:

sudo mv /opt/blender /opt/blender.back

Ignore ‘No such file or directory’ output. It means you don’t have old file to backup.

2.) Create new blender folder under /opt:

sudo mkdir -p /opt/blender

3.) Extract Blender tarball from Downloads folder to the new created folder:

sudo tar -Jxf ~/Downloads/blender-*-linux-x64.tar.xz --strip-components=1 -C /opt/blender

NOTE: Instead of running the commands above in terminal, user may decompress the tarball in file manager and move source folder to desired location. However, moving to /opt needs root permission. So, open file manager via sudo nautilus ~/Downloads command is required

3. Verify if the Blender executable works:

After extracting the Linux tarball into /opt/blender. User may run command to list that directory to verify:

ls /opt/blender

And, run this command should launch the software:

/opt/blender/blender

Sometimes, app may refuse to launch due to missing shared library. If so, copy the library name and search in packages.ubuntu.com under ‘Search the contents of packages’ to find out the required package and install it.

4. Create app shortcut for Blender:

The Linux tarball includes the shortcut file by default, though it won’t work since PATH to executable varies depend where you put the folder. Run command in terminal to open the file via gedit text editor:

sudo gedit /opt/blender/blender.desktop

For Ubuntu 22.10+, replace gedit with gnome-text editor in command. For non-GNOME desktop, use mousepad for XFCE, xed for cinnamon, or nano command line editor works for most cases.

When it opens, change the ‘Exec’ and ‘Icon’ lines into:

Exec=/opt/blender/blender %f
Icon=/opt/blender/blender.svg

Then, save the file. For nano text editor, press ctrl+x, hit y and then Enter to save it.

Edit Blender Desktop file

Finally, copy the file to either ‘.local/share/applications’ for single user use, or ‘/usr/share/applications’ for global use:

sudo cp /opt/blender/blender.desktop ~/.local/share/applications/

Here I copied the app shortcut file to local folder for single user use. And, the app icon shows in ‘Activities’ overview search result immediately. Though, it’s better to change the ownership to yourself.

sudo chown $USER:$USER ~/.local/share/applications/blender.desktop

NOTE: If you still have old Blender package in system, there may be duplicated app icons.

Remove Blender:

To uninstall Blender installed via previous steps, simply remove the folder under /opt directory via command:

sudo rm -R /opt/blender

And remove the app shortcut file via:

rm ~/.local/share/applications/blender.desktop

In case you didn’t change the ownership, add sudo at the beginning to get pass permission issue.

This tutorial shows all the ways to install the 3D creation software Blender in Ubuntu, including Snap, Flatpak, native Deb packages, and compile from source tarball.

Blender is a free open-source software for creating animated films, visual effects, computer games. It’s available to install in Ubuntu via a few different package formats. Here you may choose the one that you prefer.

1. Blender Snap package:

The software developer team offers official snap package that works on Ubuntu and most other Linux distributions. Snap is an universal Linux package format developed by Canonical, the company behind Ubuntu.

The Snap package features:

  • Easy to install.
  • Auto update.
  • Maintained by Blender Foundation.
  • Works on 64-bit modern PC only.
  • Run in box with snapd daemon, though pre-installed out-of-the-box.
  • Take more disk space than native deb package.

Install Blender Snap package:

The package is easy to install as mentioned. Simply open Ubuntu Software, search for and install Blender. From both package details and header bar, it’s marked as Snap package.

2. Blender in Ubuntu Universe repository:

Ubuntu has the 3D creation software in its official repositories. Though it’s always old, it has multi-arch support!

stock Blender package features:

  • Easy to install.
  • Official package by Ubuntu, but no update anymore.
  • Works on 64-bit PC, arm64 (Apple Silicon, Raspberry Pi), armhf, ppc64el, and s390x processors.

The stock deb package is also available to install in Ubuntu Software, though it sucks and may not work! Instead, users may open terminal by pressing Ctrl+Alt+T on keyboard, and run apt command instead:

sudo apt update && sudo apt install blender

And to uninstall the package, use sudo apt remove --autoremove blender command in terminal.

3. Blender Flatpak package:

Flatpak is another universal Linux package format that was developed as part of the freedesktop.org project. Blender is available as Flatpak package in the flathub repository.

The Flatpak package features:

  • Auto update.
  • Maintained by the community.
  • 64-bit modern PC only.
  • Run in box with flatpak daemon.
  • Take more disk space than native deb package.

Install Blender Flatpak package:

To install the package, open terminal either by searching from activities overview screen or by pressing Ctrl+Alt+T on keyboard. When terminal opens, run following commands one by one.

  1. Run command to install flatpak daemon:
    sudo apt install flatpak
  2. Add the flathub repository:
    flatpak remote-add --if-not-exists flathub https://flathub.org/repo/flathub.flatpakrepo
  3. Finally install Blender via command:
    flatpak install flathub org.blender.Blender

And it can be easily removed via flatpak uninstall org.blender.Blender command.

4. Blender Portable Linux Tarball:

The Blender website provides Linux Tarball in its download page. Just grab the package, extract in your file manager, and right-click run the executable file from generated folder will launch the program.

No installation required, but only works for Linux on 64-bit modern desktop PC and laptop.

5. Install Blender from Ubuntu PPA:

Some Ubuntu users do NOT like the Snap and Flatpak packages. Besides portable Linux tarball, third-party PPAs is one of the choices.

The PPA package features:

  • Native deb packges.
  • Able to upgrade through “Software Updater”.
  • Maintained by unofficial third-parties.

Blender PPAs:

There are quite a few Ubuntu PPAs contains the 3D creation software package. You can find them in THIS PAGE.

So far, the Rob Savoury’s PPA contains the most recent Blender 2.93.4 (check the link) packages for Ubuntu 16.04, Ubuntu 18.04, Ubuntu 20.04 and higher for 64-bit PC. However, it was built with updated FFmpeg libraries that might break other package dependencies in your system.

To install Blender from the PPA, open terminal and run the commands below one by one:

sudo add-apt-repository ppa:savoury1/ffmpeg4
sudo add-apt-repository ppa:savoury1/blender
sudo apt-get update
sudo apt-get upgrade && sudo apt-get dist-upgrade
sudo apt-get install blender

And to remove the PPA packages, run following commands one by one in terminal to purge the PPA repositories which will also downgrade the installed packages:

sudo apt install ppa-purge && sudo ppa-purge ppa:savoury1/blender
sudo ppa-purge ppa:savoury1/ffmpeg4

6. Blender Appimage package:

The software is also available as single Appimage binary package, though it seems not being updated regularly.

The Appimage is a non-install package works on most Linux systems. Users just have to add executable permission in file’s Properties dialog, then right-click and select run to launch the program.

The Appimage package features:

  • 64-bit PC only.
  • no installation required.
  • Runs in most Linux, like Snap and Flatpak.
  • Unofficial.

The Blender Appimage is available to download at THIS PAGE and it’s v2.90 at the moment.

7. Compile Blender from the Source:

If none of the previous methods meet your need, you can build the software package from source code, though it’s not recommended for beginners.

Build from the source features:

  • Not beginner friendly.
  • Works on all processor architecture, though Blender 2.8+ need GPU with OpenGL 3.3+ support
  • Build whatever version with optional functions as user prefer.
  • Build process may fail due to “unknown” reason, and need technical support.

How to Compile Blender from source tarball.

Firstly, download the source tarball from the link page below:

Install the build dependencies:

1.) After downloaded the source tarball, extract it in the file manager. Then right-click on source folder and select ‘Open in Terminal

Blender 2.9x has an ‘install-deps.sh’ script that automatically install the build depends both from system repositories and by download and building others from source.

2.) When terminal opens after clicking the previous menu option, first run command to install essential packages:

sudo apt install build-essential git subversion cmake libx11-dev libxxf86vm-dev libxcursor-dev libxi-dev libxrandr-dev libxinerama-dev libglew-dev libwayland-dev wayland-protocols libegl-dev libxkbcommon-dev libdbus-1-dev linux-libc-dev

3.) Next, run the script to start installing build dependencies:

sudo ./build_files/build_environment/install_deps.sh

NOTE: the script may fail building dependencies from source tarballs. You may skip and/or specifies what to build via flags. And, find out the command options via:

sudo ./build_files/build_environment/install_deps.sh --help

So the command might be (run scrip with --show-deps shows required libraries):

sudo ./build_files/build_environment/install_deps.sh --with-embree --build-python --skip-oiio

4.) You may need to run the script several times to install the dependencies successfully. After that, create “build” folder in the source directory:

mkdir build && cd build

And configure the source with your preferred options, for example:

cmake ../ -DCMAKE_INSTALL_PREFIX=/usr -DWITH_INSTALL_PORTABLE=OFF -DWITH_BUILDINFO=OFF -DWITH_PYTHON_INSTALL=OFF

The command will generate “CMakeCache.txt” in “build” folder under source. You can edit the file to change build options.

5.) Finally build Blender if everything goes OK. Depends on how many CPU core that you have, you may change -j4 (4 threads) to -j8 to speed up the process.

make -j4

And finally install Blender via sudo make install if make succeed.

Summary:

For Ubuntu users, there are quite a few ways to get Blender running. The easiest and official way is search for and installing the SNAP package from Ubuntu Software. However, the old .deb package in universe repository support more processors, e.g., Apple Silicon, Raspberry Pi and other Mobile devices. To test without installing, there’s Linux portable tarball present in official download page. And third-party Ubuntu PPAs maintains most recent packages in native .deb format. Also, advanced users may build it from source with free options.

The free and open-source 3D modeling software Blender 2.93 was announced as LTS (Long Term Support) release.

Blender 2.93 is the last major milestone of the 2.x series. And the next Blender 3.0 is under development now.

Blender 2.93 brings 22 new nodes to the Geometry Nodes editor, mesh primitives support, adds the much anticipated Line Art modifier to automatically generate grease pencil lines around objects, a new and faster fill tool, and many Eevee renderer improvements.

How to Install Blender 2.93 via PPA:

Blender is available officially via Snap package, which can be easily installed from Ubuntu Software.

For those prefer the classic .deb package format, Rob Savoury’s PPA maintains the latest packages for all current Ubuntu releases.

1.) Remove Thomas Schiex’s PPA

If you installed old Blender packages from Thomas Schiex’s PPA, it’s better to remove it first to prevent from going to dependency hell!

Firstly, open terminal from system app launcher.

Secondly, run command to remove the PPA:

sudo add-apt-repository --remove ppa:thomas-schiex/blender

You can try purge the PPA instead, but it won’t work in my case due to issue.

2.) Remove old Blender package:

Open terminal and run command to remove old Blender packages if any:

sudo apt remove blender blender-data libopenshadinglanguage1.10

It’s important to remove libopenshadinglanguage1.10 package, or the configuration will fail while installing Blender 2.93.

3.) Add Rob Savoury’s PPA

To add the new PPA, simply run command in terminal:

sudo add-apt-repository ppa:savoury1/blender

4.) And add the FFmpeg PPA for dependency libraries:

To do so, run command in terminal:

sudo add-apt-repository ppa:savoury1/ffmpeg4

5.) For Ubuntu 18.04 and Ubuntu 16.04 only.

For Ubuntu 18.04 and Ubuntu 16.04, you need to add even more PPAs for dependencies. To do so, run commands:

sudo add-apt-repository ppa:savoury1/gcc-defaults-9
sudo add-apt-repository ppa:savoury1/display

6.) Finally install package updates & install Blender:

Firstly run command to refresh package cache and install available package updates:

sudo apt update && sudo apt full-upgrade

Finally install Blender 2.93 via command:

sudo apt install blender

If everything’s done successfully. Open Blender from system app launcher and enjoy!

Remove Blender and Ubuntu PPAs:

If you don’t use these PPAs anymore and want to remove Blender, purge them by running following commands one by one:

1. Firstly open terminal and run command to install ppa-purge:

sudo apt install ppa-purge

2. Then purge the Ubuntu PPAs one by one:

sudo ppa-purge ppa:savoury1/gcc-defaults-9
sudo ppa-purge ppa:savoury1/ffmpeg4
sudo ppa-purge ppa:savoury1/display
sudo ppa-purge ppa:savoury1/blender

Note purging Ubuntu PPA will either downgrade or remove packages installed from that PPA. Even other packages, GIMP in my case, will be removed.

You can alternatively remove these Ubuntu PPAs only, without uninstalling software packages, by going to ‘Software & Updates -> Other Software’ and removing relevant lines:

For those prefer installing apps via the classic apt method, you can now install Blender 2.92 via PPA in Ubuntu 20.04, Ubuntu 20.10, and also Ubuntu 16.04, Ubuntu 18.04.

The open-source 3D modeller software Blender 2.92 was released a few days ago. Features “a completely new workflow for editing meshes, new physics simulation methods, faster Cycles rendering, better compositing with Eevee, and so much more.

Blender offers official Snap package, which runs in sandbox, and is available to install directly from Ubuntu Software. As well, a Linux portable package is available to download in its website. For those prefer the classic deb packages, Thomas Schiex’s PPA has made it for Ubuntu 20.04 and Ubuntu 20.10 uses.

1. Add Blender PPA:

Firstly open terminal from system application launcher. When it opens, run command to add the PPA:

sudo add-apt-repository ppa:thomas-schiex/blender

Type user password, no asterisk feedback, when it asks and hit Enter to continue.

The PPA does not support for Ubuntu 16.04 and Ubuntu 18.04, but another PPA do! It however requires a few more PPA for updated libaries, see the PPA description for detail.

2. Install or update Blender:

If you have an old version of Blender packages installed via apt method, open Software Updater (Update Manager) and update the software:

Or run commands in terminal to install / update the package:

sudo apt update

sudo apt install blender

3. Fix missing libLLVM-6.0.so.1 issue:

Blender 2.92 does not start in my Ubuntu 20.04, and it outputs an error when running from terminal:

/usr/lib/blender/blender: error while loading shared libraries: libLLVM-6.0.so.1: cannot open shared object file: No such file or directory

This can be easily fixed by running command:

sudo apt install libllvm6.0

Not sure if the problem exists in Ubuntu 20.10, but libllvm6.0 is not available in the Groovy repository.

Uninstall:

To remove the Ubuntu PPA, open Software & Updates and go to Other Software tab, then remove the relevant line.

To remove Blender installed via apt, run command in terminal:

sudo apt remove --autoremove blender

Blender 2.91 was released on Wednesday as the fourth major release in 2020. It features the user experience improvements, powerful new booleans, better cloth sculpting with support for collisions, volume objects modifiers, improved animation tools and more.

Changes in Blender 2.91 include:

  • Introduce collision support for the sculpt cloth brush and filter.
  • New Sculpt Trim tool.
  • Curve and text objects now support for custom bevel profiles
  • New modifier for volume objects allows to dynamically convert them into a mesh, ideal for stylized fluids.
  • Convert any mesh into a volume and combine it with the new Volume Displace modifier.
  • Convert images into Grease Pencil objects with just one click!
  • New Holdout option in materials allows to paint holes in strokes and filled areas.
  • Property search, Fuzzy search support.
  • Colors, drag & drop supports in outliner.
  • Animation curves can now become much snappier.
  • Once click to convert proxy objects into overrides.
  • And much more other changes, see the release note.

How to Install Blender 2.91 in Ubuntu:

Blender offers official Ubuntu binary via Snap package, which can be installed directly from Ubuntu Software.

Blender also available as universal Flatpak package, which can be installed from flathub.org repository.

For those prefer installing .deb package via apt, there’s a well trusted Ubuntu PPA available though it’s not updated to v2.91 at the moment of writing.