This tutorial shows how to search and print which files contain your specified text or string in Ubuntu and other Linux in command line, with examples.
Search file or file content is an important skill for Linux administrator. I’ve shown how to use locate command to search files through the keyword in its file-name, path, and file type.
Here I’m going to show you how to search files if you know any text or string they contain.
This tutorial shows how to configure PATH environment variables. Though title said for Ubuntu 24.04, it works in most Linux systems.
PATH specifies the directories in which the executable files of programs are located on the system. Without knowing or typing the full path to the file, just type the app name in the command line, then your system will look into the path directories and run the first that matches.
For example, type firefox in command line will run /usr/bin/firefox to launch Firefox web browser in Ubuntu, Fedora, and other Linux that use the browser as default.
The ‘Tab’ key bash auto-completion does not work for you? Here’s how to re-enable this feature in Ubuntu.
When typing in terminal/command console, user can press ‘Tab’ key to auto-complete command, options, file path & name. This feature is quite useful and available out-of-the-box for every user with home directory.
If you broke something done and the feature does no longer work, then this tutorial could help.
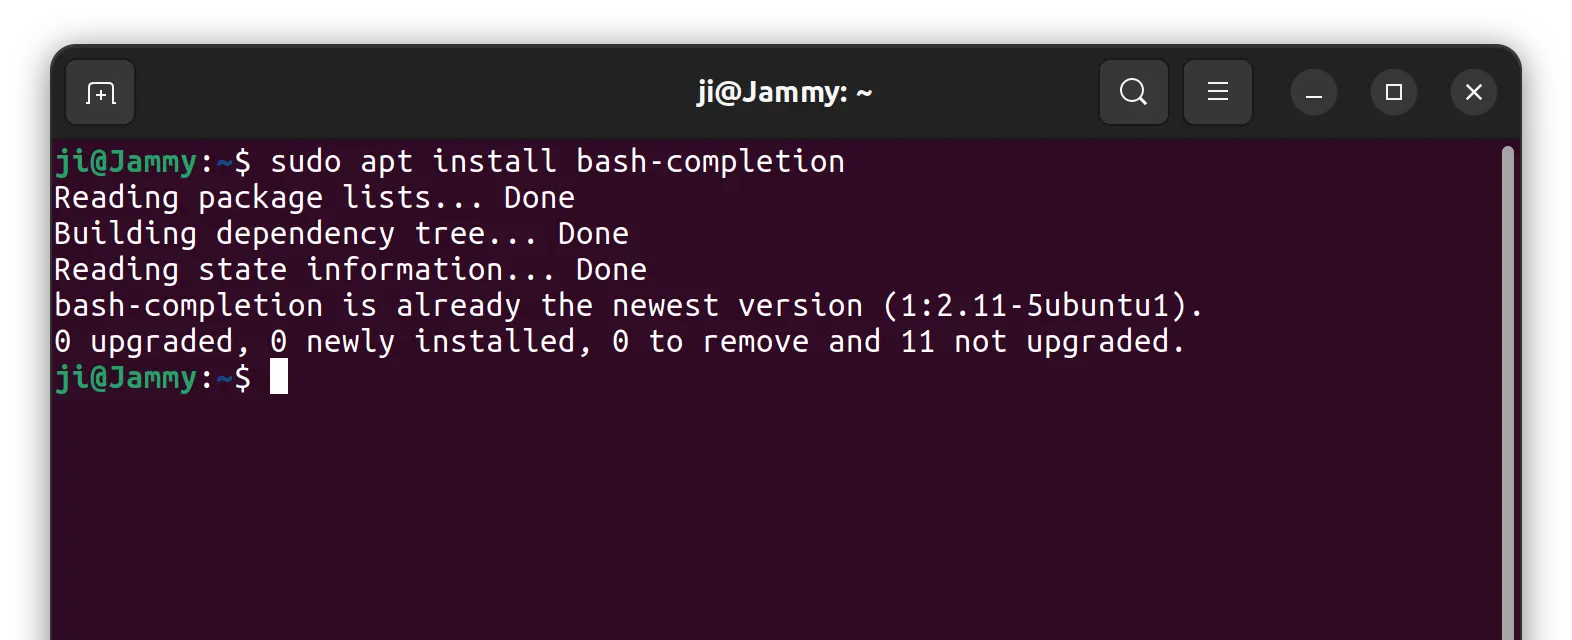
Step 1: Install bash-completion package
For Debian, Ubuntu, and most other Linux, this feature is implemented by bash-completion package files. So the first step is to make sure that package is installed on your system.
To do so, open terminal/command console and run command:
sudo apt install bash-completion
Step 2: Enable Bash Completion
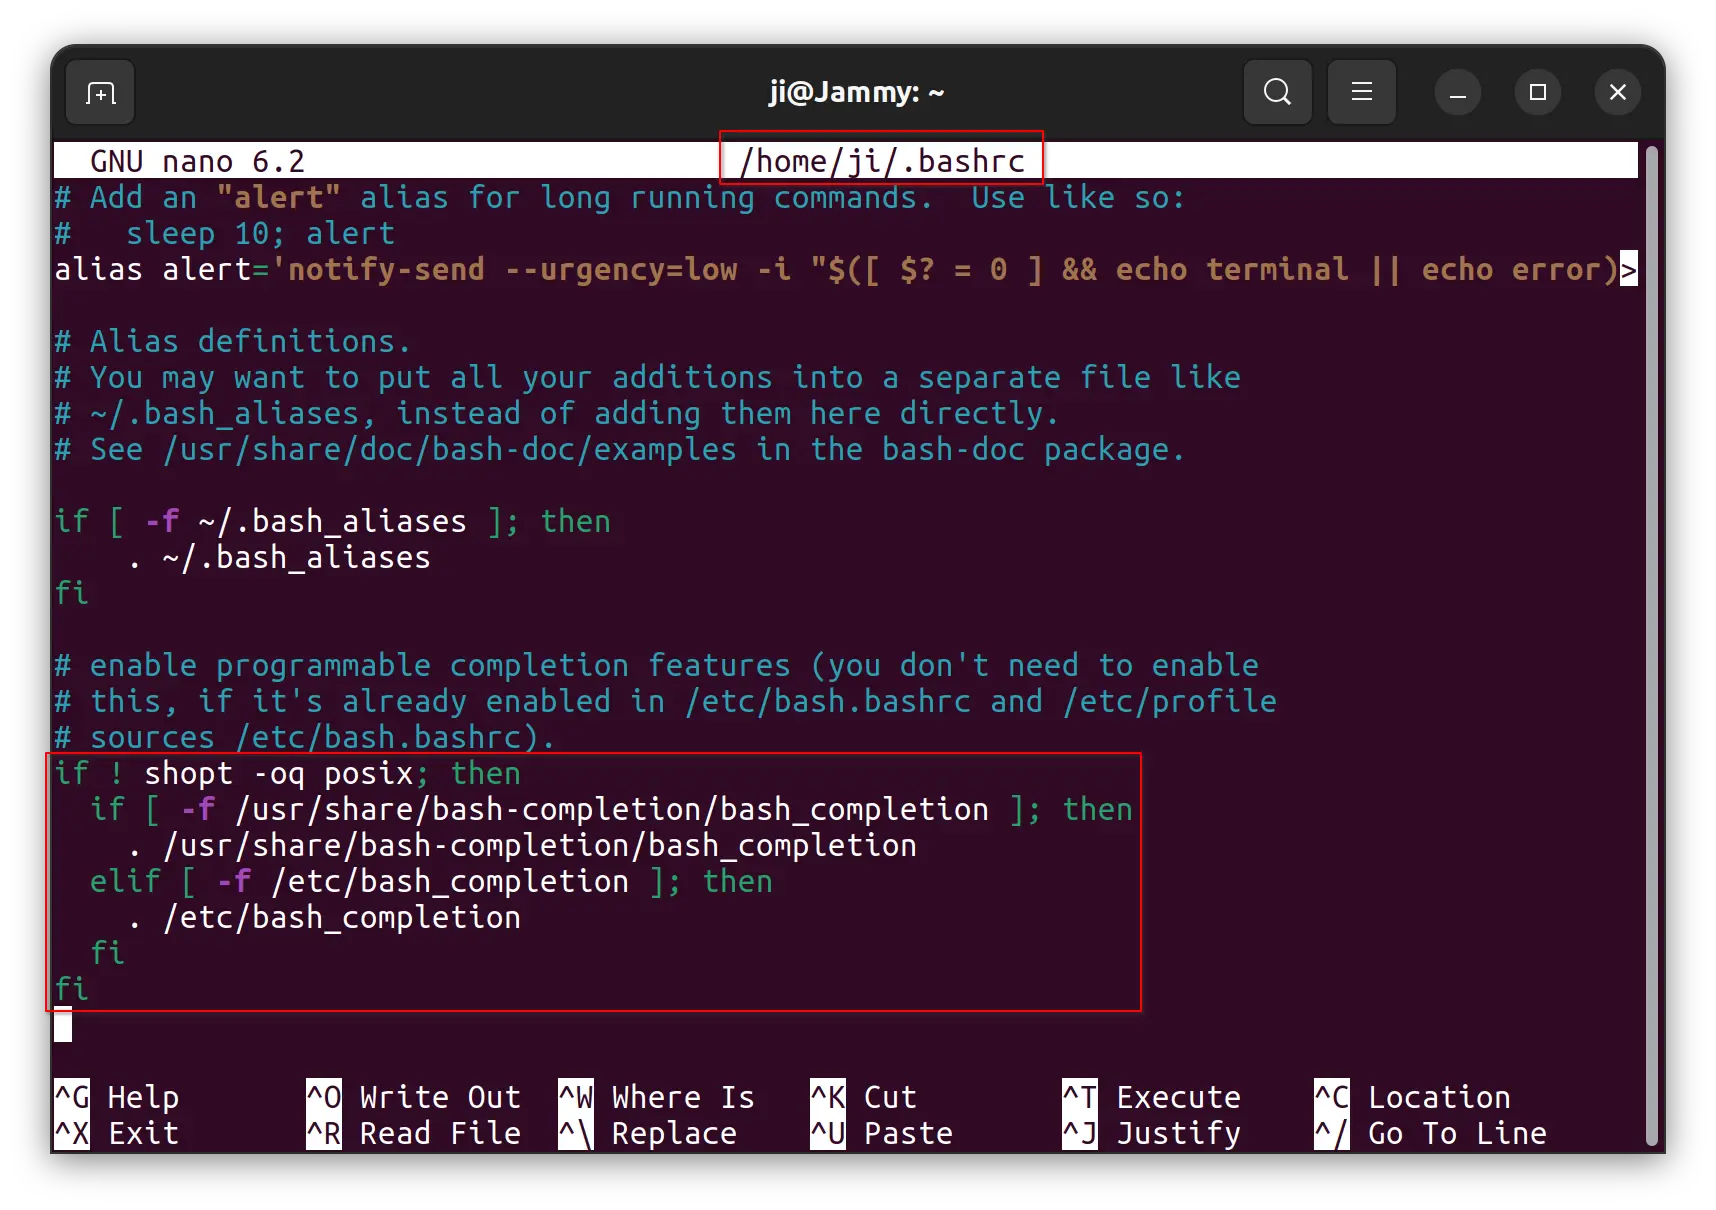
For each user, there’s a .bashrc file in user home directory. The file runs automatically on every login, and it contains the rule to enable bash completion.
1. First, run command to edit the file:
nano ~/.bashrc
2. When the file opens, add the following lines or make sure the lines below exist:
if ! shopt -oq posix; then
  if [ -f /usr/share/bash-completion/bash_completion ]; then
    . /usr/share/bash-completion/bash_completion
  elif [ -f /etc/bash_completion ]; then
    . /etc/bash_completion
  fi
fi
To save file, press Ctrl+X, type y and hit Enter.
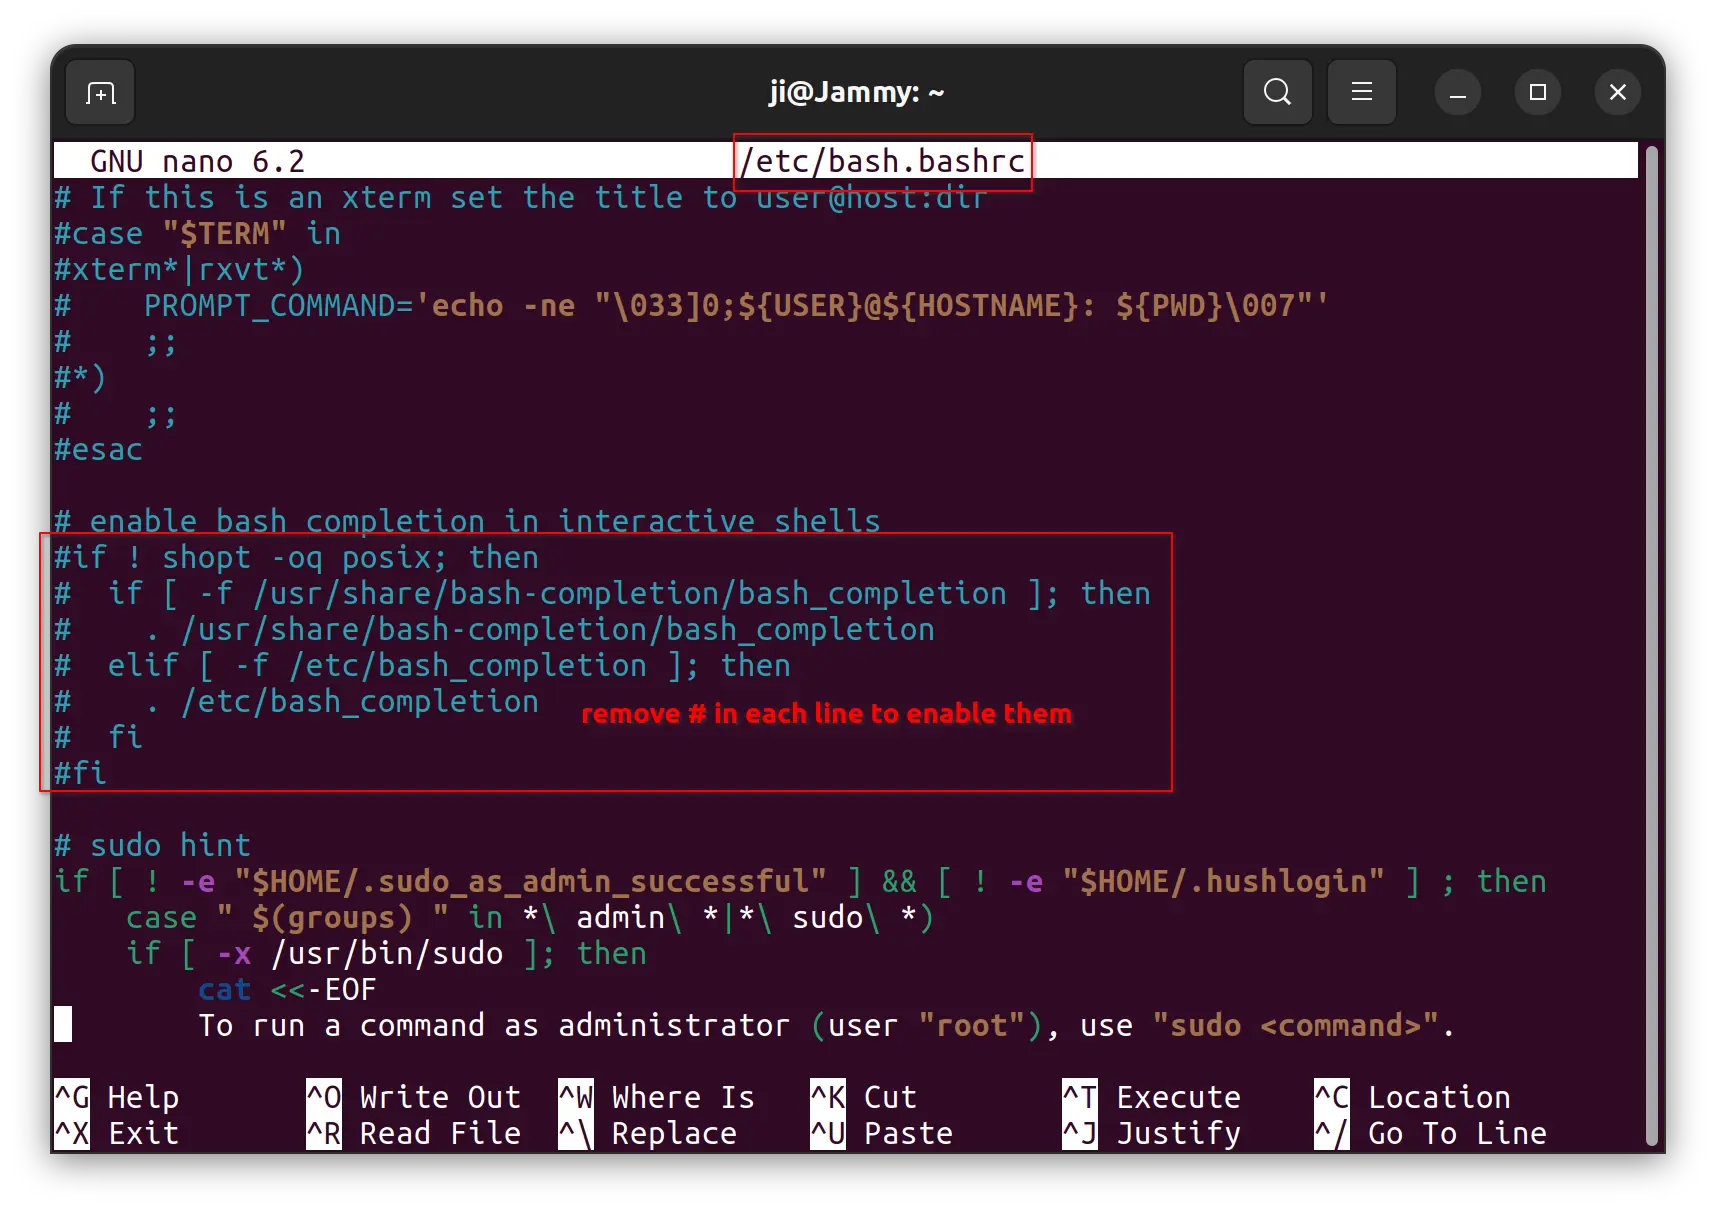
You can alternatively edit the system wide config file:
sudo nano /etc/bash.bashrc
Then enable the corresponding lines (remove # at the beginning for each line), so it applies to all users at login.
After saving the change, it should work immediately in new terminal window or command console.
In addition
The default configuration files for bash completion is located in “/usr/share/bash-completion”. However, some Linux Distro or may be 3rd party program may add rules by creating files under “/etc/bash_completion.d/”.
So, if the feature does not work for a specific command, go check the config file under “/etc/bash_completion.d/”.
Familiar with Linux commands? You may already know many tips and tricks that will save you a lot of time.
Here are some that I have been using for a long period of time, including Tab auto-completion, when you type something in Linux terminal and hit Tab, it auto-completes the command or file path, or outputs all possible options.
And Ctrl+Shift+V will do paste text to terminal instead of Ctrl+V. Without copying to the clipboard, you can simply select / highlight the text and use mouse middle-click to paste into terminal.
Today I found a new terminal tips that I didn’t know before. Thanks to the reddit, I’m going to share it with you by following steps.
1. Drag and drop file or folder to paste the path into terminal.
Just drag and drop a file or folder into terminal, and you’ll see the full path pasted with single quotes. It’s useful if there’s special character in file path or you just don’t want to type …
2. Drag and drop a selection of text into terminal.
You can also drag and drop a selection of text into terminal, so you don’t need to do copy and paste with context menu clicks or keyboard shortcuts.
Most Linux remembers the commands that you ran in terminal or command console. It’s useful for finding out what you’ve done to the system, especially for server.
For frequently used command with a long code, you don’t need to type all the code again and again. You can re-run then using history commands option, by just a few key presses.
List history commands
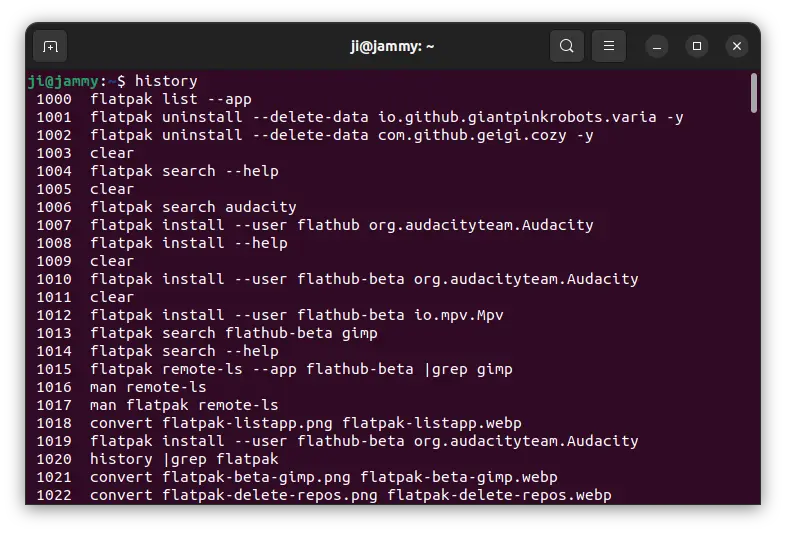
To find out what commands you’ve run in your Linux, simply run command:
history
In the output, you’ll see a large list of commands that you ran before. And, each command has number at its beginning.
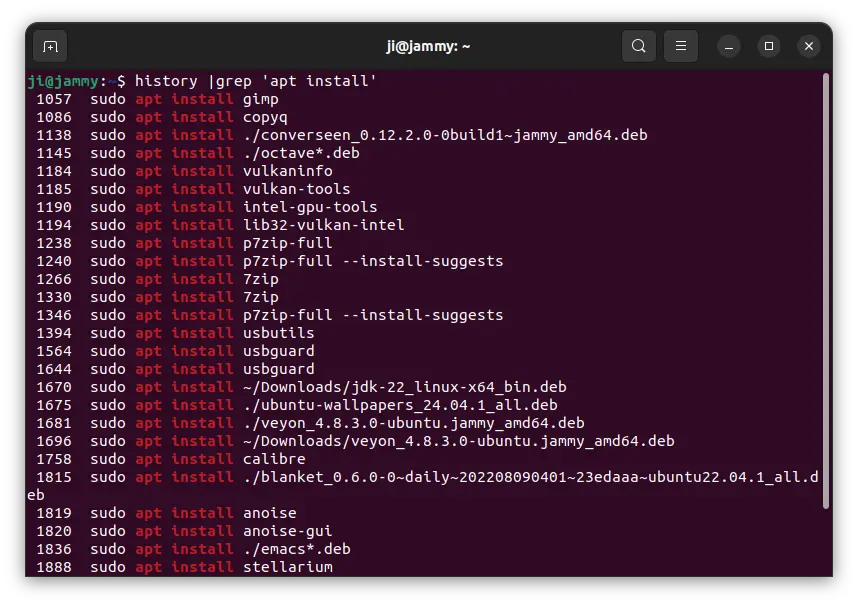
If you have too much history commands, it may be hard to browse and find out a certain command. In the case, add grep option to filter. For example, run command below to find out history commands that include apt install.
history | grep "apt install"
For choice, you may also add -E option after grep to filter with regular expressions.
Re-Run a History Command
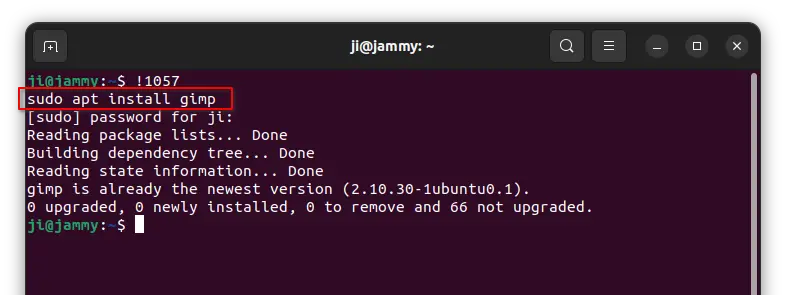
Once you got the history command, that’s too long or you don’t remember, you can simply re-run it by typing !number, where number is the number in front of that command in history output.
For example, run command below will re-run sudo apt install gimp, according to last screenshot. And, in terminal window it outputs what’s going to run immediately after you hitting Enter. If it’s a sudo command, it will also ask for password authentication.
!1057
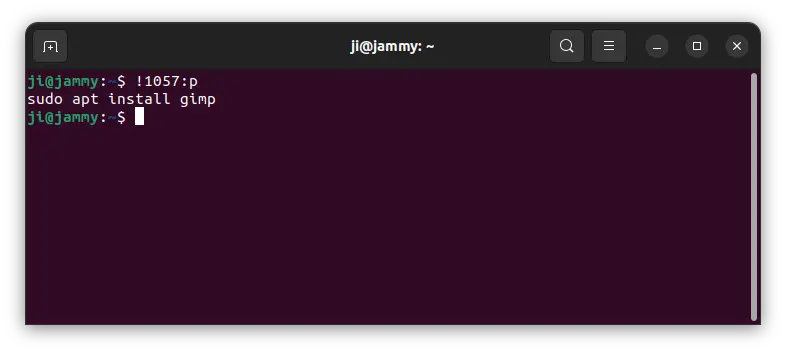
To avoid careless mistakes, you may use the command below instead by adding :p in end to first preview that history command:
!1057:p
Then re-run !1057 if you confirm it is indeed the command you want.
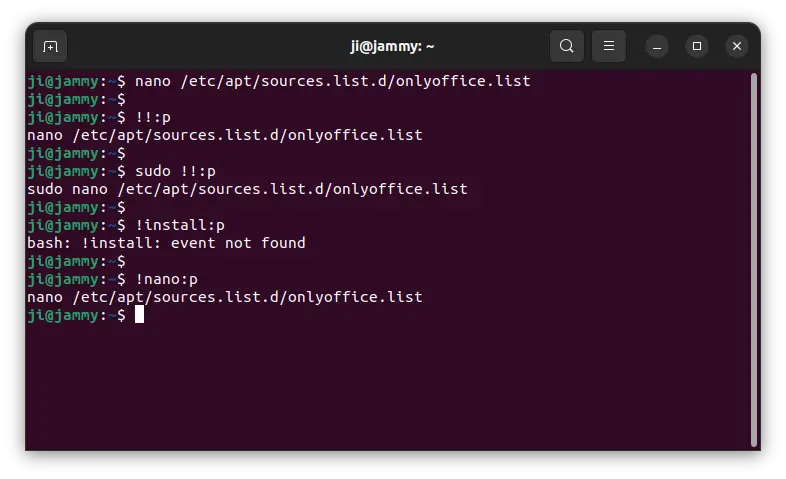
For the last command, without finding out the history number, just use command below will re-run it:
!!
And, you can use it along with other commands. For example, re-run last command with sudo permission:
sudo !!
Or re-run last command, then poweroff:
!! && poweroff
There are also more choices, for example, re-run the last command start with given string:
!sudo
The command will re-run the last command start with sudo.
And, all the commands above can follow with :p to preview command before running.