Got app windows that do not show their icons on left (or bottom) dock panel? This tutorial may help to fix the issue in Ubuntu 24.04.
App icons that you see in system app launcher are handled by .desktop files. This kind of config file usually include a line Icon=app-icon-name, so Ubuntu and many other Linux can find and display the icon image for the app in start menu (or application menu).
If the icon file is missing from both system icons directory (usually /usr/share/icons and /usr/share/pixmaps) and user’s local icons folder (.local/share/icons), then it shows universal executable icon (the gear icon with gray square background, see the image above) instead.
This simple tutorial shows how to reset Ubuntu Dock, the left panel, to its original status in Ubuntu 22.04 & Ubuntu 23.10.
As you may know, Ubuntu Dock (aka Dash-to-Dock) is an extension to the GNOME Desktop. It has many configure options, however most of them are hidden.
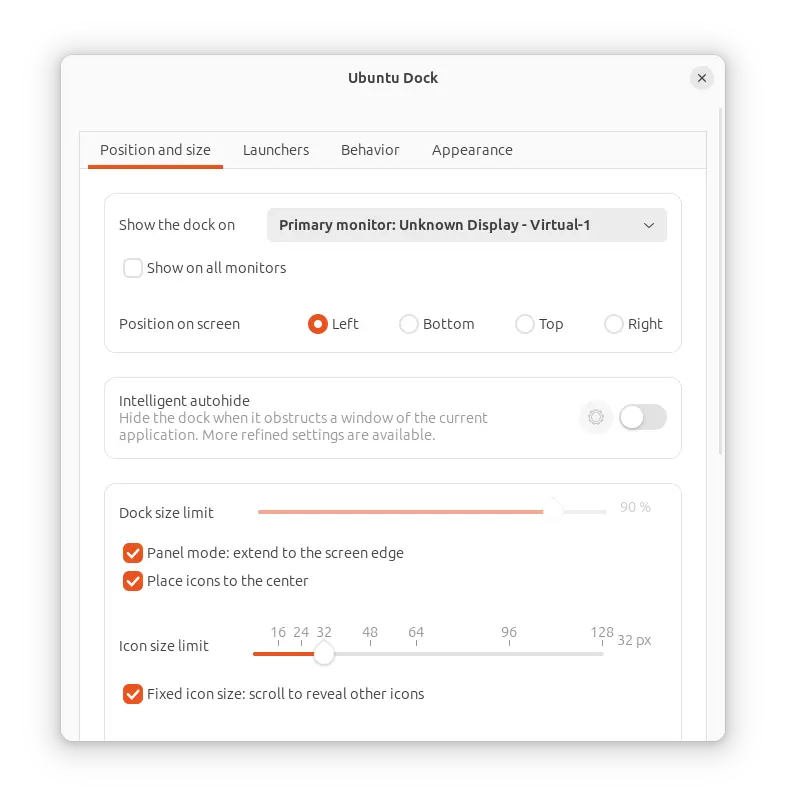
In Ubuntu 23.10, it finally provides a preference dialog to configure its appearance with full options. See HERE for how to get it.
Ubuntu Dock preference dialog
The preference dialog so far does not have ‘Reset’ buttons. If you messed thing up or want to restore Ubuntu Dock to factory setting, then this tutorial may help!
Reset Ubuntu Dock
The steps below should work in all current Ubuntu releases, include other Gnome-based Linux (such as Manjaro) using Dash-to-dock extension.
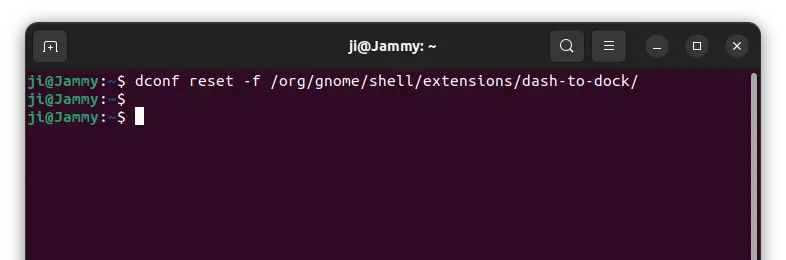
Option 1: Single command to reset Ubuntu Dock
Without installing anything, running a single command in terminal window can do the job.
First, open terminal either by searching from the overview screen, or by pressing Ctrl+Alt+T shortcut key on keyboard.
When terminal opens, copy and paste the command below and hit Enter.
The command above resets Ubuntu Dock, but leaves your favorite apps (pinned app icons) unchanged.
If you want to also reset the app icons on the Dock, run command:
gsettings reset org.gnome.shell favorite-apps
Option 2: Use Dconf Editor (graphical way)
For a graphical way, the advanced ‘Dconf Editor’ configuration tool can do the job.
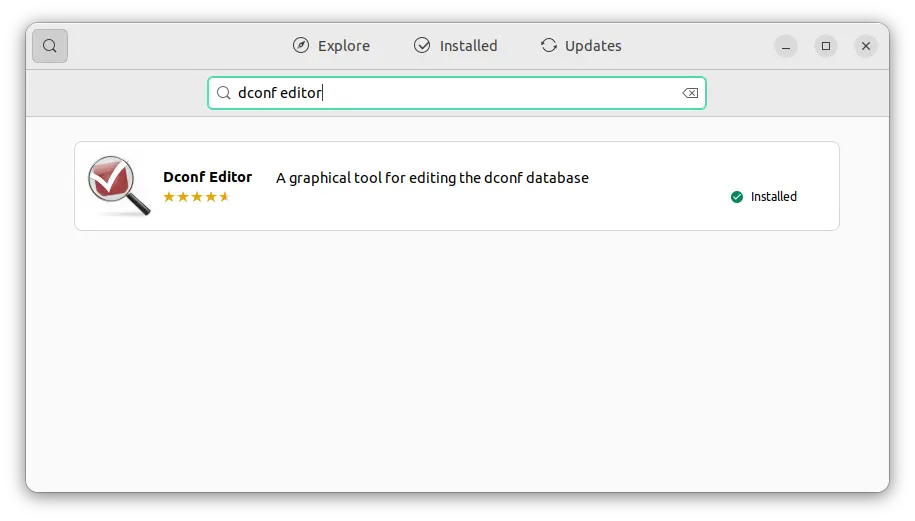
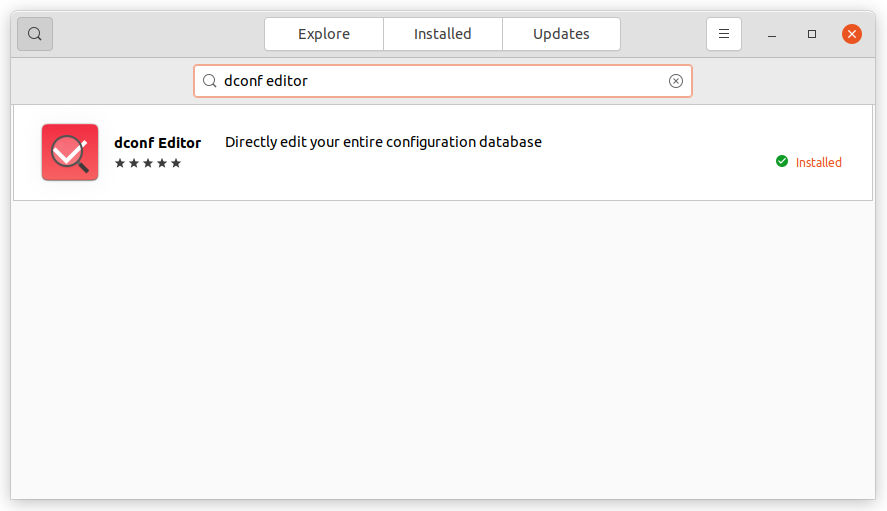
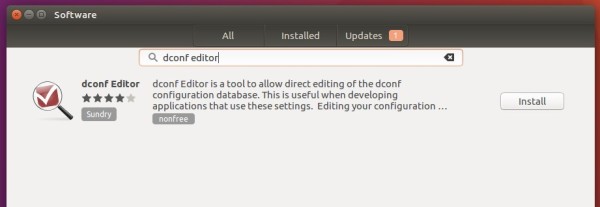
First, either search for and install ‘Dconf Editor‘ from Ubuntu Software:
Or, install it by running a command in terminal:
sudo apt install dconf-editor
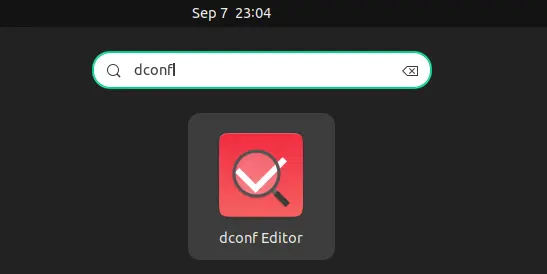
Then, launch Dconf Editor by searching from the overview screen.
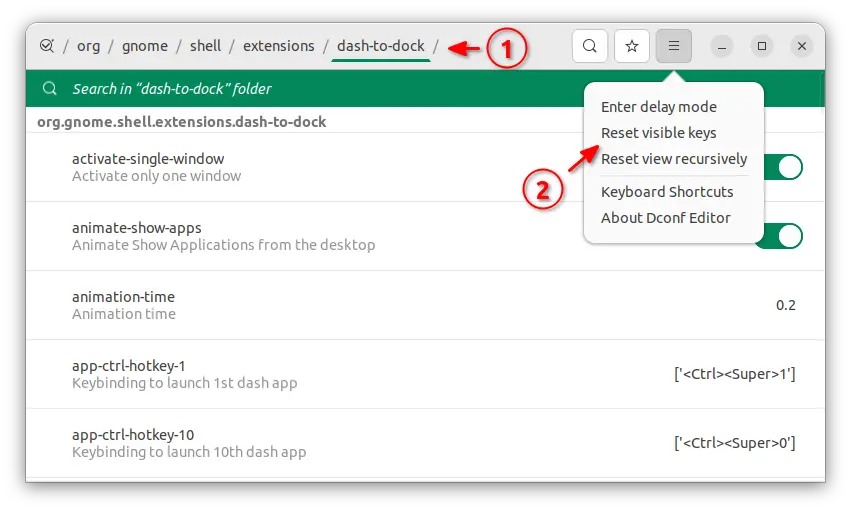
When it opens, navigate to ‘org/gnome/shell/extensions/dash-to-dock‘. Finally, click on ‘≡’ menu, select “Reset visible keys“, and click “Apply” button in bottom.
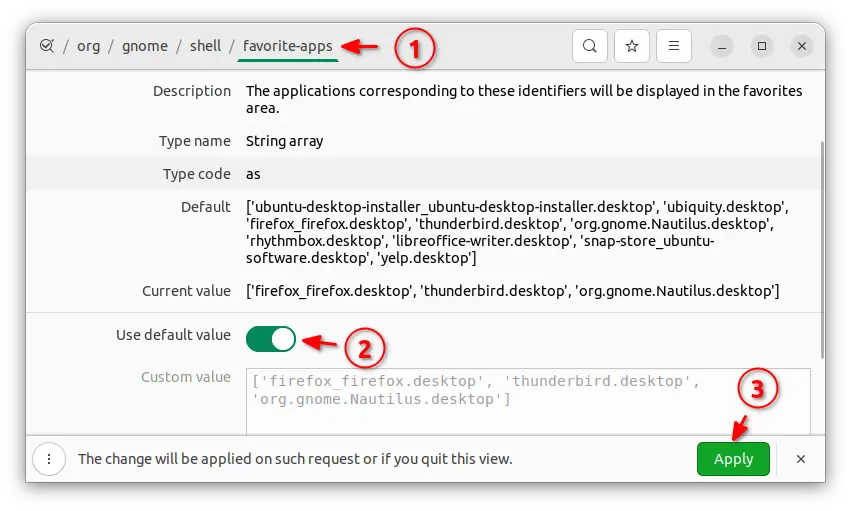
To reset the app icons, go to ‘org/gnome/shell/favorite-apps‘, turn on “Use default value” and finally click Apply.
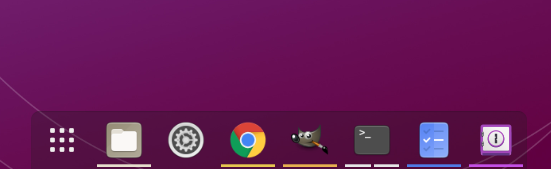
Ubuntu by default shows orange dots under app icons in the dock panel, indicate the apps have running windows. They are called ‘running dots‘. And, Ubuntu provides hidden settings to change the style as well as colors if you don’t like the default look and feel.
Option 1: Change the Orange Dots via Dconf Editor
1.) The advanced ‘Dconf Editor‘ provides a graphical interface to configure hidden settings in Ubuntu. You may firstly install it either via the apt command below:
sudo apt install dconf-editor
or use Ubuntu Software:
2.) Next, search for and open ‘Dconf Editor’ from the Activities overview screen. When it opens, navigate to ‘/org/gnome/shell/extensions/dash-to-dock/‘.
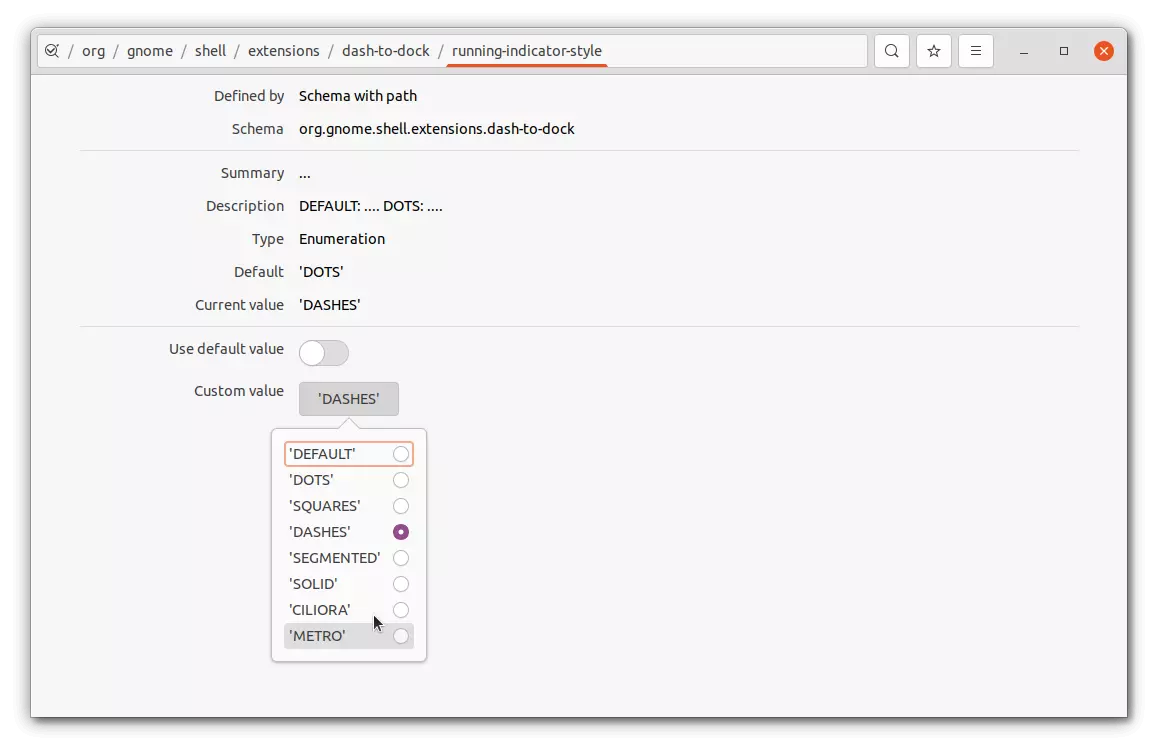
3.) Scroll down, find out and click to configure the key ‘running-indicator-style‘. By selecting another value will replace the dots with dashes, square dots, or lines.
4. After changing the style, you may also specify another color, by changing the value of ‘custom-theme-running-dots-color‘:
As you see, it also supports border color though disabled by default since border width set to 0.
In addition, you may enable different colors for running dots (dashes or lines) on per app basis by disabling ‘custom-theme-customize-running-dots‘ and then enabling ‘running-indicator-dominant-color‘.
Option 2: Customize the Orange Dots via gsettings command:
For those familiar with Linux commands, the previous things can be done by running the commands below in terminal.
Firstly, press Ctrl+Alt+T on keyboard to open terminal. When it opens, run the commands below accordingly.
1.) Replace the dots with square dots, dashes, or vertical lines by running command:
gsettings set org.gnome.shell.extensions.dash-to-dock running-indicator-style 'DASHES'
Here the value ‘DASHES’ can be replaced with: ‘DOTS’, ‘SQUARES’, ‘SOLID’, ‘METRO’, ‘CILIORA’, and ‘SAGMENTED’.
Also, set it to ‘DEFAULT’ will reset to default and override the settings below.
2.) Specify a color to use for ‘running dots’ (change the color value as you prefer):
gsettings set org.gnome.shell.extensions.dash-to-dock custom-theme-running-dots-color '#F2F1F0'
3.) To have color on per app basis, first disable ‘custom-theme-customize-running-dots’ key via:
gsettings set org.gnome.shell.extensions.dash-to-dock custom-theme-customize-running-dots false
then enable ‘running-indicator-dominant-color’ via command:
gsettings set org.gnome.shell.extensions.dash-to-dock running-indicator-dominant-color true
This quick tutorial shows how to get Mac OS style auto-resize dock launcher in Ubuntu 18.04, without installing extensions, e.g., Dash to Panel or Dash to Dock.
The left panel in Ubuntu 18.04 is called “Ubuntu Dock“. It is forked from Dash to Dock extension and less customizable via System Settings. There are only auto-hide, panel position, and icon size settings.
To get more settings for Ubuntu Dock, there’s a graphical tool called Dconf Editor.
1. First search for and install dconf editor from Ubuntu Software:
2. Launch dconf editor, and navigate to org/gnome/shell/extensions/dash-to-dock. And turn off the switch for ‘extend height’.
Then you’ll see an auto-resize Mac OS style dock launcher instead of the extended panel.