![]()
This simple tutorial shows how to turn your photos as desktop slideshow by manually creating XML file in Ubuntu 20.04 and Ubuntu 22.04 LTS.
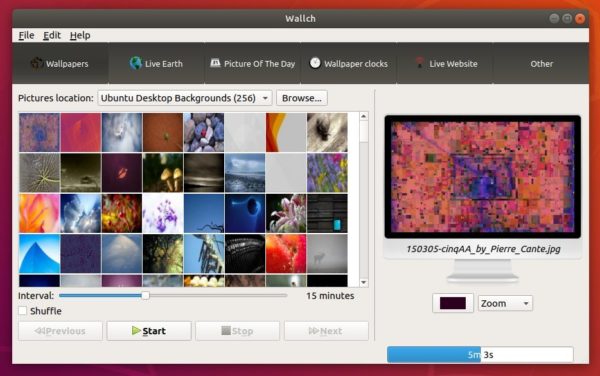
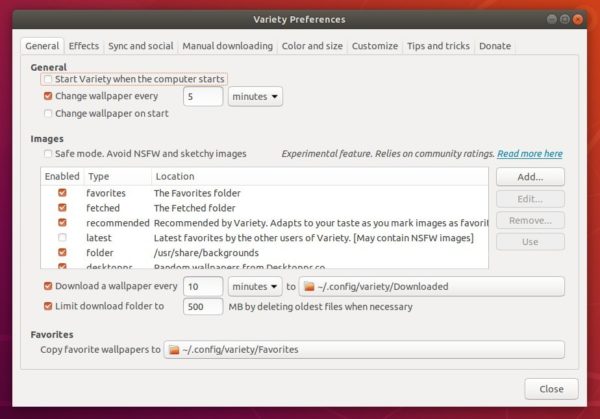
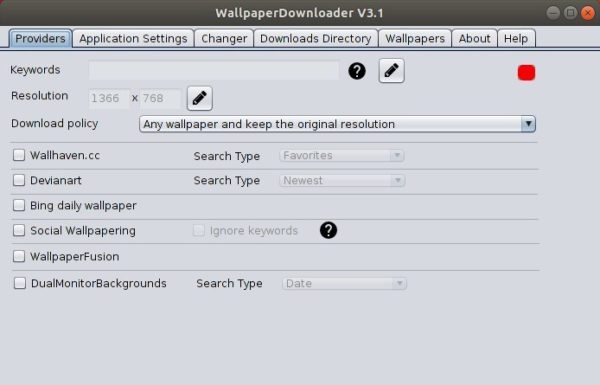
If you’re just looking for an automatic wallpaper changing software, here are four other choices.
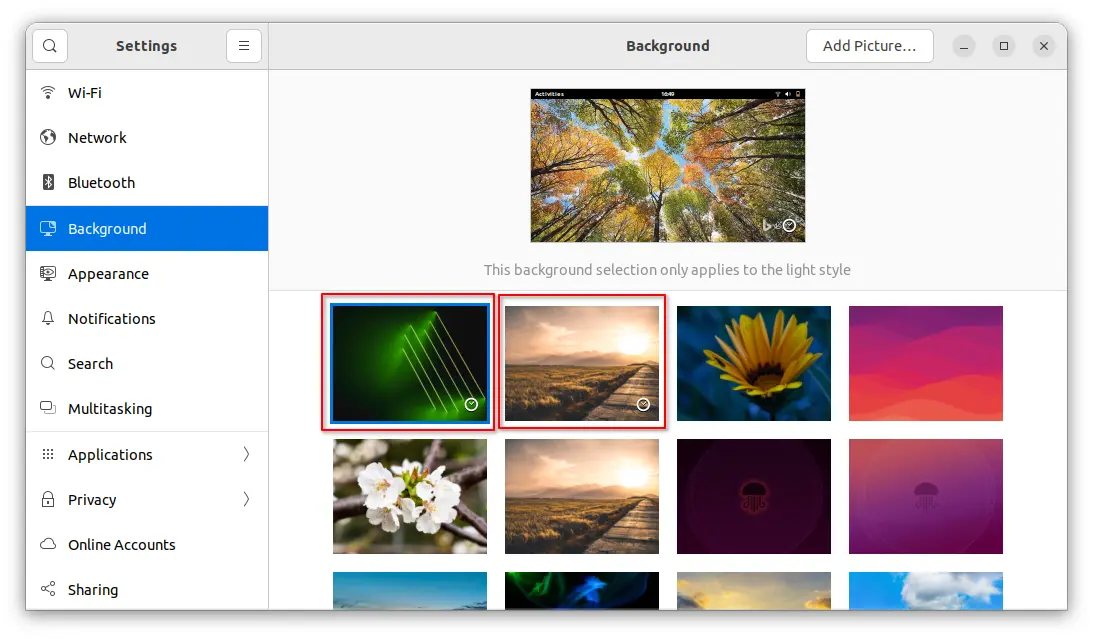
In Ubuntu with the default GNOME desktop, user may turn photos into wallpaper slideshow by creating a XML file, then select it at any time in the Background settings.
XML slideshows in Background settings are displayed with a small clock emblem in the lower-right corner of the preview. (See the red rectangle area in the picture)
NOTE: In Ubuntu 22.04, changing wallpaper or slideshow only applies in current color scheme. Switching to Light or Dark mode, also changes the wallpaper setting.
Step 1: Create & Edit XML file for slideshow:
First of all, you have to create a XML and write the rules for which photos to display as slideshow, how long they will be displayed, and the transition orders.
1. Create XML file
You can create the XML files in anywhere of your user folder. Though it recommends for software developers to put them in ‘~/.local/share/backgrounds‘ folder.
Here I created a sub-folder called ‘slideshows‘ under my Pictures folder. Then, create an empty document and re-name it as .xml file.
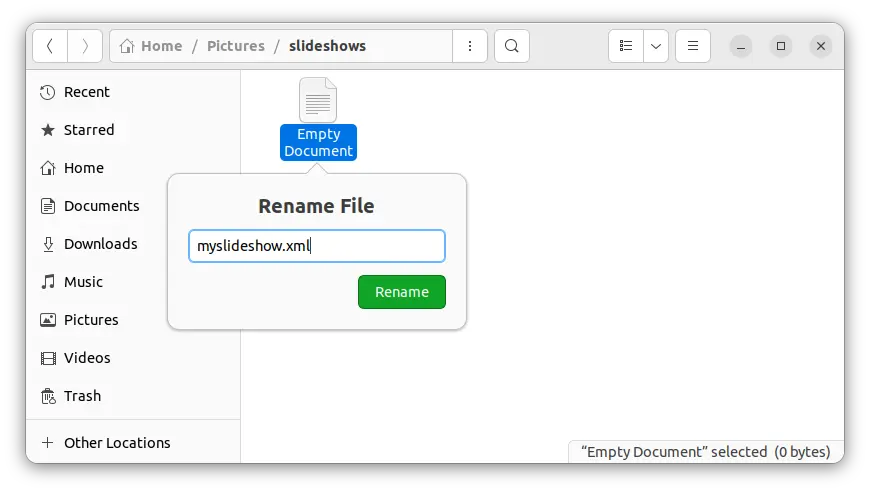
Create a XML file
2. Edit XML write the rules:
After created the file, open it with your favorite text editor and write something look like:
<?xml version="1.0" ?>
<background>
  <static>
    <duration>60.0</duration>
    <file>/home/ji/Pictures/Wallpapers/Pic1.jpg</file>
  </static>
  <transition>
    <duration>0.5</duration>
    <from>/home/ji/Pictures/Wallpapers/Pic1.jpg</from>
    <to>/home/ji/Pictures/Wallpapers/Pic2.jpg</to>
  </transition>
  <static>
    <duration>300.0</duration>
    <file>/home/ji/Pictures/Wallpapers/Pic2.jpg</file>
  </static>
  <transition>
    <duration>0.5</duration>
    <from>/home/ji/Pictures/Wallpapers/Pic2.jpg</from>
    <to>/home/ji/Pictures/Wallpapers/PicN.png</to>
  </transition>
  <static>
    <duration>60.0</duration>
    <file>/home/ji/Pictures/Wallpapers/PicN.png</file>
  </static>
  <transition>
    <duration>0.5</duration>
    <from>/home/ji/Pictures/Wallpapers/PicN.png</from>
    <to>/home/ji/Pictures/Wallpapers/Pic1.jpg</to>
  </transition>
</background>
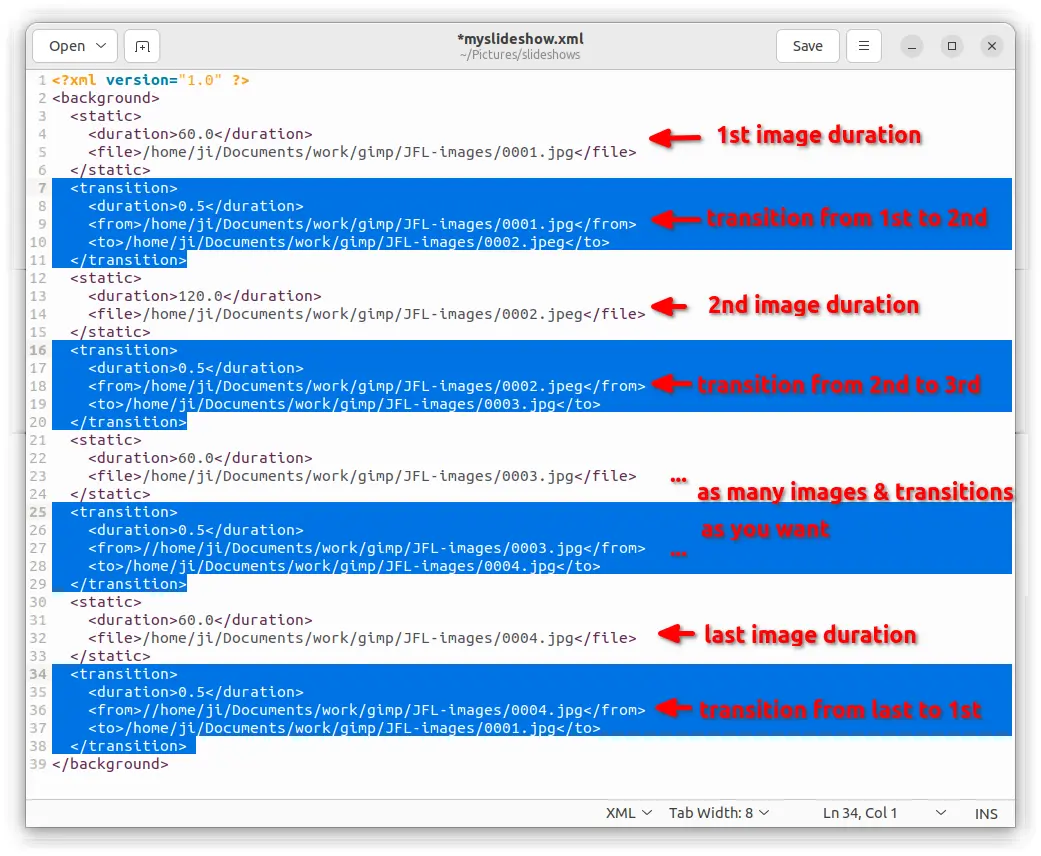
The file content is easy to read. It starts with <?xml version=”1.0″ ?>, then follows with a <background></background> node.
With in <background> node, you can add as many <static></static> and <transition></transition> nodes as you can depends on number of wallpaper files.
While the <static> node contains display time (in seconds) and path to the picture file, the <transition> contains transition time and from to file paths.
The XML slideshow file (pic is edited for easy reading)
TIP: You may drag and drop your photo files into Terminal (Ctrl+Alt+T) or web browser’s URL bar to get the file path quickly!
Step 2: Make the XML slideshow visible in Background settings
After created a XML file, you have to create another one to make it visible in system settings utility.
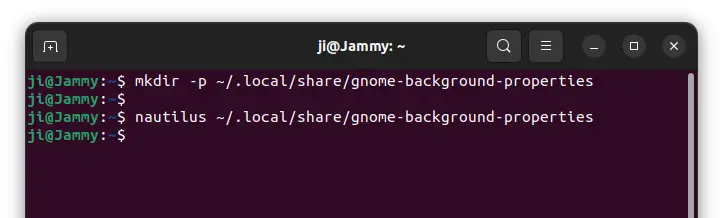
1. First, press Ctrl+Alt+T on keyboard to open a terminal window. When it opens, run command to create the local background properties directory:
mkdir -p ~/.local/share/gnome-background-properties
Then open that directory in file manager by running command:
nautilus ~/.local/share/gnome-background-properties
Create and open background properties folder
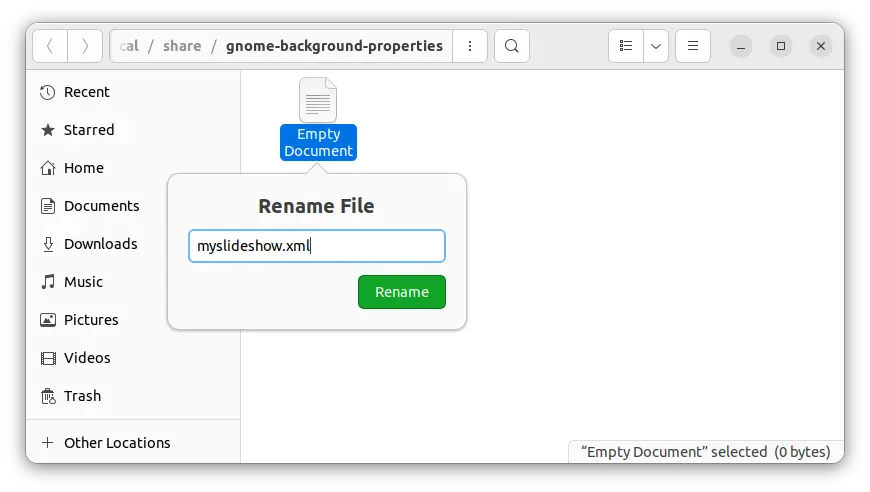
2. When the folder opens, create empty file and rename it to a .xml file with whatever filename as you want.
Create another XML in background properties folder
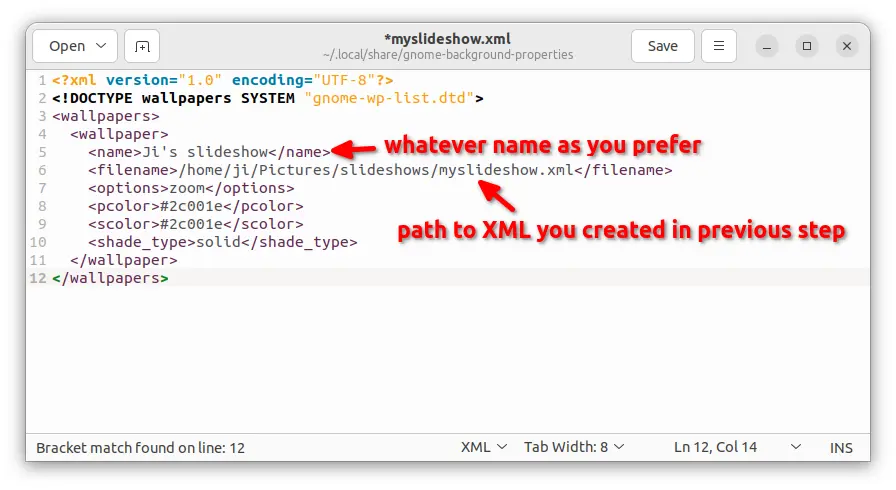
3. Finally open the new created XML file and paste following lines:
<?xml version="1.0" encoding="UTF-8"?>
<!DOCTYPE wallpapers SYSTEM "gnome-wp-list.dtd">
<wallpapers>
  <wallpaper>
    <name>Ji's slideshow</name>
    <filename>/home/ji/Pictures/slideshows/myslideshow.xml</filename>
    <options>zoom</options>
    <pcolor>#2c001e</pcolor>
    <scolor>#2c001e</scolor>
    <shade_type>solid</shade_type>
  </wallpaper>
</wallpapers>
Here type whatever name within <name></name> node, and set the full path to the previous created XML with <filename></filename> node.
Apply the previous created XML slideshow
After saving the file, open or re-open ‘Background’ settings, you should see the new created background slideshow.
Summary:
In short, you can create a XML file in anywhere of user folder, write the rules to specify which photos to display, how long they will persist, and the transition order. Then, create another XML file in background properties directory to make the slideshow visible in ‘Background’ settings dialog.
In theory, the XML should work on all GNOME based Linux, e.g., Fedora Workstation, though I only tested it in Ubuntu 20.04 and Ubuntu 22.04.