![]()
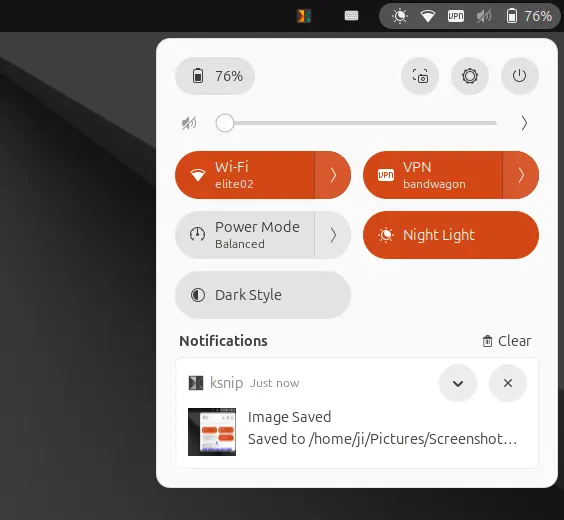
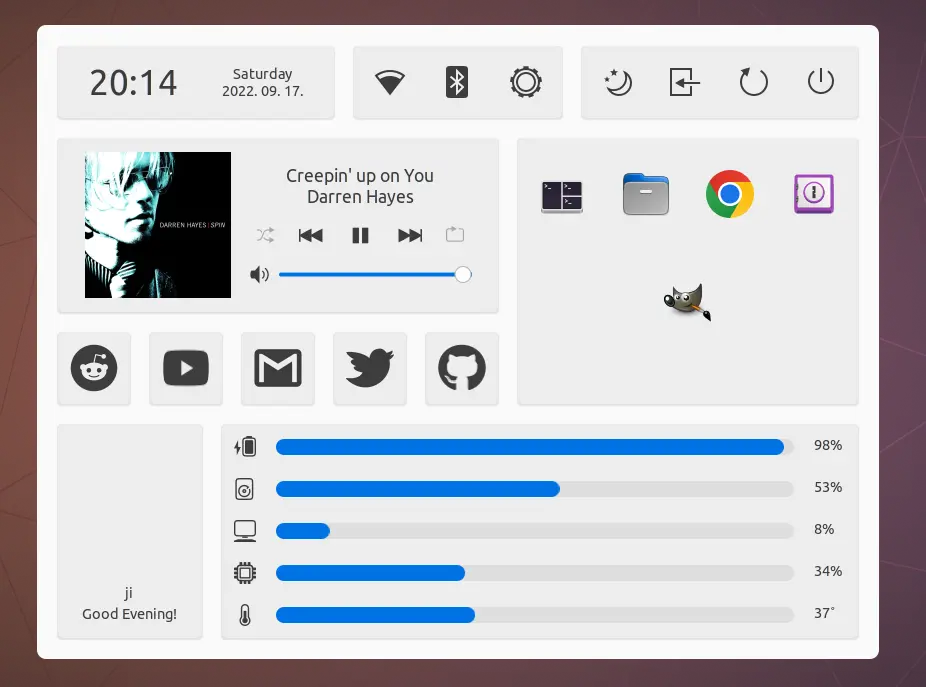
Use Gnome Tweak tool and/or Extensions app frequently? You can add them into top-right corner system menu in Ubuntu 20.04, Ubuntu 22.04, and Ubuntu 24.04.
Meaning you don’t have to search for and launch it every time from ‘Activities’ overview or ‘Show Applications’ screen. Like the built-in ‘Settings’ (Gnome Control Center), just click on top-right corner menu to launch your desired configuration tool.
This is implemented by an extension called “Tweaks & Extensions in System Menu”, which support GNOME version so far up to v46. Sadly, not updated at the moment for GNOME 43 which is default in Ubuntu 22.10 & Fedora 37.
Install the Extension to add system menu options
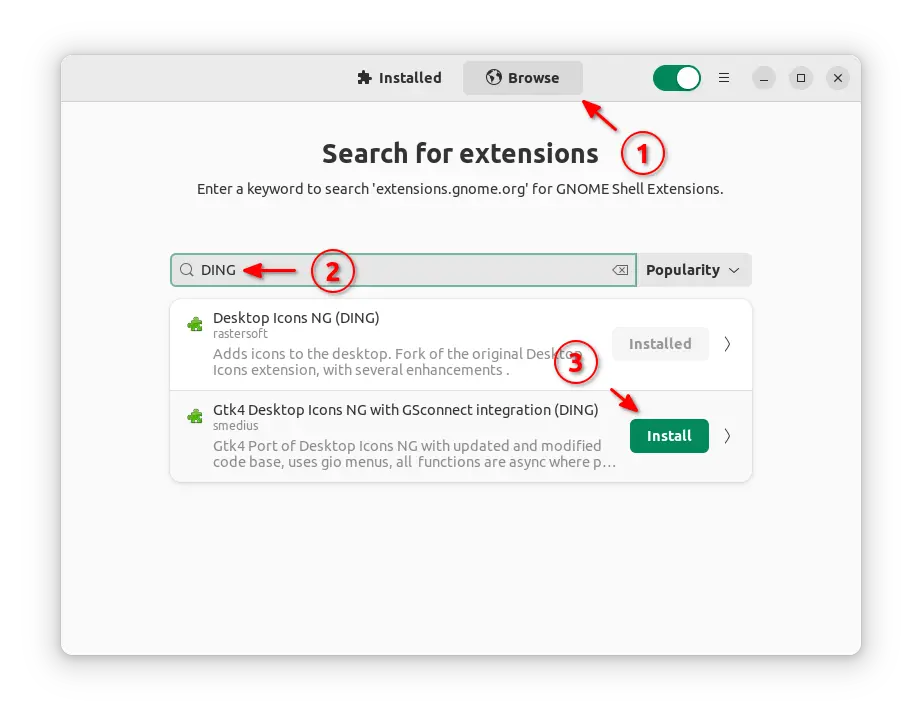
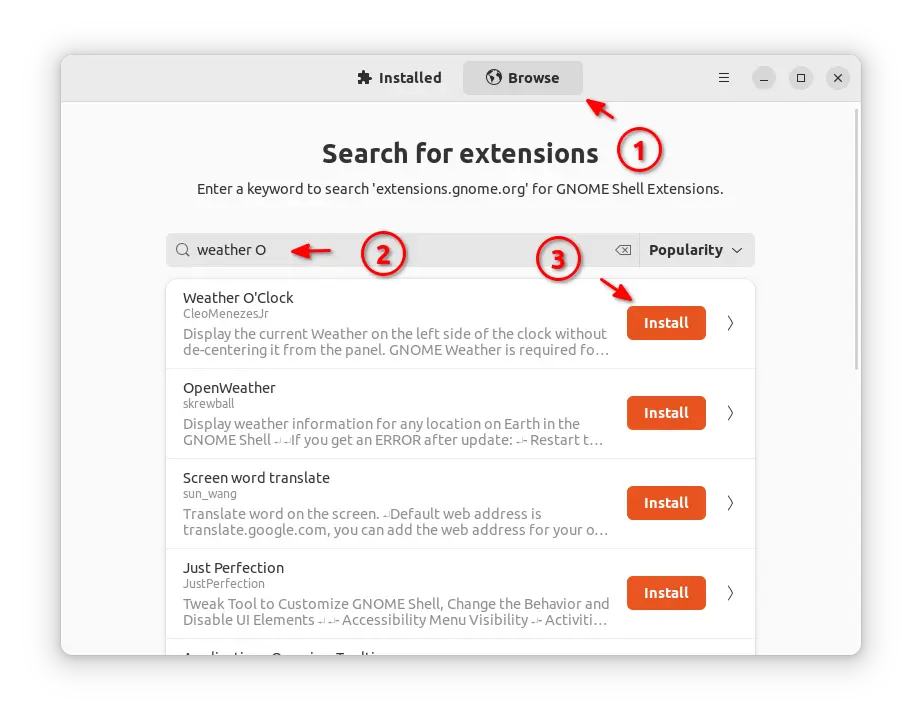
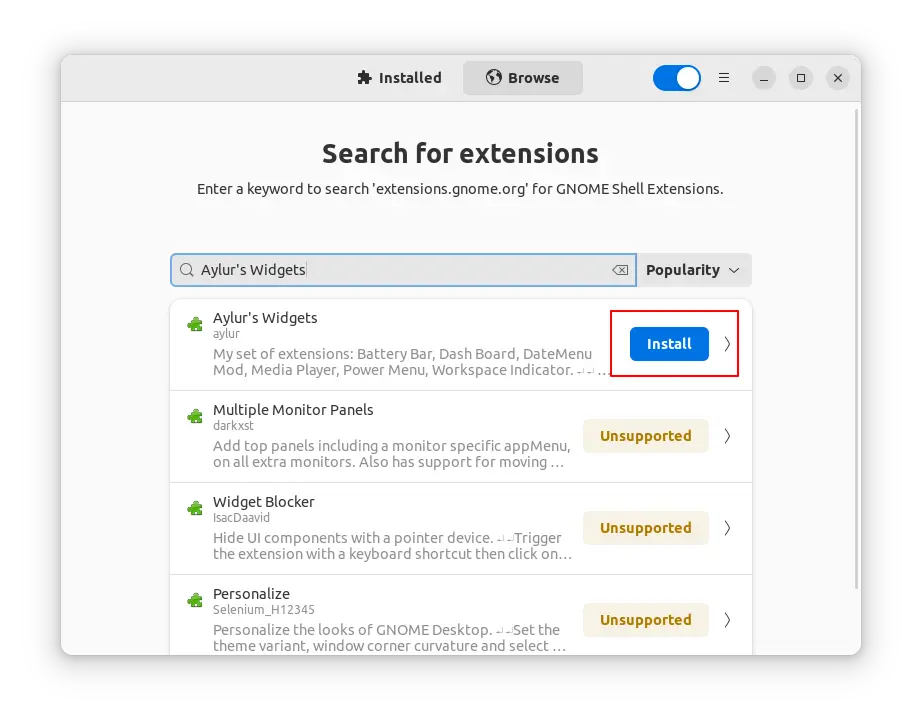
For Ubuntu 22.04 and higher, first search for and install ‘Extension Manager’ from Ubuntu Software or App Center.

Install Extension Manager in Ubuntu 22.04+
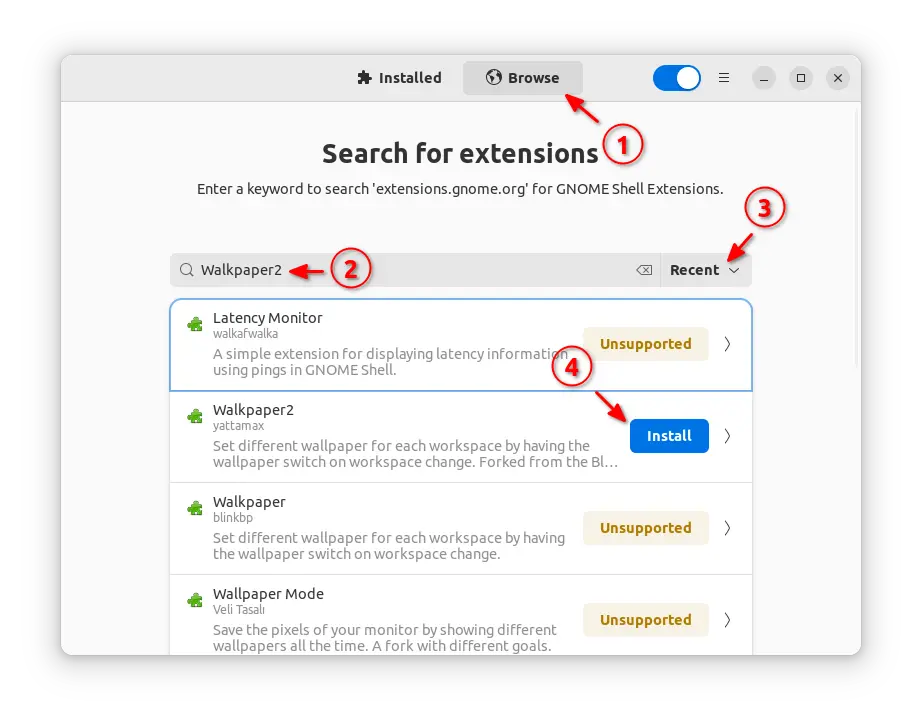
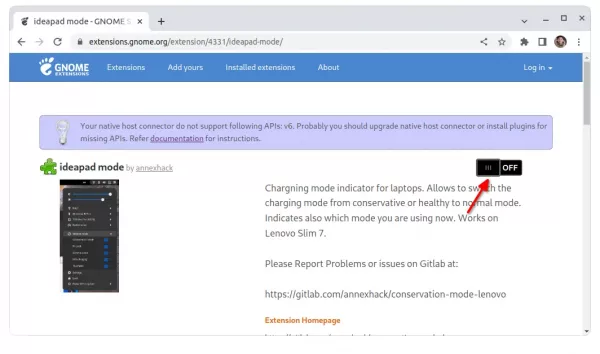
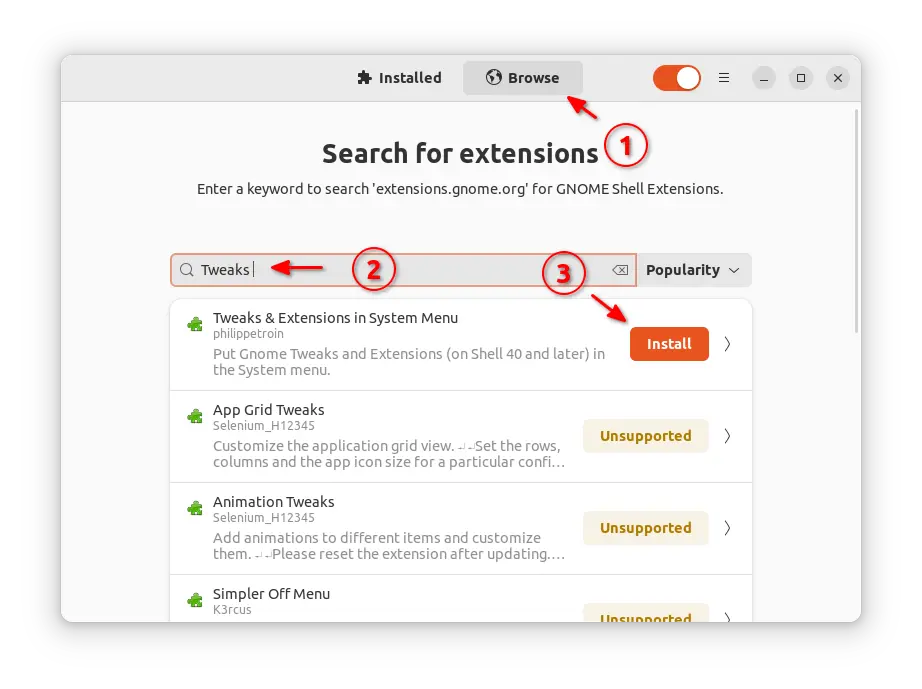
Then launch “Extension Manager” and use it to install the ‘Tweaks in system menu’ extension under ‘Browse’ tab.
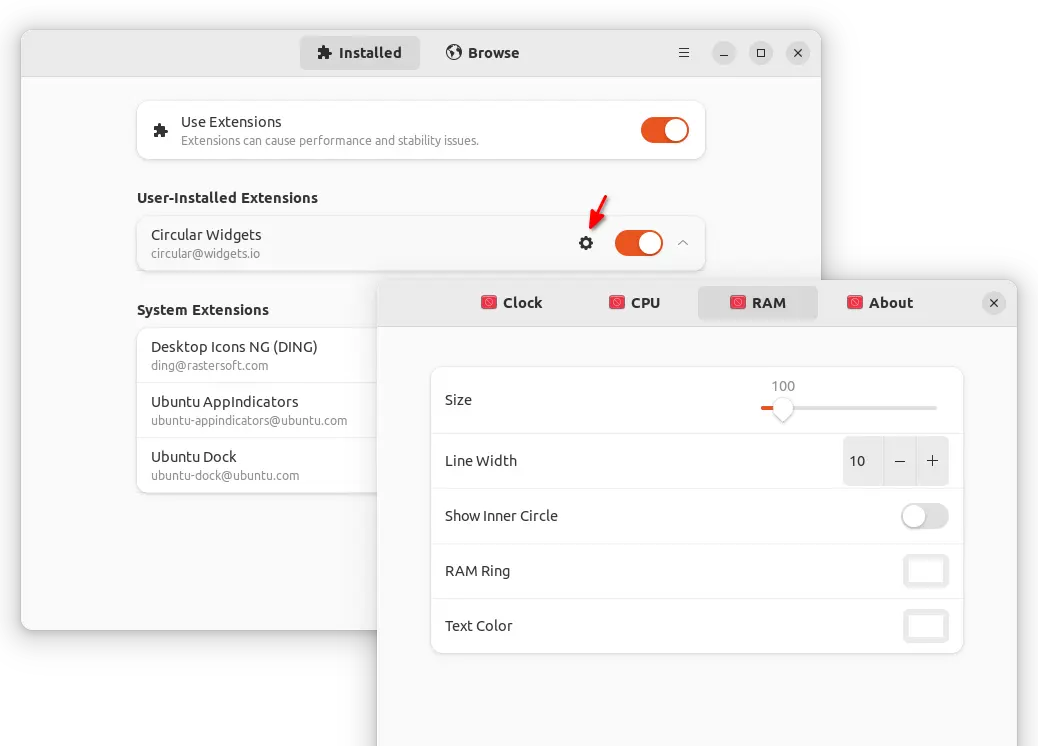
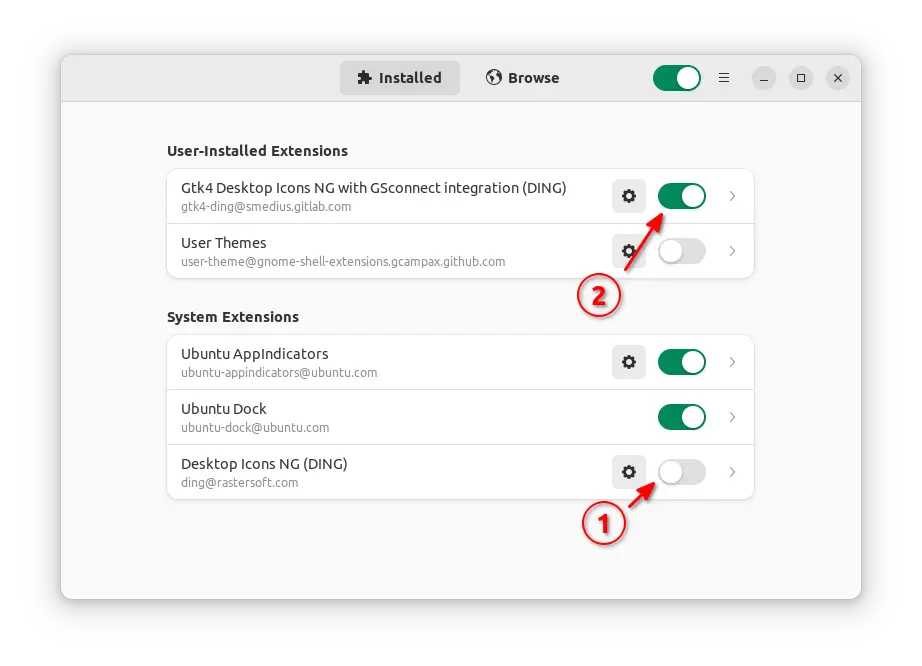
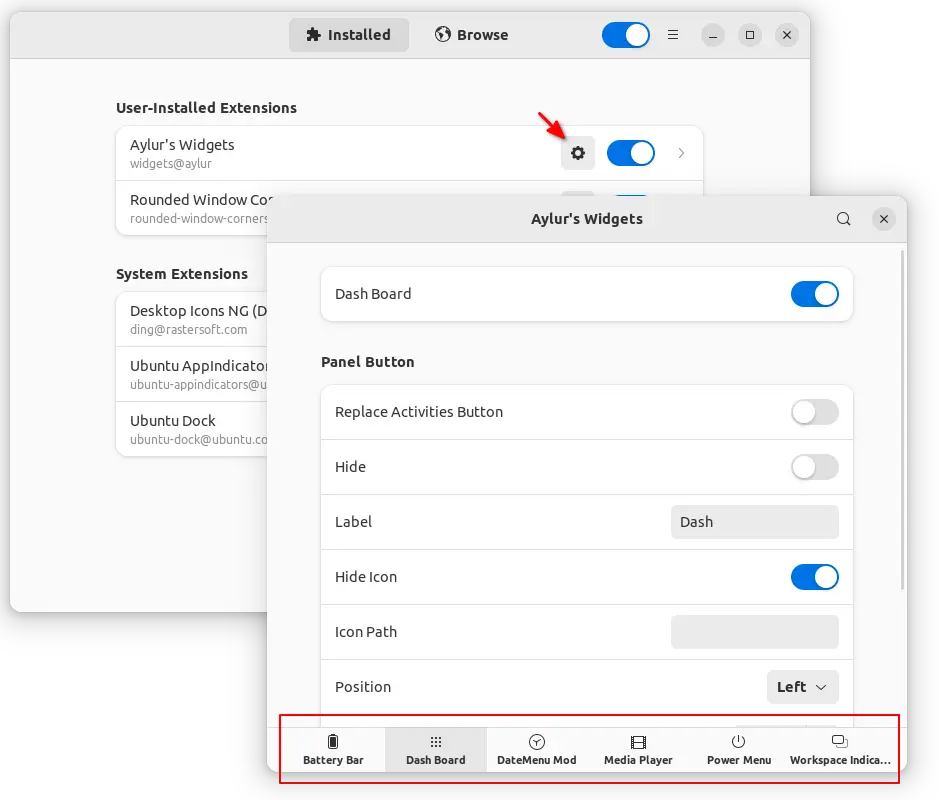
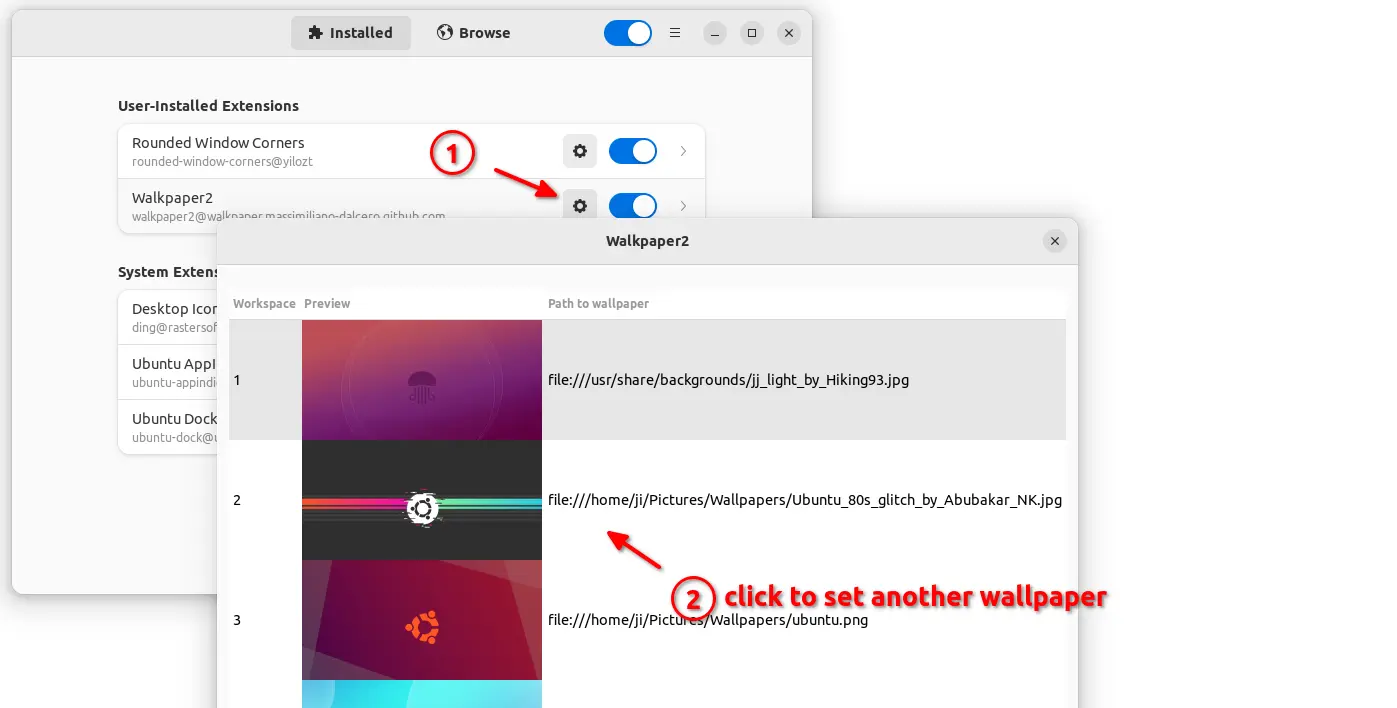
Finally, switch back to ‘Installed’ tab, and click on gear button for that extension to open the configuration dialog. Where you can TURN ON/OFF either option and set its position.

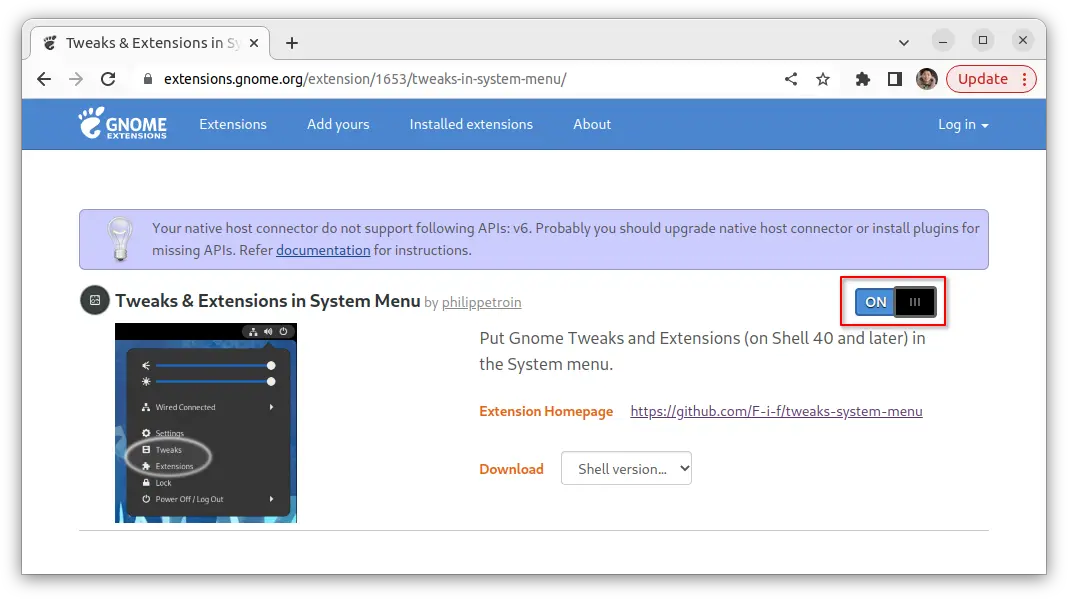
For Ubuntu 20.04 and old Ubuntu 18.04 (not tested), first open terminal by press Ctrl+Alt+T shortcut key on keyboard. And, run command:
sudo apt install chrome-gnome-shell
Then, use the ON/OFF switch to install it via the link page below:
Of course, you must have Gnome Tweak tool and Extensions app installed from Ubuntu Software, to make them visible in the system menu.