![]()
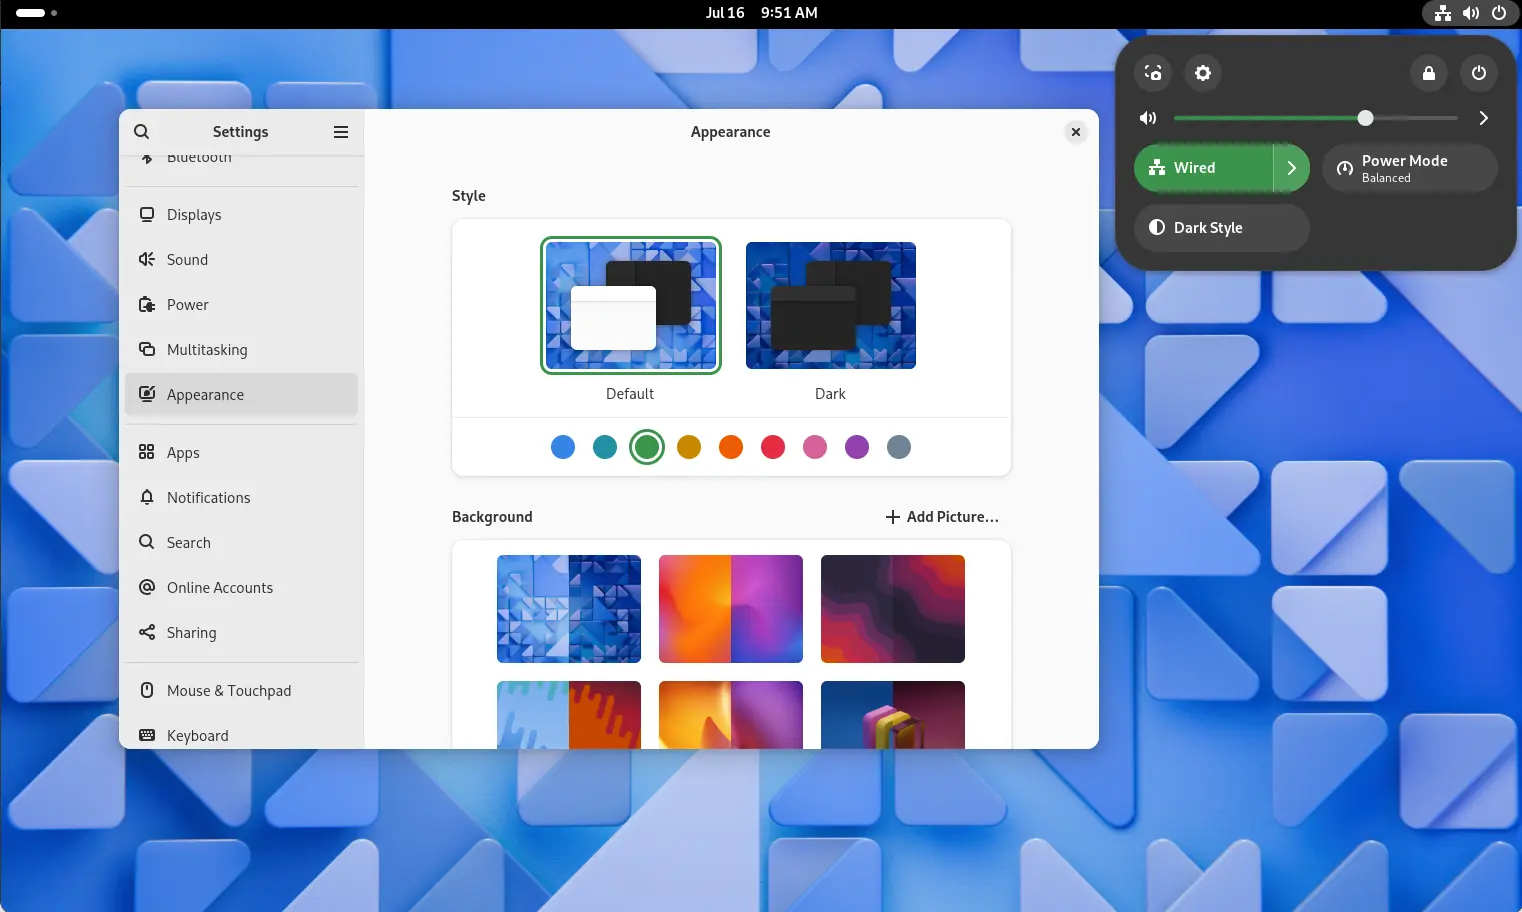
GDM Settings, the graphical configuration tool for GNOME Login Screen, released version 5.0 hours ago with new features!
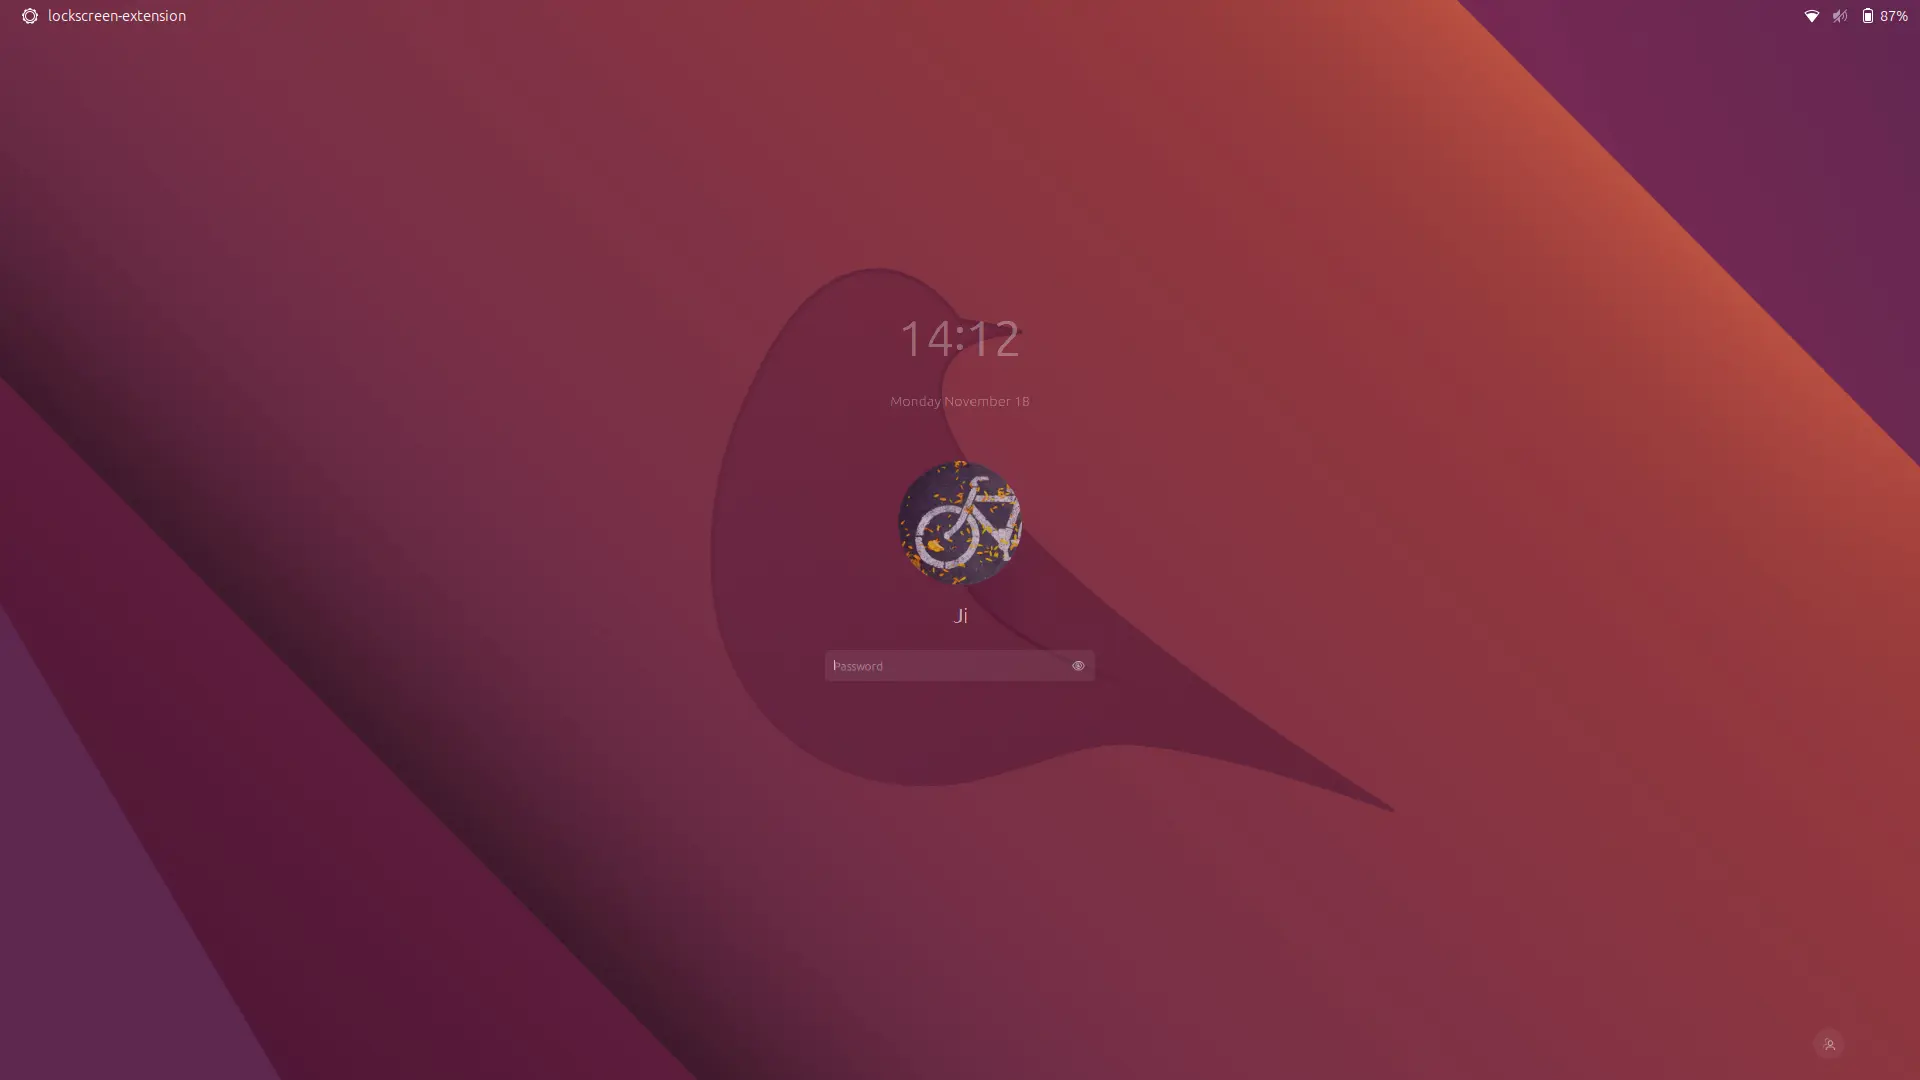
GDM Settings (Gnome Display Manager Settings) is a free open-source tool that provides graphical options to configure background, themes, fonts, etc for login screen in Ubuntu, Fedora Workstation and other Linux with GNOME Desktop.
The application just released 5.0 version today. Here are the new features and how to install guide in Ubuntu 24.04 and Ubuntu 24.10!