![]()

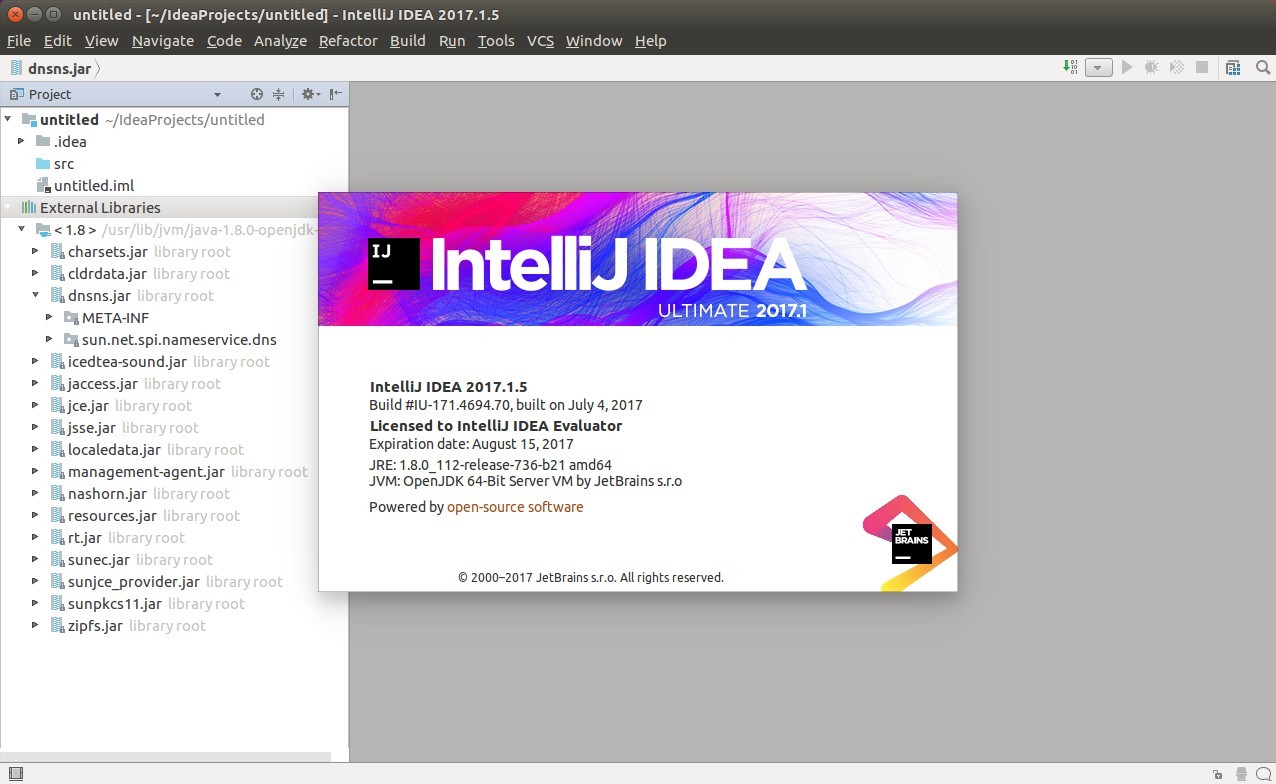
Jet Brains announced the release of IntelliJ IDEA 2017.3 earlier today. Here’s how to install it in Ubuntu 14.04, Ubuntu 16.04, Ubuntu 17.10, and Ubuntu 18.04.
IntelliJ IDEA 2017.3 is a new massive release that includes loads of new features and dozens of important bugfixes. See the release note for details.


How to Install IntelliJ IDEA 2017.3 in Ubuntu:
There are a few ways to run the latest release of the Java IDE in Ubuntu desktop. And here are 3 of them:
method 1: Download official Linux package (NON-INSTALL), extract and run the executable to launch the IDE:
method 2: Install the Snap package for Ubuntu 16.04 and higher:
Open terminal via Ctrl+Alt+T or by searching ‘terminal’ from app launcher. When it opens, run command:
sudo snap install intellij-idea-community --classic
Replace intellij-idea-community with intellij-idea-ultimate for ultimate edition. And type your password (no visual feedback) when it asks.


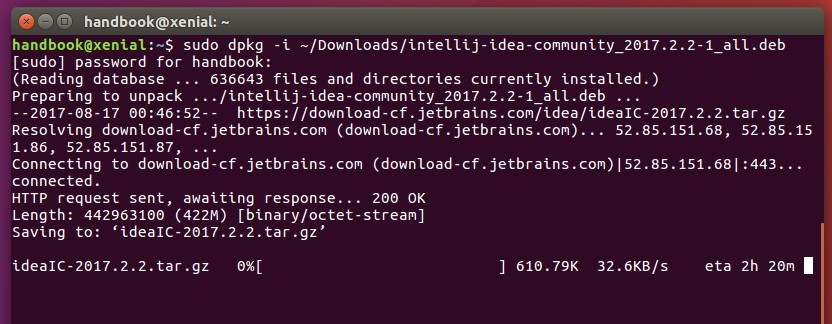
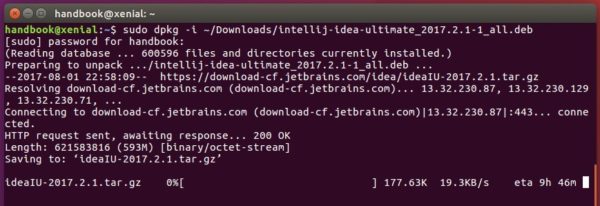
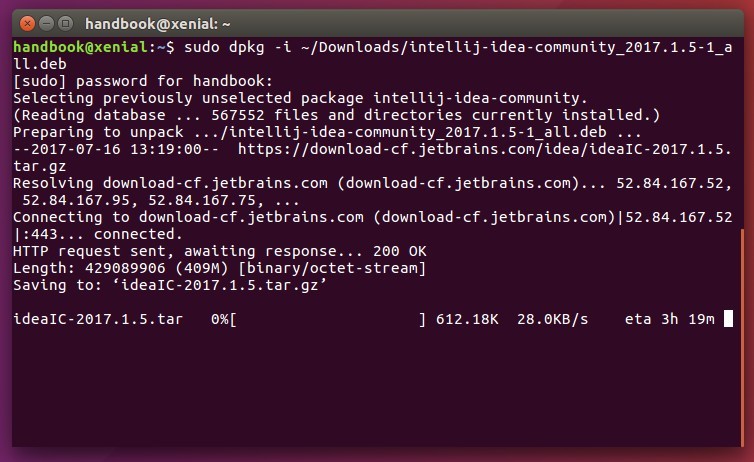
method 3: Install the traditional .deb package via PPA to get the official Linux package and install the application shortcut automatically.
To do so, open terminal (Ctrl+Alt+T) and run following commands one by one to add the PPA and install the .deb packages:
sudo add-apt-repository ppa:ubuntuhandbook1/apps

sudo apt-get update

sudo apt-get install intellij-idea-community
Also replace intellij-idea-community in the code with intellij-idea-ultimate for ultimate edition.
Uninstall:
For the snap packages, you can either remove them from Ubuntu Software, or by running command in terminal:
sudo snap remove intellij-idea-community intellij-idea-ultimate
For the PPA packages, remove them either via Synaptic package manager, or by running command in terminal:
sudo apt-get remove --autoremove intellij-idea-community intellij-idea-ultimate
And you can remove the PPA via “Software & Updates” utility under Other Software tab.