Archives For November 30, 1999

The popular FFmpeg multi-media library released version 5.0 recently. Here’s how to install it in Ubuntu 20.04, Ubuntu 18.04 and/or Ubuntu 16.04 via PPA.

FFmpeg 5.0, codename “Lorentz”, is a new major release that features:

  • remove the old encode/decode APIs and replace them with an N:M-based API.
  • new easy to use AVframe-based API for libswscale.
  • remove the entire libavresample library.
  • Many new filters.
  • ADPCM IMA Westwood encoder, Apple Graphics (SMC) encoder, VideoToolbox ProRes encoder
  • ADPCM IMA Acorn Replay decoder, GEM Raster image decoder.
  • DoVi support, and more in ffmpeg.org.

Install FFmpeg 5.0 in Ubuntu:

IMPORTANT: Upgrading FFmpeg is not recommended for beginners! It may conflict with other packages in your system. Use it at your own risk!

Rob Savoury has built the FFmpeg 5.0 packages into PPA for all the current Ubuntu LTS releases. Though the updates is suspend due to lack of donations. The PPA still works, and if you find it’s useful you may help by making donations (see the previous link).

1.) Add the PPAs

Firstly, press Ctrl+Alt+T on keyboard to open a terminal window. When it opens, run command to add the PPA:

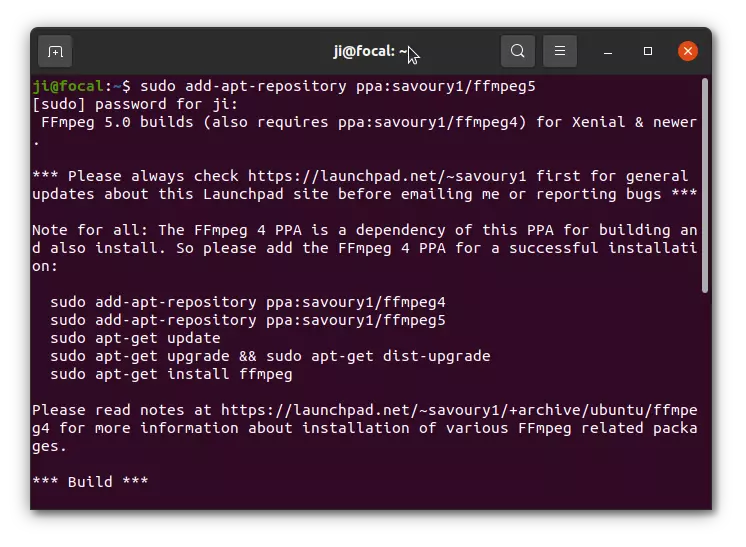
sudo add-apt-repository ppa:savoury1/ffmpeg5

Also add the FFmpeg4 PPA which contains the dependency libraries:

sudo add-apt-repository ppa:savoury1/ffmpeg4

2.) Update package cache:

If you’re running Ubuntu 18.04 or Ubuntu 16.04, you need to manually refresh the system package cache by running command:

sudo apt update

3.) Upgrade FFmpeg to 5.0:

Finally, run the command below to install all the available updates including FFmpeg 5:

sudo apt full-upgrade

NOTE: This command may remove some apps on your system due to package conflict! DO CHECK the terminal output before typing ‘y‘ to confirm installation!

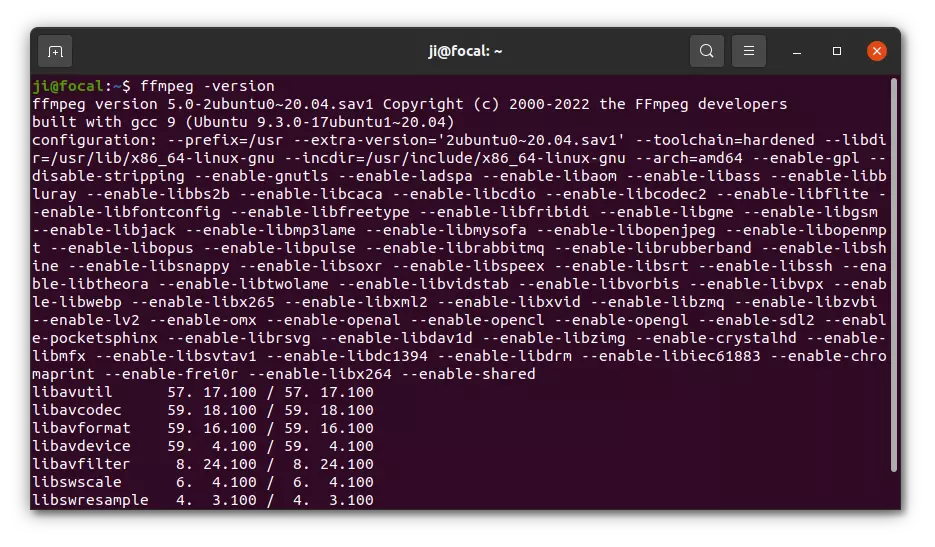
When everything’s done successfully, verify via ffmpeg -version command.

How to Restore:

You may purge the two PPAs which also downgrade all the installed packages. Firstly, install the ppa-purge tool via command:

sudo apt install ppa-purge

Then purge the PPAs via the commands below one by one:

sudo ppa-purge ppa:savoury1/ffmpeg5
sudo ppa-purge ppa:savoury1/ffmpeg4

NOTE: The downgrade process may also remove some other apps. Keep an eye on terminal output before performing the action!

Due to legal reason, Ubuntu does not have multimedia codec installed out of the box, though they are available in the universe repositories.

When you’re going to play music or video via the default media players (Rhythmbox and Totem), it prompts to install the decoder:

And Ubuntu Software pops up with a list of software packages after clicked the button.

For those don’t want to be interrupted again, or you don’t know which to install, simple run following single command in terminal.

1.) Open terminal either via Ctrl+Alt+T or by searching for ‘terminal’ from application menu. When it opens, run command:

sudo apt install ubuntu-restricted-extras

Type user password for sudo prompts and hit Enter. Run sudo apt update first if required

The command will install gstreamer, ffmpeg, dvd reading and navigation libraries, mesa and intel video acceleration drivers, and other most required software libraries.

That’s it. Enjoy!

Due to legal reasons, Ubuntu does NOT include multi-media codecs out-of-the-box for audio and video playback. It’s however easy to install them via a single command.

During the Ubuntu installing process, it provides an option “Install third party software for graphics and Wi-Fi hardware and additional media formats” in the wizard. If you didn’t enable it, Ubuntu refuses to play movie and sound via the default Totem media player and Rhythmbox music player.

Without installing third-party player with bundled codecs, you can simply install the ubuntu-restricted-extras package to fix the issue. The package does not contain anything, but tells to install the following packages for you:

  • ttf-mscorefonts-installer – Install Microsoft TrueType core fonts.
  • unrar – non-free package enables ability to extract rar package in Ubuntu.
  • libavcodec-extra – FFmpeg library with encoder / decoder for audio and video codecs.
  • chromium-codecs-ffmpeg-extra – FFmpeg codecs for Chromium based web browser.
  • And a few gstreamer1.0 plugins for audio / video playback, recording and editing.

How to Install Media Codecs in Ubuntu:

Firstly, open a terminal window either by searching from the ‘Activities‘ overview screen or by pressing Ctrl+Alt+T on keyboard.

When terminal opens, copy and paste the command below into it and hit Enter:

sudo apt update && sudo apt install ubuntu-restricted-extras

Type your password (no visual feedback for security reason) when it prompts and hit Enter

For Ubuntu flavors, e.g, KUbuntu, and LUbuntu, there are relevant package to install the commonly used media codecs and fonts.

For KUbuntu users, open terminal emulator from start menu and run the command below instead:

sudo apt update && sudo install kubuntu-restricted-extras

And for LUbuntu, open terminal from start menu and run the command:

sudo apt update && sudo install lubuntu-restricted-extras

That’s all. Enjoy!