![]()
MPV, the popular free open-source media player, released new 0.40.0 version after half an year of development.
The new MPV release added NVIDIA RTX Video HDR support, which can be enabled by using --vf=d3d11vpp=nvidia-true-hdr option. And, HDR is now natively supported when using direct rendering (DRM) and dmabuf-wayland on Linux.
The release added new clipboard property with native backends for Windows, macOS, and Linux on Wayland, allowing for native clipboard access, which is useful for scripting.
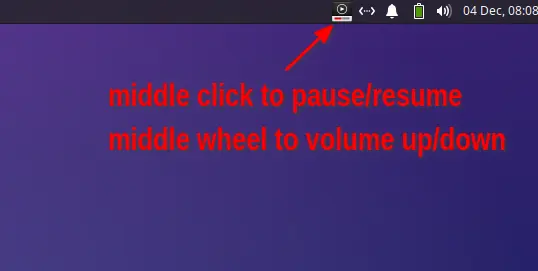
The on-screen control now offers right-click menu options. User can now right-click on play/pause button to choose whether loop current playback or not, and right-click on volume icon to select audio device.

Right-click on volume icon to choose audio device
MPV 0.40.0 also introduced mpv:// protocol, which can be used to start mpv from web browser or anything that would trigger url handler for given protocol.
Other changes include Windows support in umpv helper script, support for HDR metadata, as well as:
- Add select.lua options for watching history, edition, DVD/Blu-Ray titles.
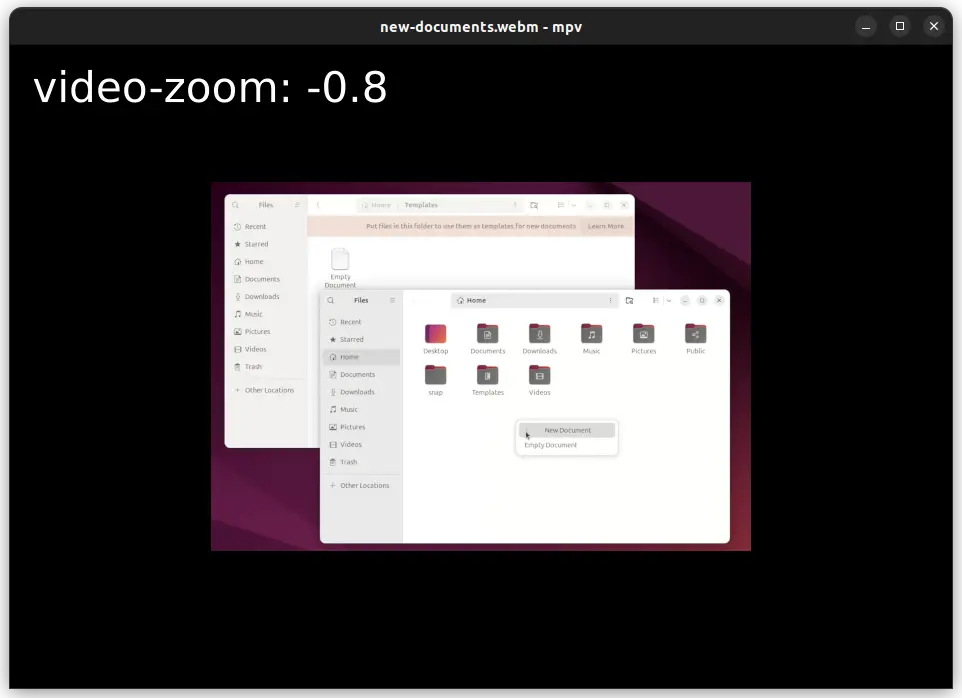
- New positioning.lua script for cursor-centric zooming and drag to pan
- Support for wp-color-management-v1 protocol and support xdg-activation on Wayland.
- Update console.lua with persistent command history
- New
--playlist-extsand--archive-exts - And more. See the github releases page for details.
How to Install MPV 0.40
MPV does not provide official packages. It however offers links to the source code, and unofficial Windows, macOS, and Linux packages in its website via the link below:
For Ubuntu 22.04 (without libmpv), Ubuntu 24.04, and Ubuntu 24.10, I’ve built the new release package into this unofficial PPA with amd64 (AMD/Intel) and arm64/armhf (e.g., RasPi) platforms support.
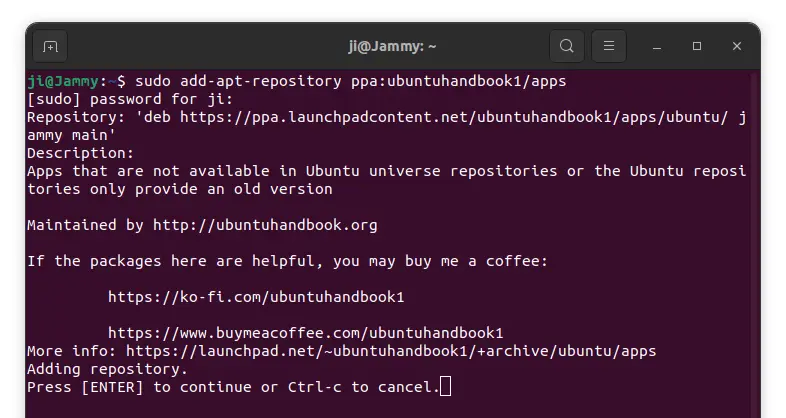
To add the PPA and install mpv 0.40 from it, open terminal (Ctrl+Alt+T) and run commands below one by one:
sudo add-apt-repository ppa:ubuntuhandbook1/mpv
sudo apt update
sudo apt install mpv
(Optionally) you may remove the PPA by using command:
sudo add-apt-repository --remove ppa:ubuntuhandbook1/mpv
And remove the mpv package if you want via command:
sudo apt remove --autoremove mpv