Archives For November 30, 1999

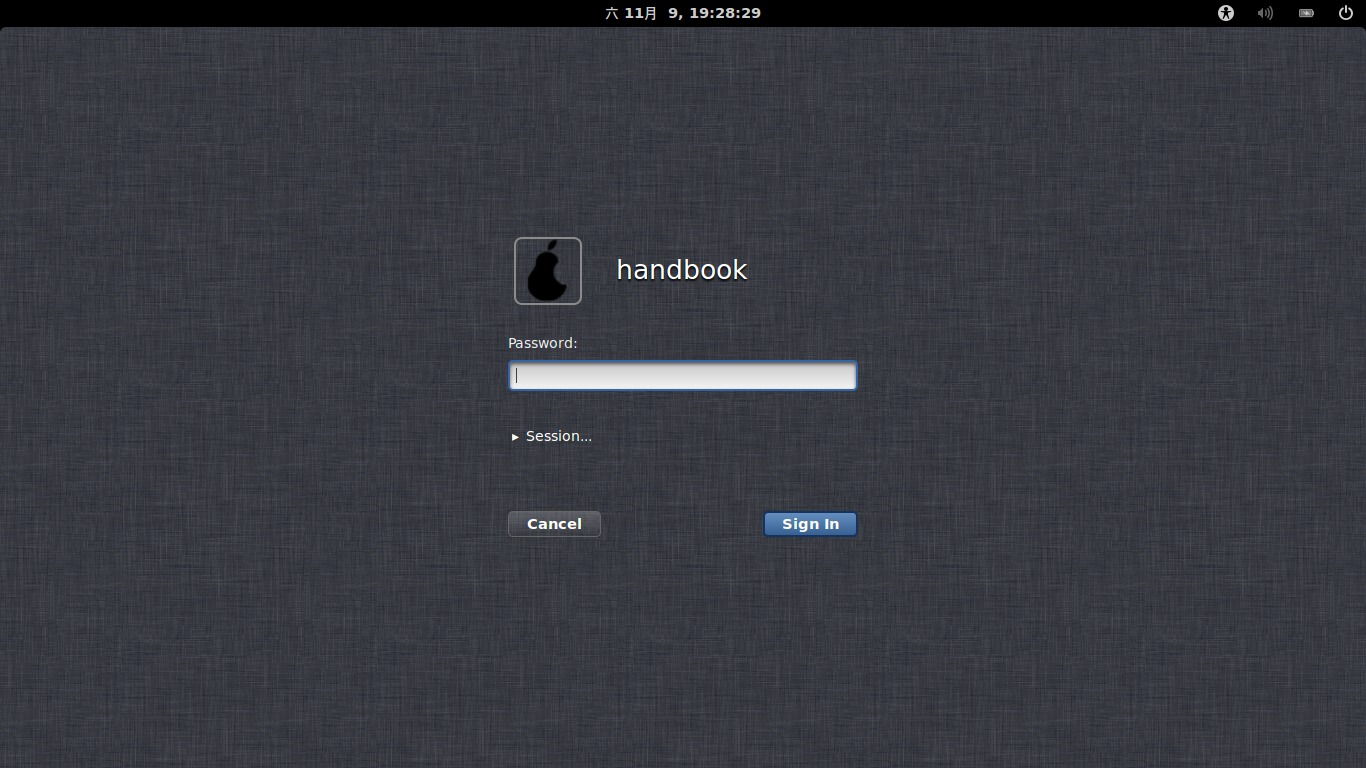
This simple tutorial shows you how to capture screenshot of the LightDM / GDM login screen in Ubuntu, Elementary OS, or Pear OS.

Besides installing your system as Virtualbox or Vmware Guest OS, we can follow the steps below to capture and share our login screens.

1. Press Ctrl+Alt+T on your keyboard to open terminal. When it opens, run command blow to check out your display manager:

cat /etc/X11/default-display-manager
handbook@handbook-1310:~$ cat /etc/X11/default-display-manager 
/usr/sbin/lightdm

By default:

  • Ubuntu Unity and Elementary OS Luna uses LightDM
  • Pear OS 8 and Ubuntu Gnome uses GDM

2. Check out the value of $DISPLAY:

echo $DISPLAY
handbook@handbook-1310:~$ echo $DISPLAY
:0

3. Now create a simple script

echo 'sleep 20; DISPLAY=:0 XAUTHORITY=/var/run/lightdm/root/$DISPLAY xwd -root' > /tmp/shot.sh

You may change:

  • 20 : the seconds of delay.
  • :0 : the value of $DISPLAY. In my Pear OS 8, the value of $DISPLAY changes every login ($DISPLAY=$DISPAY +1).
  • lightdm : the display manager.

4. Press Ctrl+Alt+F1 and log into TTY1.

5. Run command below to start the script:

sudo bash /tmp/shot.sh >/tmp/shot.xwd

6. Return to GUI mode by pressing Ctrl+Alt+F1.

7. Logout by normal way. While you can see login screen, wait for some seconds.

8. Login by normal way. Install imagemagick if you don’t have it installed yet.

sudo apt-get install -y imagemagick

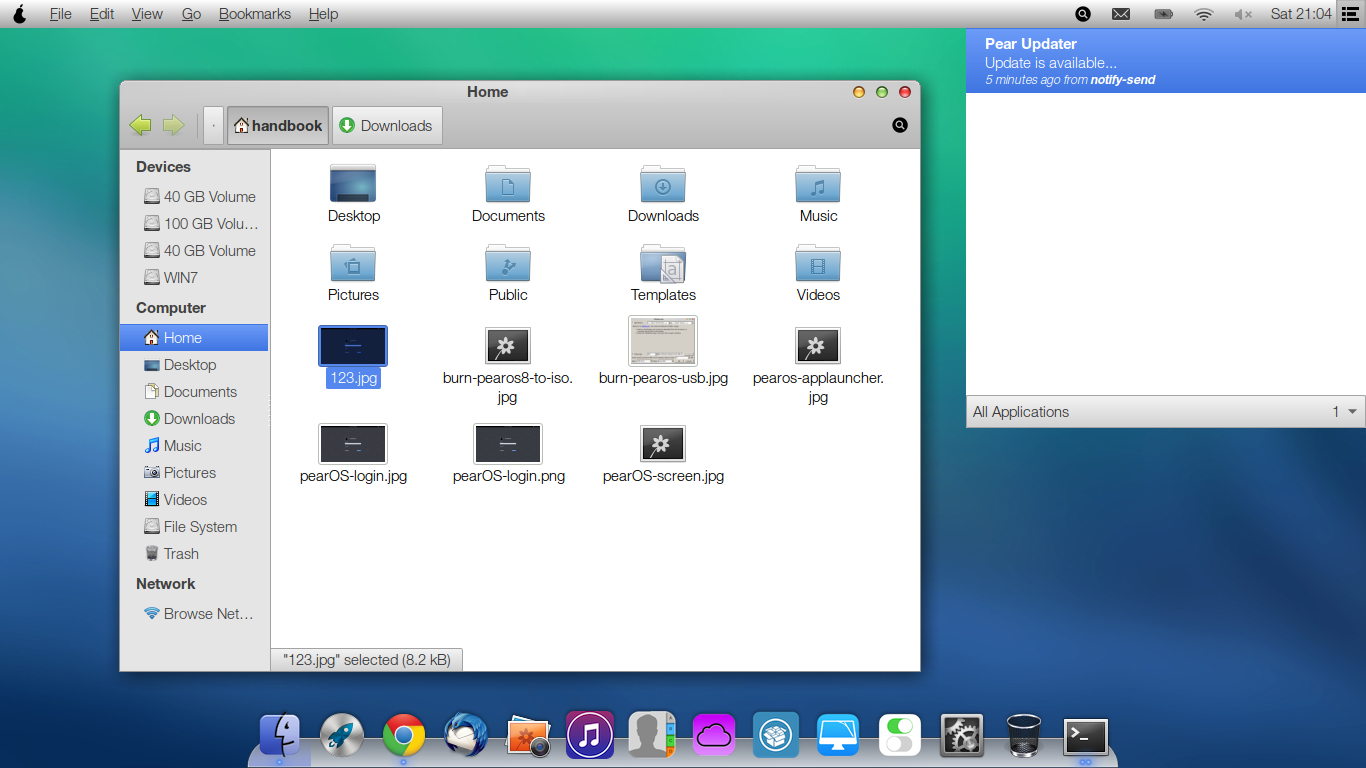
9. Run command below and finally you can check out the image under user Pictures folder.

convert /tmp/shot.xwd ~/Pictures/loginscreen.png

How to Install Pear OS 8 from USB Stick

Last updated: July 25, 2014

Pear OS 8, a Linux distribution based on Ubuntu 12.04 Precise and inspired by iOS7 has been released today. It aims to be reliable, efficient and innovative.

It’s hard to run Virtualbox Guest OS on my old laptop, so I installed Pear OS 8 as a quintuple-boot. Now I have Ubuntu 13.10 Saucy, Linux Mint 15 Olivia, Elementary OS Luna, Windows 7 and Pear OS 8.

Tutorial Objectives:

  • Install Pear OS 8 from USB Stick
  • Enjoy!

Preparation:

  • Format your USB Stick (2G+) to FAT32 format without ‘Quick Format’ enabled.
  • Download Pear OS 8 from its official download page

Create bootable Pear OS USB from ISO image

The first step is going to burn the Pear OS iso into USB, so that you can boot up and start the install wizard. There are a few tools can do this job, here I used Unetbootin.

1. Download unetbootin executable from unetbootin.sourceforge.net. For Ubuntu, you can also install it in Ubuntu Software Center.

2. Plug-in your USB stick, then open Unetbootin. Choose Diskimage and browser to select the iso image.

create bootable bear os 8 usb

create bootable bear os 8 usb

3. Click on OK button and wait a few minutes for the burning process.

Install Pear OS 8 from the bootable USB

Insert the USB stick into the target computer. Start the machine and choose to boot up via USB in BIOS. You’ll see a blue background with a few options, choose to boot with ‘Start the installer directly’.

bootable pear os usb

When you’re in the live system, you can totally follow this Ubuntu step by step installation guide to install Pear OS 8 on your machine.

NOTE: If you have Ubuntu based system previously installed as dual or triple boot, you may choose to install boot loader to local partition rather than whole hard disk.

Pear OS 8 Screenshots:

pear os 8 gdm login screen


pear os 8 app launcher


pear os 8 my pear 6 & contacts


pear os 8 nautilus file manager 3.4


pear os 8 ppa manager & synapse indicator