gThumb image viewer and organizer released new 3.12.5 release this Sunday. It is a small release only contains translation updates and a few bug-fixes.
Bug fixes in the release include:
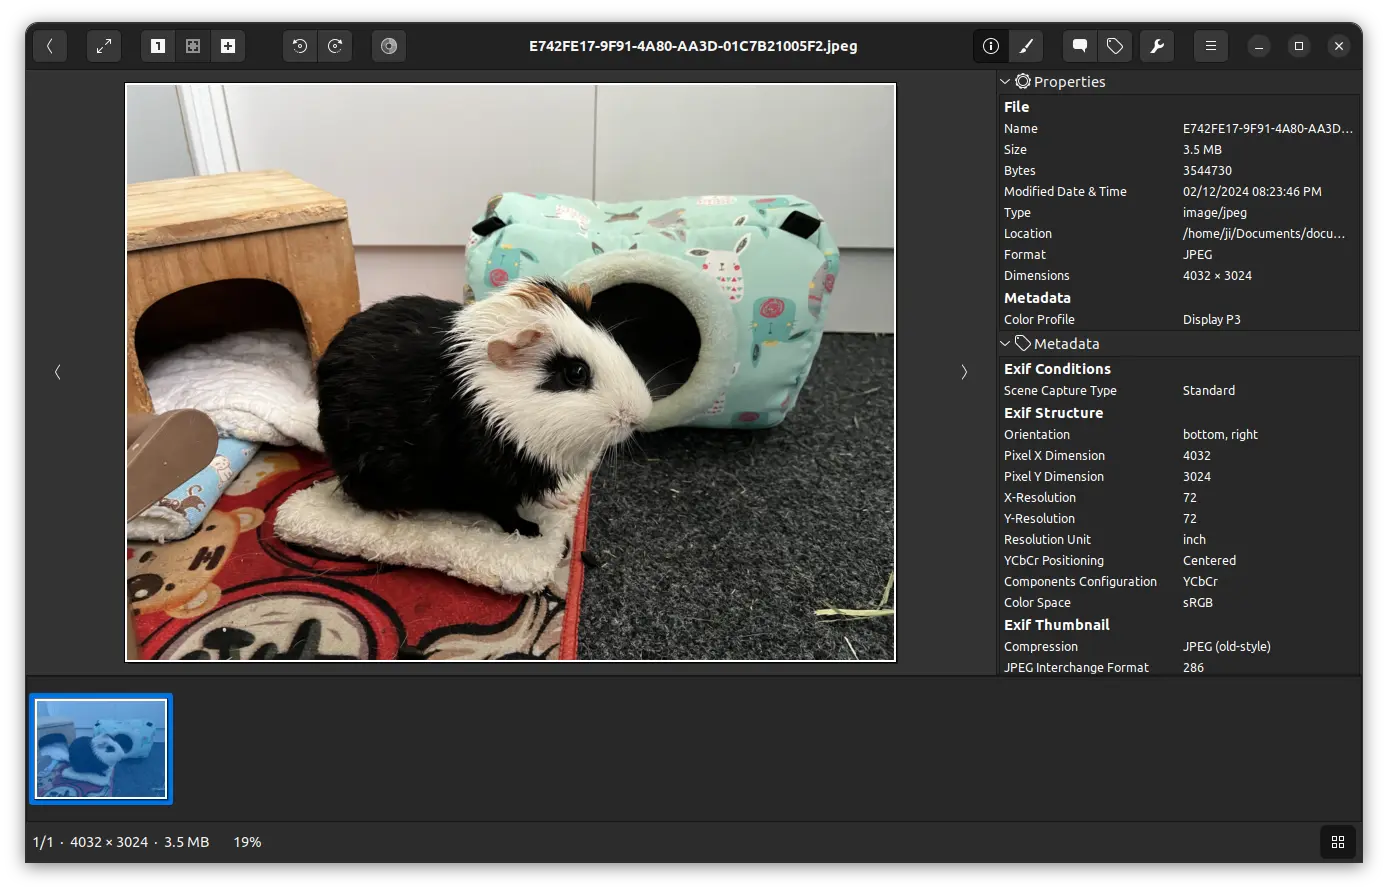
When the ‘Store metadata inside files if possible’ option is active, comment a picture will delete its Color Profile tag.
Build issue with libjxl 0.9 for loading JPEG-XL images.
In the “Add to catalog”, when “Keep the dialog open” button is checked, the “View the destination” checkbox becomes disabled.
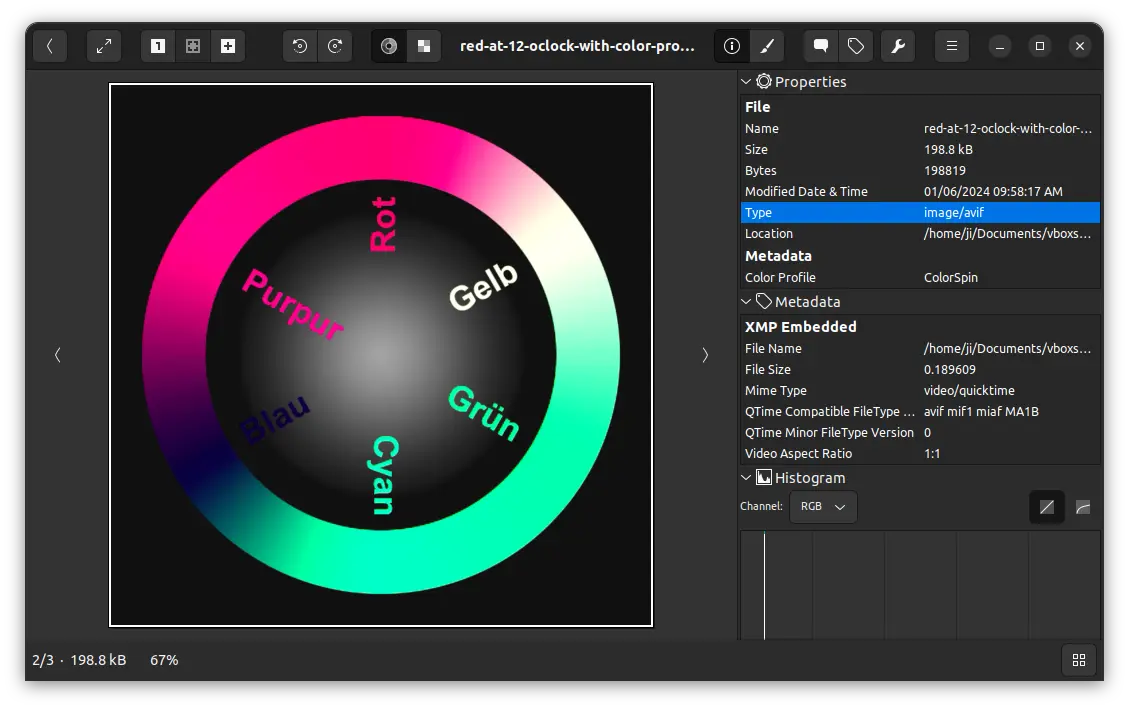
This simple tutorial shows how to install the latest version of libheif library, for better HEIF and AVIF image formats support, in Ubuntu 24.04, Ubuntu 22.04 and/or Ubuntu 20.04 LTS.
Libheif is a popular free open-source library for encoding and decoding HEIF and AVIF. Which, also has partial support for JPEG-in-HEIF, JPEG2000, uncompressed (ISO/IEC 23001-17:2023) capabilities.
It supports libde265 and/or ffmpeg for decoding HEIC images, and x265/kvazaar for encoding. For AVIF images, it uses either AOM/dav1d for decoding, and AOM/rav1e/svt-av1 for encoding support.
As well, it has command line tools to convert HEIF/HEIC to other images, and convert images to HEIF/HEIC.
Many popular applications, including GIMP, Darktable, ImageMagick, Krita, and gThumb, use libheif for HEIF and/or AVIF support. And, the library is usually installed as dependency along with them.
Darkable, the popular photography app and raw developer, released new major 4.6.0 version a day ago!
The new release introduced auto-save feature for editing history. By default, it save changes every 10 seconds. User can go to ‘Preferences -> storage‘ to change the time interval, or set it to 0 to disable it.
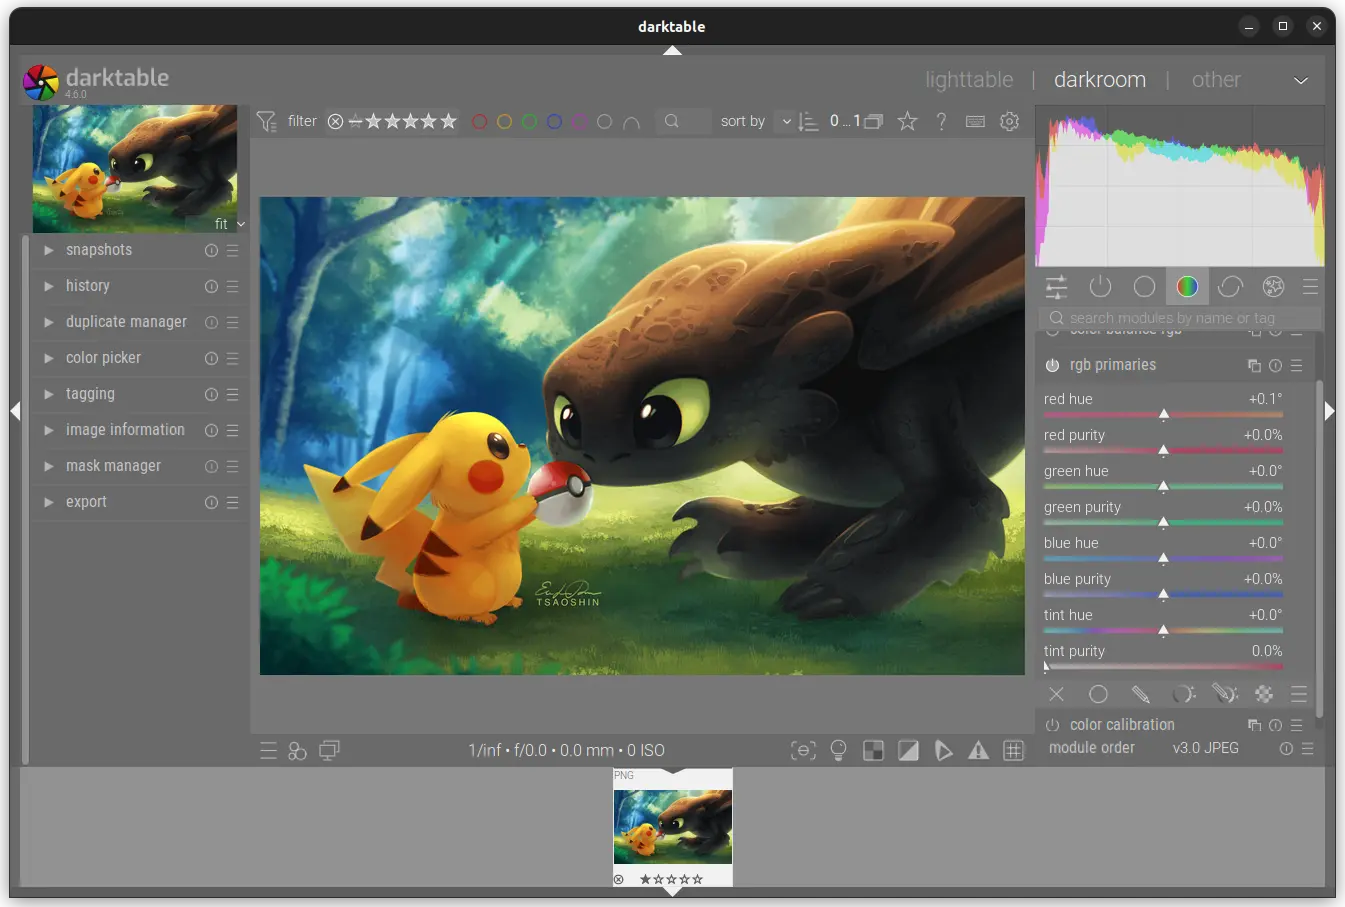
Darktable 4.6.0 also features new rgb primaries processing module. It allows delicate color corrections and creative color grading, by moving the red, green and blue primary colors around using “hue” and “purity” controls.
Darktable 4.6.0
The release also has a big performance improvements. OpenCL is now initialized in the background to speed up the app launching. Image display speed in the map view has been increased by 25%. And, the chromatic aberrations module is now approximagely 10% faster when run on the CPU.
Other changes in Darktable 4.6.0 include:
sigmoid module now includes a new primaries section, to gracefully handle difficult lighting situations (e.g. LEDs) and tune the overall look of the image
The full uncropped image is now always shown when working with the liquify and retouch modules.
The hot pixels module now supports monochrome images.
long-running import session can now be canceled.
built-in “Display P3” color profile
And much more! See the official release note for details
How to Install Darktable 4.6.0 in Ubuntu Linux
Option 1: Snap
Darktable is easy to install as Snap package, which runs in sandbox, using Ubuntu Software (or App Center for 23.10).
Option 2: Official deb package
The developer team offers official RPM and DEB packages for Debian, Fedora, Ubuntu, openSUSE, through the OBS building repository.
Also, it’s NOT updated to v4.6.0 at the moment of writing. Keep an eye on this page if you prefer the official package.
Option 3: Flatpak package
Darktable is also available to install as Flatpak package, another universal Linux package format runs in sandbox!
Linux Mint 21 user can directly search for and install the Flatpak package from Software Manager.
While, Ubuntu user can open terminal (Ctrl+Alt+T) and run the 2 commands below one by one to install the Flatpak:
Besides using the official DEB package (See Option 2), I’ve also upload the package into this unofficial PPA for Ubuntu 22.04, Ubuntu 23.04, and Ubuntu 23.10.
NOTE: The PPA includes updated libheif (1.16.2) library for Darktable to support HEIF in Ubuntu 22.04. Please report if it’s running into conflict with other packages in your system!!
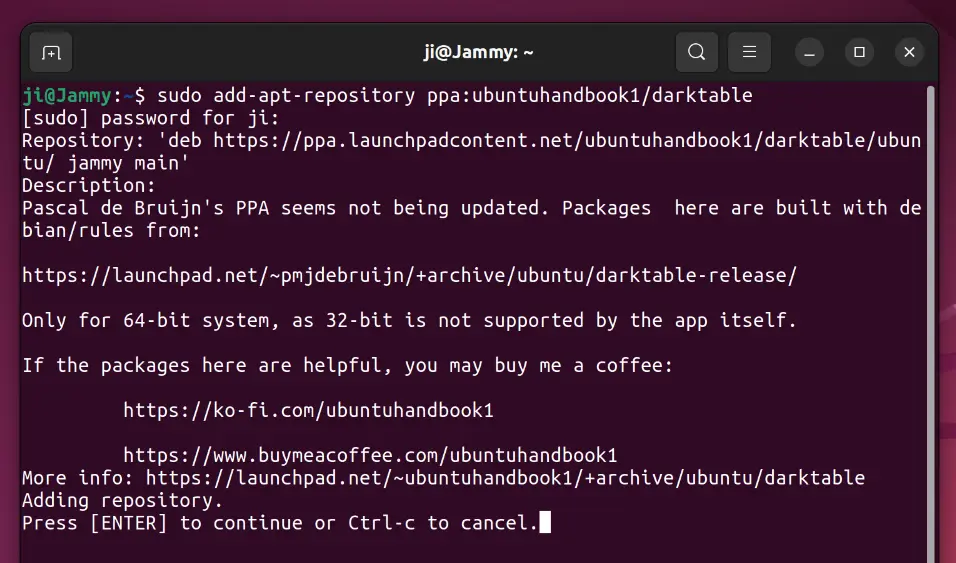
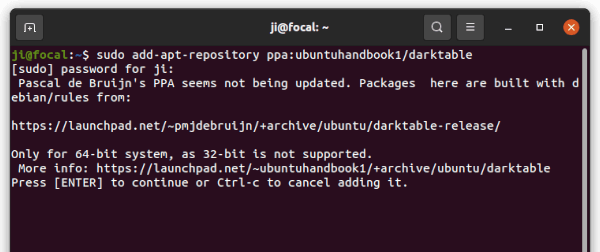
1. First, press Ctrl+Alt+T on keyboard to open terminal. When it opens, run command to add PPA:
2. Linux Mint needs to update system package cache manually after adding PPA:
sudo apt update
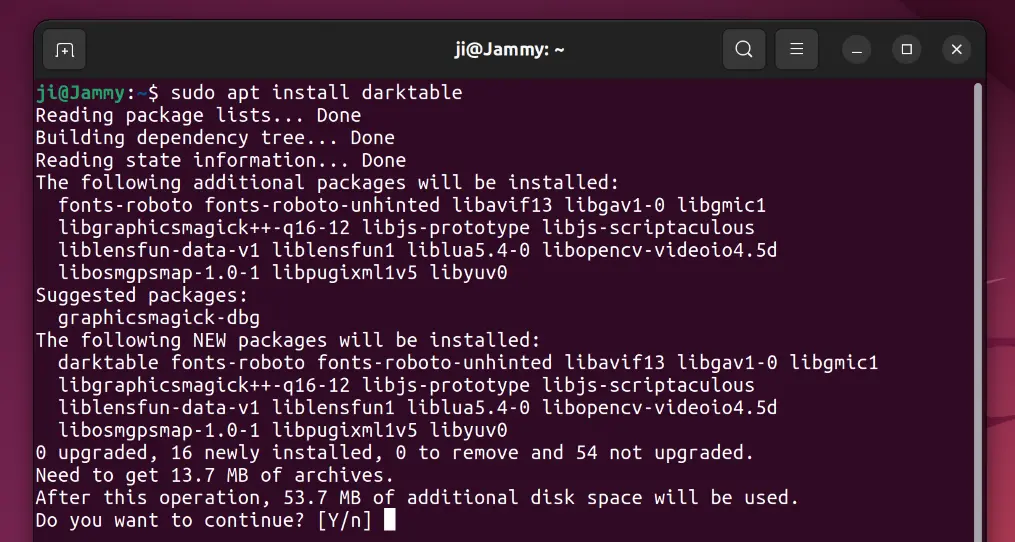
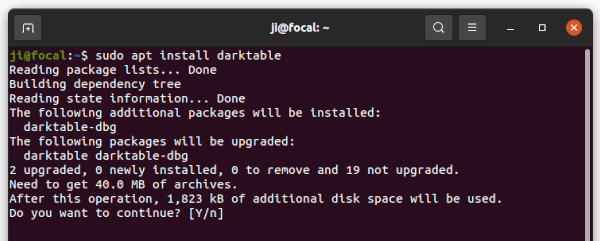
3. Finally, install Darktable 4.6.0 via command:
sudo apt install darktable
In addition for old Ubuntu 20.04, 18.04, & 16.04, keep an eye on this PPA. However, it has tons of updated libraries that MAY run into dependency hell and/or package conflict!
Uninstall Darktable
Depends on which package your installed, remove Darktable via one of the commands below:
For Snap package, just remove it from Ubuntu Software.
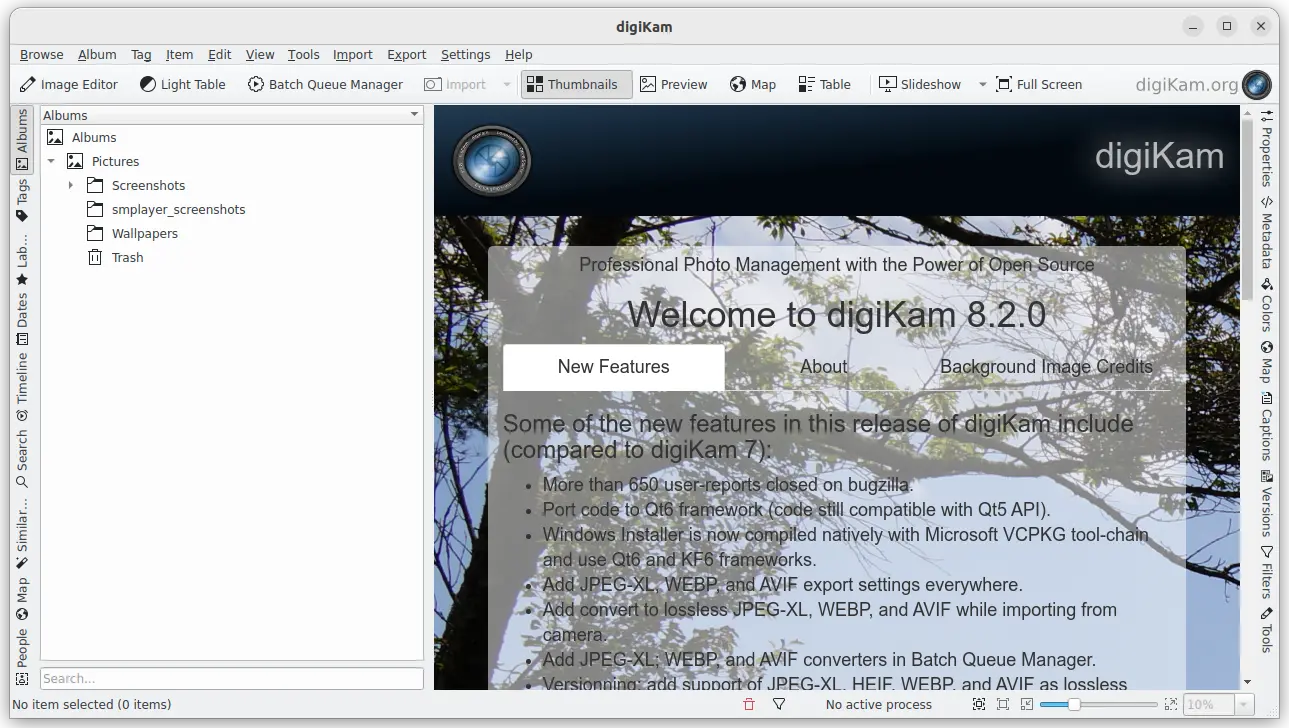
digiKam, KDE’s photo management software, released version 8.2.0 this Sunday.
The new release includes most recent Libraw library, updates runtime libraries to Qt 5.15.11, KDE frameworks 5.110, Exiftool 12.70, and Exiv2 28.1.
For Windows user, digiKam now has new Windows installer compiled under Windows with VCPKG tool-chain and based on Qt6 and KF6 frameworks.
Besides toolkit updates, digiKam 8.2.0 also has about 250 bug-fixes. They include slow Geolocate, tags not saving on exit, failed to database creation on MariaDB, slideshow does not prevent monitor turning off, various crashes, and other bugs. See NEWS file for more details.
Get digiKam 8.2.0
The software provides official packages for Linux, Windows, and MacOS, available to download at the link below:
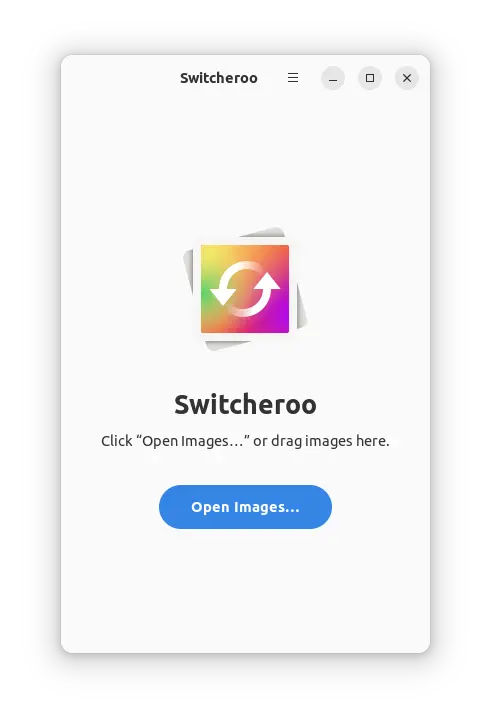
Looking for app to convert your photo images into other formats? Try Switcheroo.
For batch image processing, I’d recommend to use Converseen. However, stupid simple applications are always good choices for beginners.
And, Switcheroo is one stupid simple app for converting photo images, while having modern look and feel in today’s Linux desktop.
Click ‘Open Images’ or drag’n’drop files into app window
With it, just click “Open Images” button and choose your image file/files, or drag and drop files into the app window to open them.
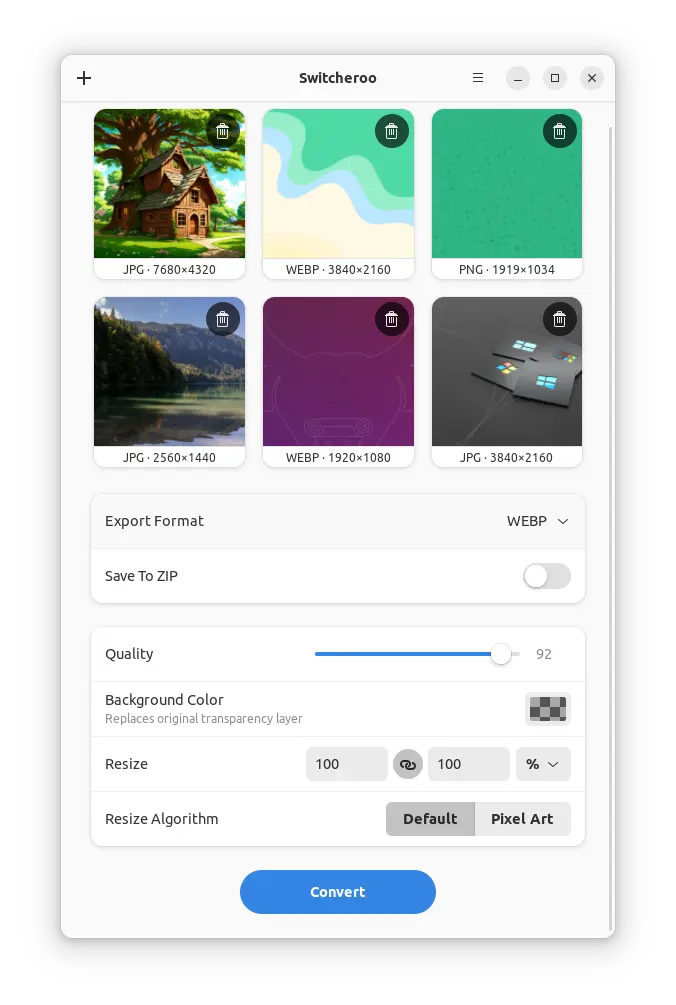
It shows thumbnail preview of all opened images, along with delete buttons in top-right for each images.
By using top-left ‘+’ button, user can add more images (Tips: hold Ctrl or Shift can select multiple files). And, ‘≡’ menu even provides an option to paste images from clipboard.
After opening all your photo images, click the drop-down box in the right of “Export Format” to select which file format to convert to.
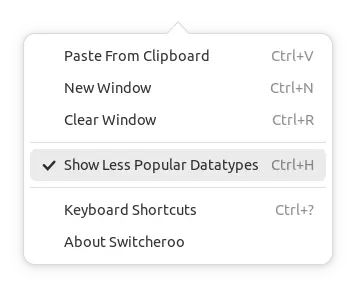
At the moment of writing, it support converting image to PNG, JPG, WEBP, HEIF, HEIC, BMP, AVIF, JXL, TIFF, PDF, GIF. Though, you have to either use top-right hamburger menu or press Ctrl + H to show less popular file types.
The app’s hamburger menu
Before clicking ‘Convert’, it provides few more options, such as set background color, resize with or without aspect ratio, and change image quality. There’s also “Save To Zip” to directly output images into ZIP archive.
Instead of providing an in-app option, it pops-up file chooser dialog asks to choose where to save output images or ZIP archive, once clicking “Convert” button.
How to Install Switcheroo Image Converter
The app is available as universal Flatpak package, that can be installed in Ubuntu, Debian, Fedora, Arch, Chrome OS, and most other Linux, even including the mobile device, such as PinePhone.
1. First, press Ctrl+Alt+T on keyboard to open terminal. When it opens, run command to install the Flatpak daemon:
sudo apt install flatpak
Other Linux can follow the official setup guide to get Flatpak support.
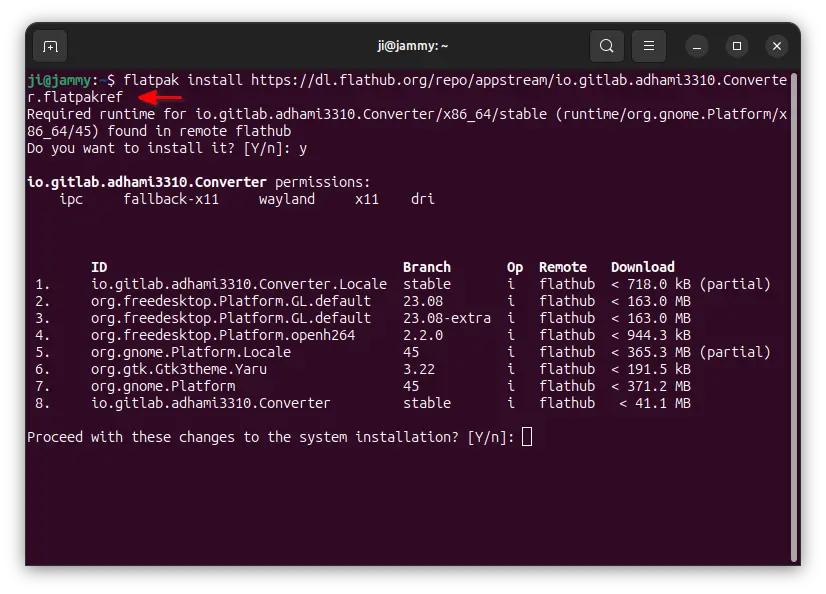
2. Then, run command to install the app as flatpak:
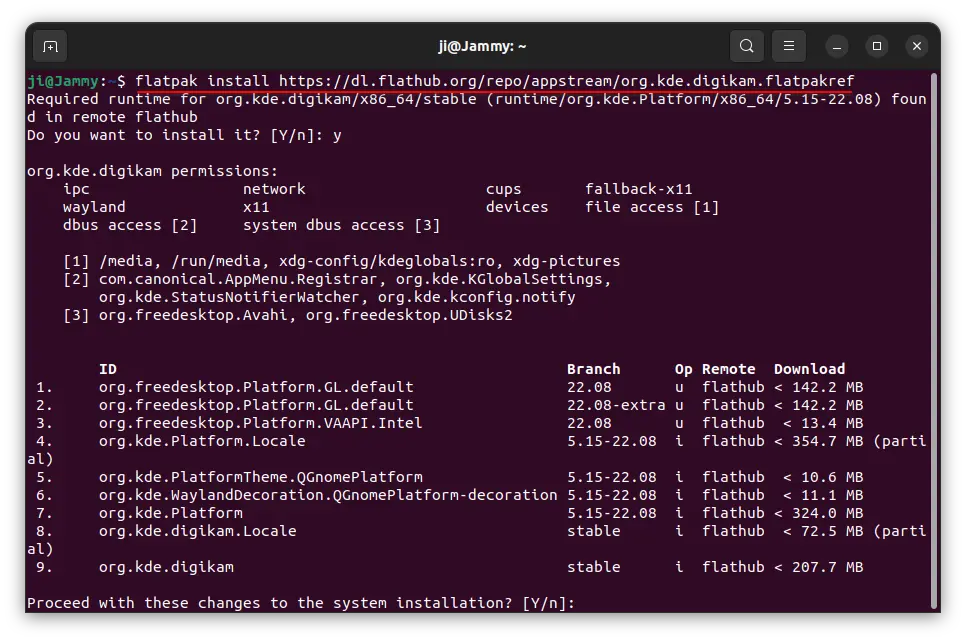
As you see in the screenshot, the downside is that a small app can have 1 GB downloading due to run-time libraries (though shared).
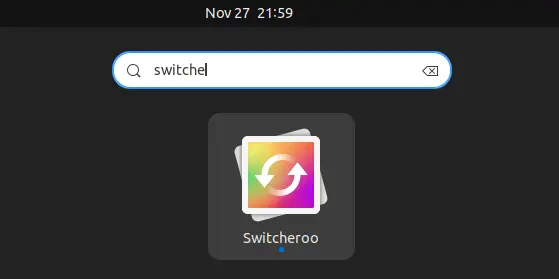
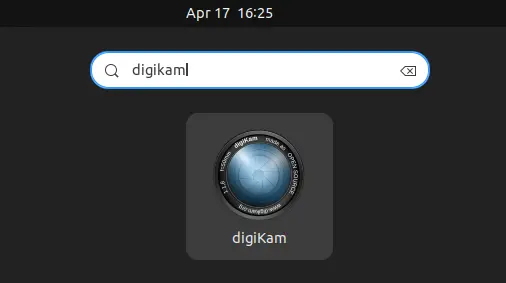
3. Once installed, search for and launch it from your system application launcher, start menu, or ‘Activities’ overview depends on desktop environment.
First time installing Flatpak app needs a log out and back in, to make app icon visible.
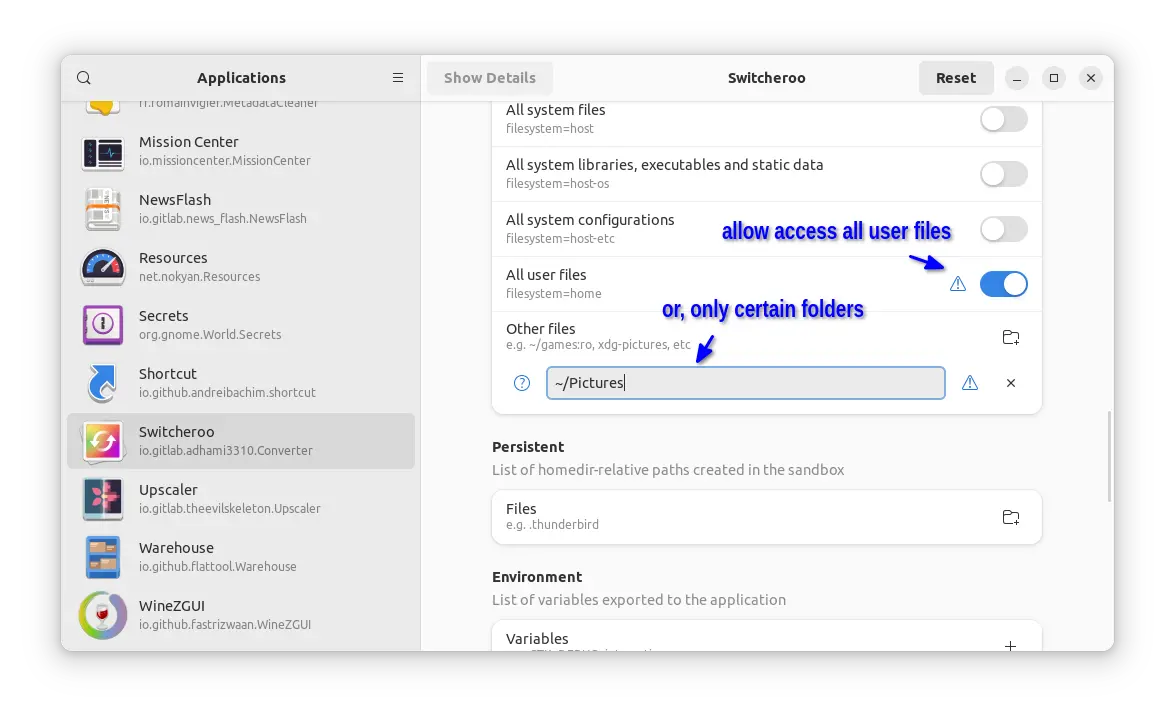
4. To enable drag’n’drop support, you need to grant access permission to the folders that contain the photo images.
To do so, install Flatseal, then use it to allow access either all user files or certain folders (by adding Other files).
Uninstall Switcheroo
To uninstall the image converting application, also open terminal (Ctrl+Alt+T), then run command:
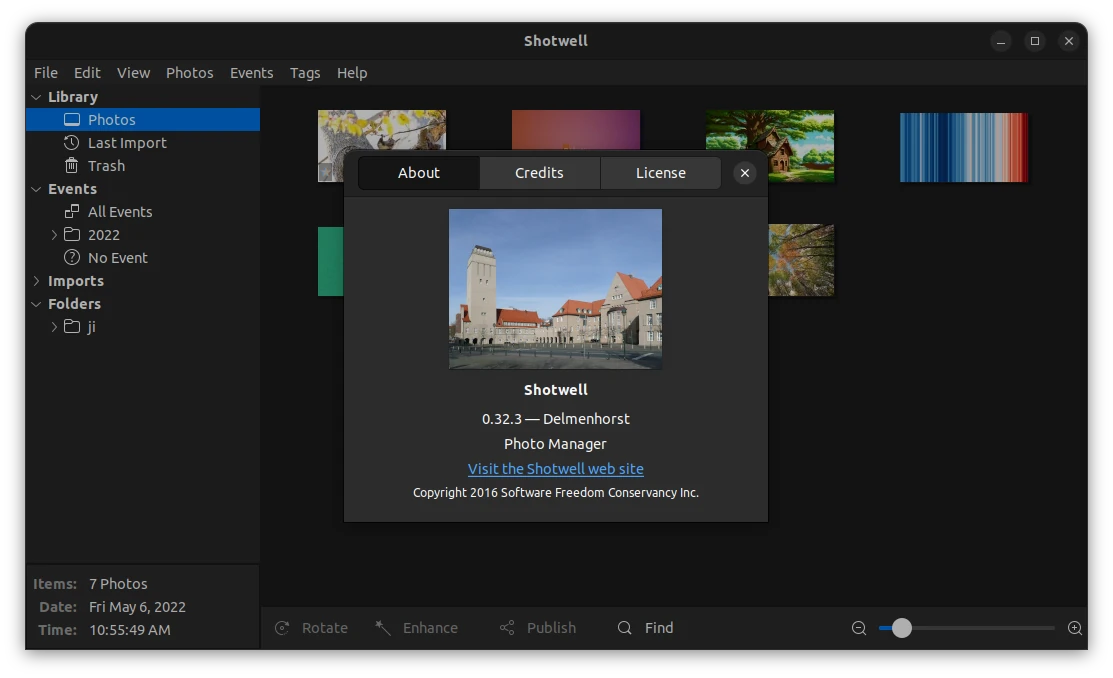
Shotwell photo viewer and organizer released new 0.32.3 version a day ago with minor updates.
The release came with some bug-fixes and minor changes, they include:
Fix asking twice on closing viewer with modified image
Do not try to reload photo on shutdown
Do not abort if new thumbnail size does not exist
Open fullscreen windows on correct monitor
Do not show toolbar if mouse is on another monitor
Do not leak zoom buffers
Remove length limit for GPhoto import
Be more robust against invalid UTF-8 filenames
Drop some old work-arounds
As well, there’s new/updated translations included in this release. They include: id.po, courtesy of Andika Triwidada; eu.po, courtesy of Asier Sarasua Garmendia; hu.po, courtesy of Balázs Úr; sl.po, courtesy of Martin Srebotnjak.
How to Install Shotwell 0.32.3 in Ubuntu
Shotwell is available to install in Ubuntu via a few different ways.
Snap package
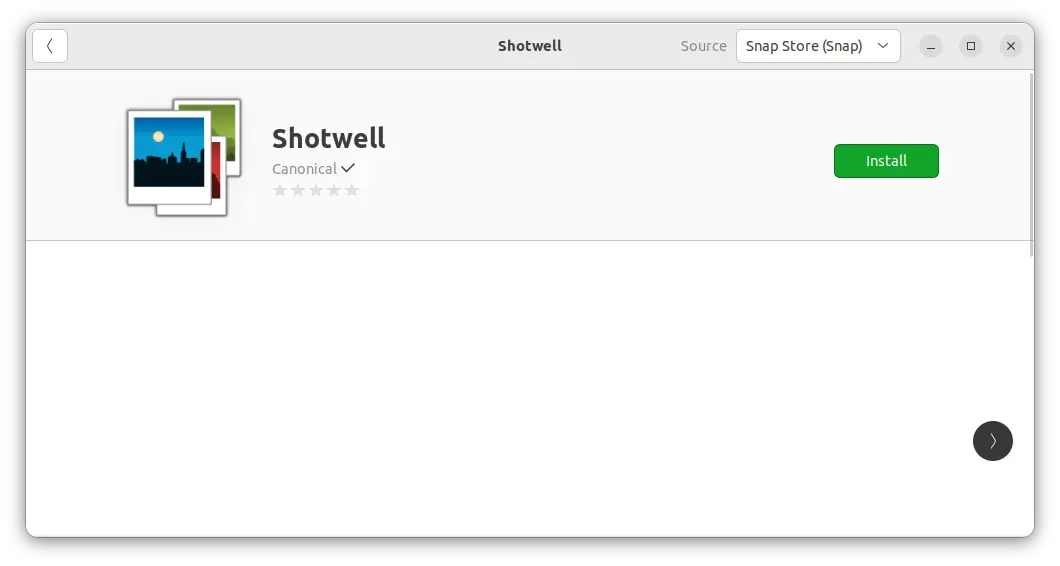
Canonical (the company behind Ubuntu) maintains Shotwell as Snap package, which runs in sandbox. However, it’s stuck at 0.32.1 at the moment of writing.
The snap package is available to install in Ubuntu Software (or App Center for 23.10).
Flatpak package
Shotwell is also available to install as Flatpak package, another universal Linux package format runs in sandbox. It’s marked as maintained by the Shotwell developers, but NOT verified.
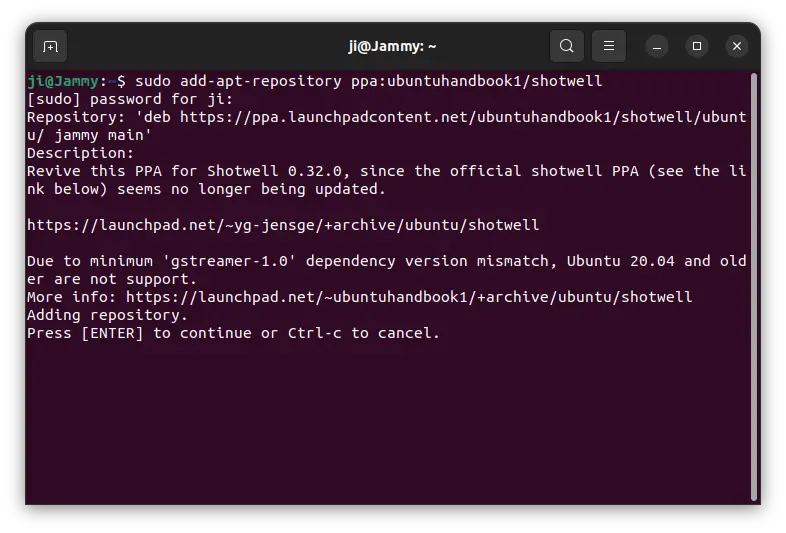
The Flatpak is at version of 0.32.2 at the moment of writing (check HERE). Ubuntu user can press Ctrl+Alt+T on keyboard to open terminal, and run 2 commands one by one to install it:
Type user password (no asterisk feedback) when it asks and hit Enter to continue.
2. Next, launch Software Updater (Update Manager), then install the updates for the software package.
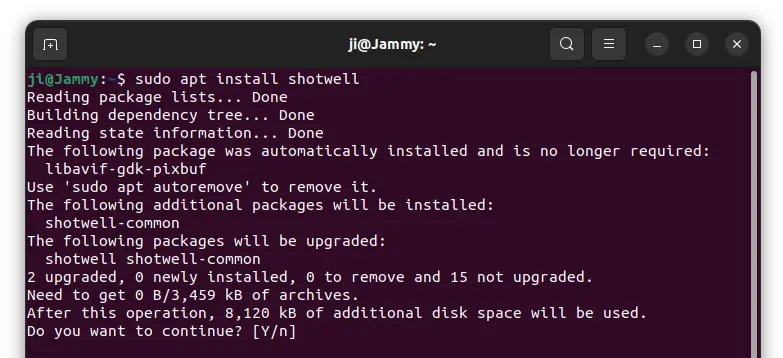
Or, run command in terminal to install/upgrade the Shotwell package:
sudo apt install shotwell
NOTE: Linux Mint user may need to run sudo apt update first to refresh package cache.
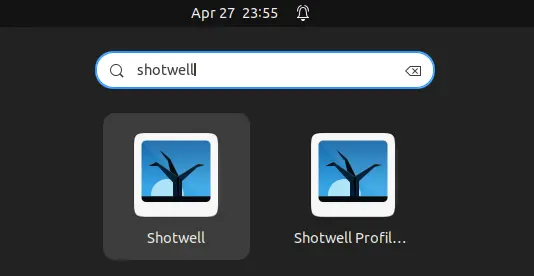
Finally, either right-click on your photo images to select open with the photo manager, or search for and launch shotwell from ‘Activities’ overview and enjoy!
Uninstall Shotwell 0.32.3
For any issue, it’s recommended to purge the Ubuntu PPA. Which, will remove PPA and downgrade shotwell to the pre-installed version.
To do so, open terminal (Ctrl+Alt+T) and run command:
For the Snap package, just remove it from Ubuntu Software or App Center. While, Flatpak package can be removed by running the command below in a terminal window:
digiKam, the popular KDE photo management software, released new major 8.0.0 version! Here are the new features and how to install guide for Ubuntu users.
digiKam 8.0.0 is a big release after two year of development. It features new online documentation that is well written with plenty of screenshots and screencasts. An EPUB is also available for offline use.
Image support has been greatly improved in this release. It added support for 16-bit float (half float) images in the TIFF Loader, and JPEG-XL, WEBP, and AVIF export settings everywhere.
Other changes include new OCR over scanned text via Tesseract engine, and:
Port to Qt6, and still compatible with Qt 5.15 LTS.
Spell-checking in the captions/information/properties edit-text widgets
Add convert to lossless JPEG-XL, WEBP, and AVIF while importing from camera.
Add JPEG-XL, WEBP, and AVIF converters in Batch Queue Manager.
Database search by the number of face regions or without face regions.
New option to write metadata to files with ExifTool backend.
Add support for SQLite WAL (Write-Ahead-Logging) mode.
Update G’MIC-Qt tool to last version 3.2.2.
Phase One/Leaf IIQ-S v2 support Canon CR3 filmrolls/RawBurst Canon CRM (movie) files Tiled bit-packed (and 16-bit unpacked) DNGs (non-standard) Deflate-compressed integer DNG files are allowed Canon EOS R3, R7 and R10 Fujifilm X-H2S, X-T30 II OM System OM-1 Leica M11 Sony A7-IV (ILCE-7M4) DJI Mavic 3
How to Install digiKam 8.2.0 in Ubuntu & other Linux
The new digiKam release is available to install via both Flatpak and AppImage. Choose either one that you prefer.
Option 1: digiKam Flatpak
1. For digiKam Flatpak package, first press Ctrl+Alt+T on keyboard to open terminal. When it opens, run command to enable Flatpak support.
sudo apt install flatpak
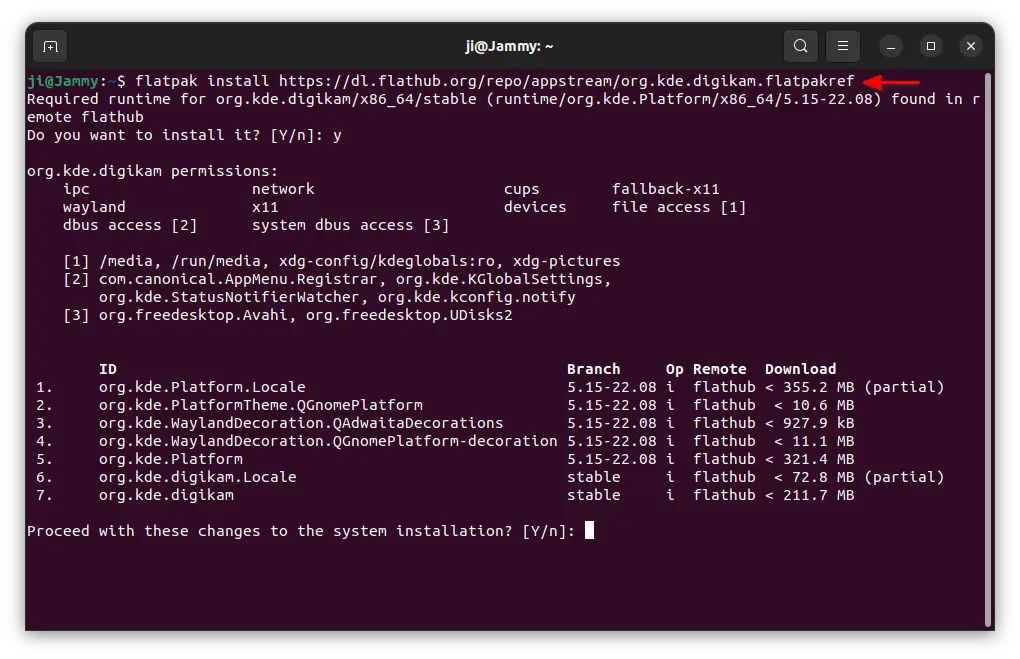
2. Then, run command to install digiKam as flatpak package:
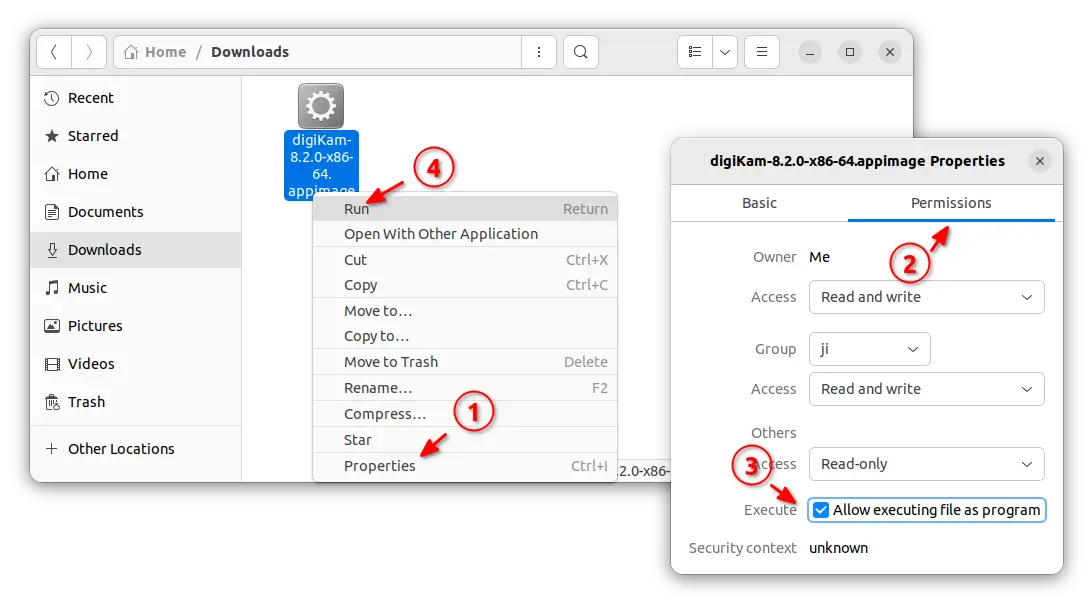
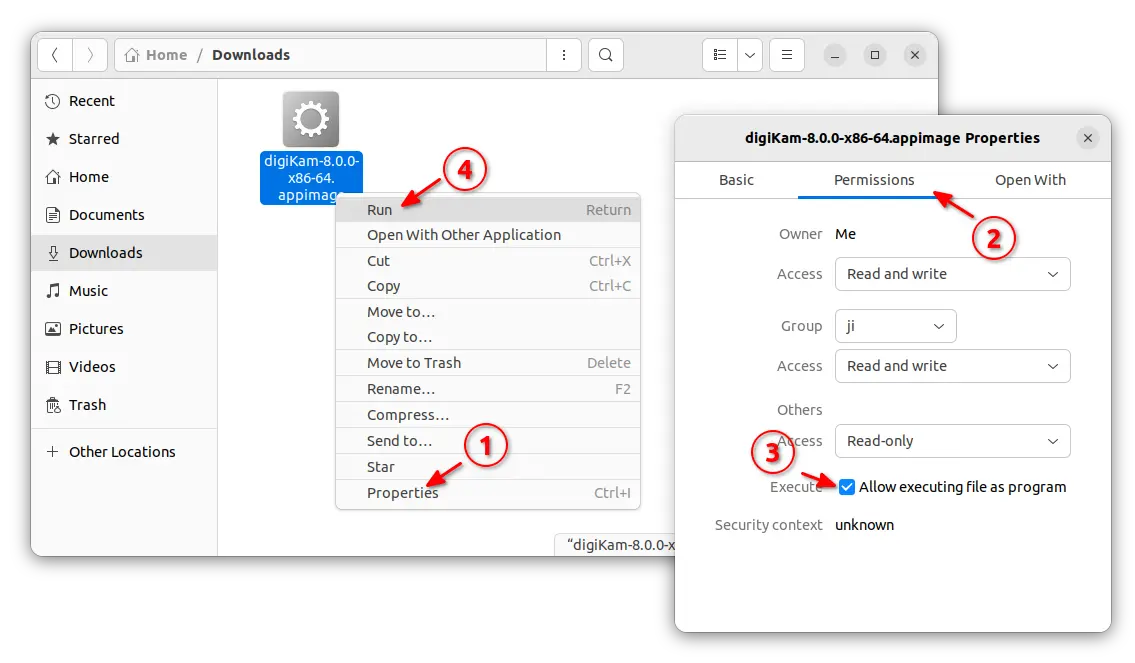
2.) Then, open the Downloads folder in your file manager. And, do following steps to launch digiKam:
Right-click on the AppImage package, and click open “Properties”.
Navigate to “Permissions” tab, and enable “Allow executing file as program”.
Close the “Properties” dialog.
Finally, right-click on AppImage, and click “Run” to launch digiKam.
Create shortcut for the digiKam AppImage
Click run the AppImage launches the digiKam software directly. If you want to add a shortcut into app launcher (search results in ‘Show Applications’ and/or ‘Activities’ overview), do following steps one by one.
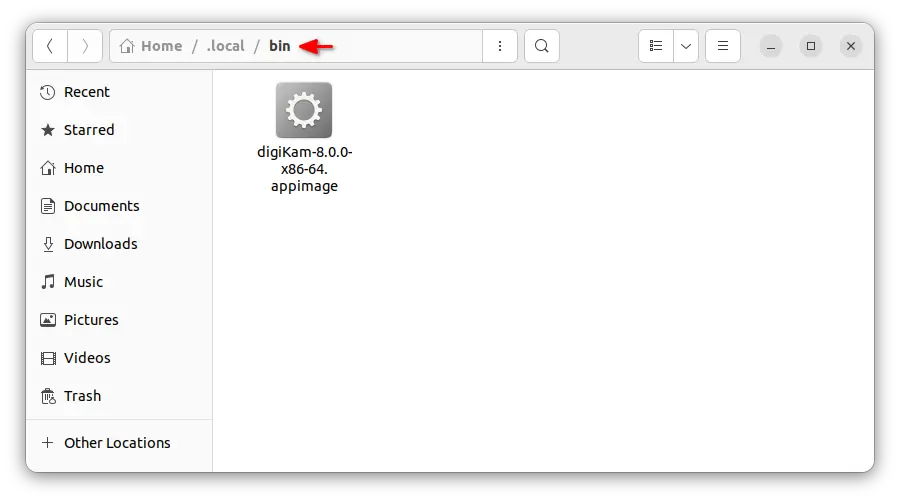
1. First, it’s recommended to put the AppImage package into a certain folder for long time use. Here I chose the “.local/bin” directory.
Just, press Ctrl+H in Files, and navigate to .local -> bin (create bin folder if not exist). Then, copy or move the digiKam AppImage into this folder.
2. Then, download the logo icon from web. Just, go to its website, right-click on the logo in top-left and select “Save image as” to download the file.
Finally, rename the file to digikam.svg, and store in “.local/share/icons” (also, create the ‘icons’ sub-folder if not exist).
3. Finally, open terminal (Ctrl+Alt+T) and run command to create the shortcut config file:
Darktable, the free open-source photography application and raw developer, released version 4.2.1 a few days ago. Here’s how to install it in Ubuntu 20.04, Ubuntu 22.04 and Ubuntu 22.10.
Darktable 4.2.1 is a new point release. There’s no big features but minor changes. It now uses magic bytes to identify JPEG files, so even JPEG image with incorrect file extension is supported. Also, it adds ability to assign shortcuts to the “quick access” style and preset menus at the bottom of the darkroom view.
The release also added base support for Canon EOS Kiss X10/X10i, Leica M9 (dng), Nikon Z 30 (12bit-compressed, 14bit-compressed), OM System OM-1/OM-5, Panasonic DC-G95D/DC-G99D (4:3), Ricoh GR IIIx (dng).
It also adds White Balance Presets for Nikon Z 9, and noise profiles for Fujifilm GFX100S, Fujifilm X-H2/X-H2S, OM System OM-1, Sony ILCE-7SM3, Canon EOS 250D / Kiss X10 / Rebel SL3 / 200D Mark II, Canon EOS R7.
For more about Darktable 4.2.1, see the release note in github.
How to install Darktable 4.2.1 in Ubuntu via PPA
The software website refers to the OBS repository that contains native packages for Ubuntu, Debian, Fedora and SUSE.
For choice, here’s an unofficial Ubuntu PPA contains the packages for Ubuntu 20.04, Ubuntu 22.04, Ubuntu 22.10.
NOTE: There’s no JPEG-XL support, since the library is not available in Ubuntu repository until 23.04. And, the new release requires libheif >= 1.13.0, so HEIF support excluded in Ubuntu 22.04 and earlier. Please leave comment if you do need them.
1. First, press Ctrl+Alt+T on keyboard to open a terminal window. When it opens, run command to add the PPA:
2. Linux Mint use may need to run command to manually refresh package cache:
sudo apt update
3. Finally install the photography software either via the command below:
sudo apt install darktable
Or by installing package updates via Software Updater. NOTE: You are strongly advised to take a backup first.
Darktable is also available as universal Flatpak package that works in most Linux systems.
Fix no window border issue
Darktable seems not rendering its window border in Ubuntu with default Wayland session. As a workaround, either switch back to classic Xorg session, or run Darktable using X11 backend.
To do so, either open terminal (Ctrl+Alt+T) and run command to launch Darktable from command line:
GDK_BACKEND=x11 darktable
Or, modify the shortcut icon file via following steps:
1. Open terminal (Ctrl+Alt+T) and copy the shortcut file to local folder by running command:
For Ubuntu 22.10 +, replace gedit with gnome-text-editor.
4. Finally, find out the line started with Exec and change it into Exec=env GDK_BACKEND=x11 /usr/bin/darktable %U. Also remove the line start with TryExec.
Uninstall:
To remove darktable, simple run command in a terminal window:
sudo apt remove --autoremove darktable
And, remove the Ubuntu PPA by either removing source line in ‘Software & Updates’ utility under ‘Other Software’ tab, or running command:
If you would like to revert back the stock Darktable package in system repository, just purge the PPA instead of removing it as well as the software packages and install old version back.
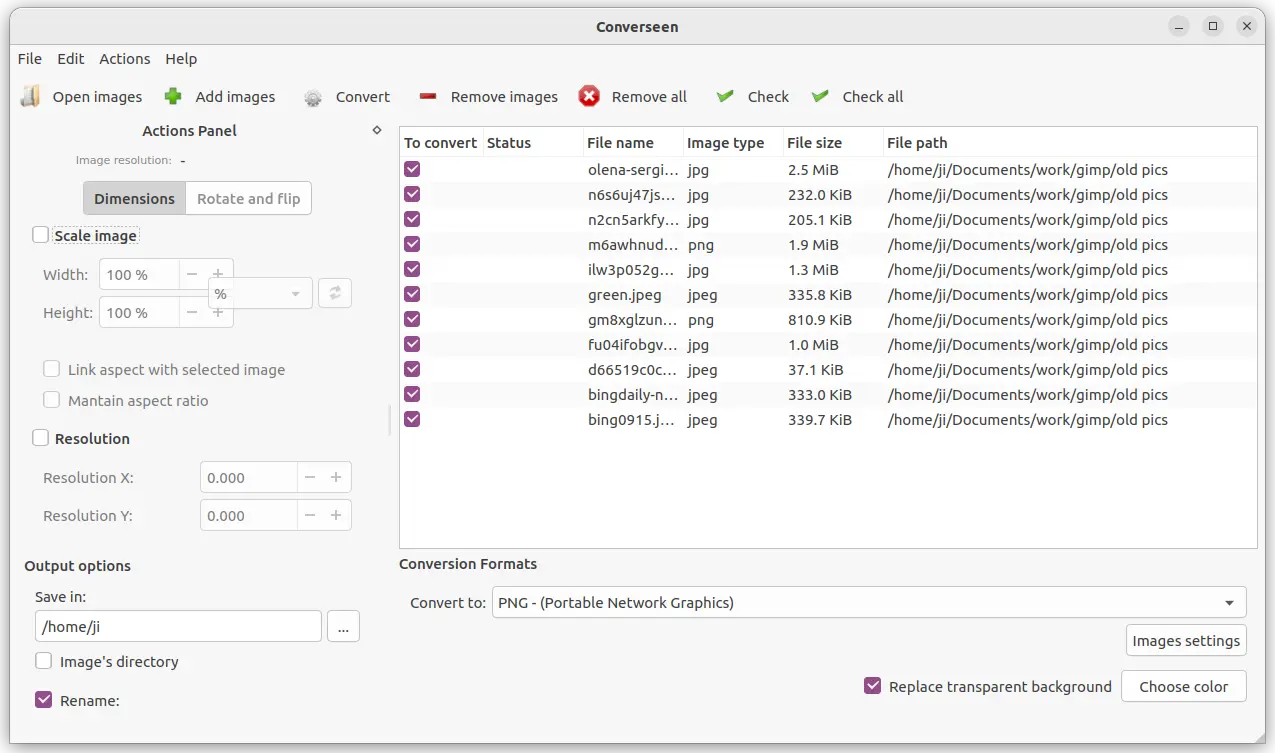
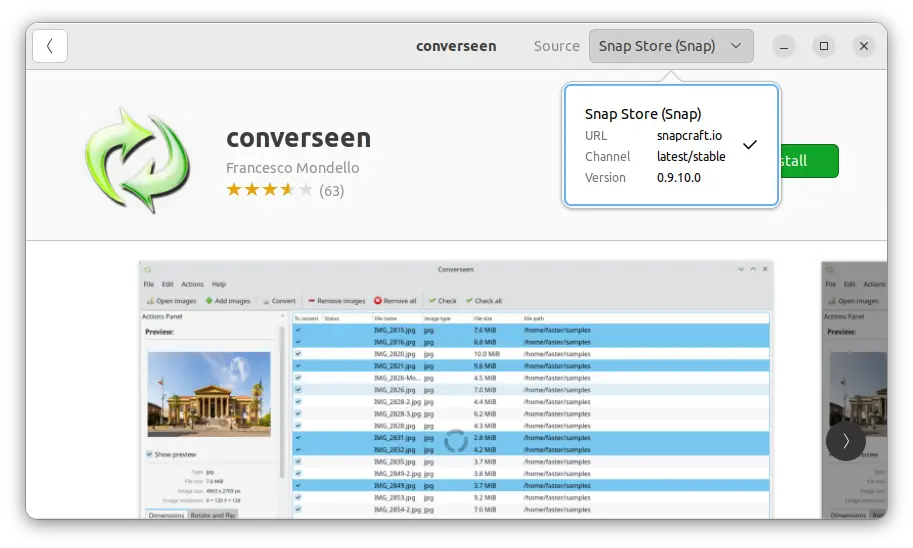
Converseen image converter announced 0.9.10.0 release few days ago. Here’s how to install it in Ubuntu via PPA.
Converseen is a free and open-source tool for converting or resizing a large quantity of photo images to another format with a few mouse clicks.
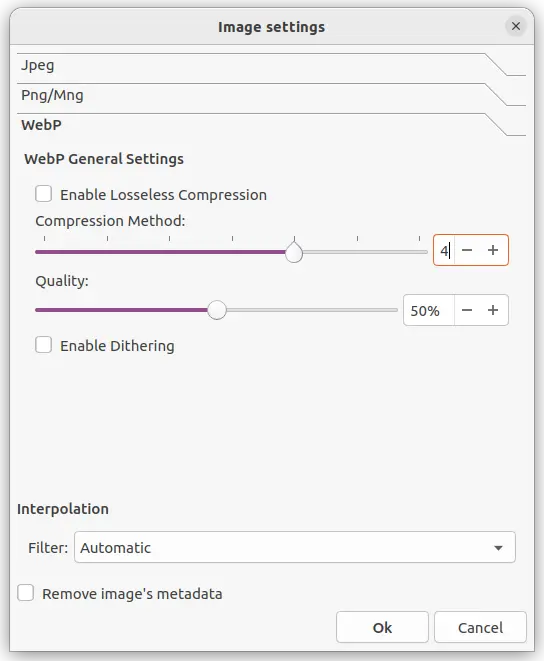
The new 0.9.10.0 release redesigned the Images Settings dialog. Previously, it automatically removes the metadata (information including date & time, device, and even location you capture the photo image) in output images, and replaces with only modified date and other non-sensitive data.
Now, it provides a “Remove image’s metadata” check-box. So, user can manually choose to either to remove the metadata information about the photo images in output files.
As you can see in the screenshot above, it now supports configuring the compression level and image quality for WebP images. As well, it fixes a bug that inhibits the overwrite feature when the Rename option is checked.
How to install the new Converseen 0.9.10.0 in Ubuntu
The image converter is available to install in different package formats: AppImage, Snap, and Deb. Choose either one that you prefer.
1. AppImage
The software website provides the universal AppImage for downloading via the link button below:
It’s a non-install package. Just grab it, right-click and go to ‘Properties’ dialog to add executable permission. Finally, click run the AppImage will launch the tool.
2. Snap
For Ubuntu 20.04+, the snap package is the easiest way to get converseen, though it runs in sandbox. Just open Ubuntu Software, search for and install the package marked as ‘Snap Store (snap)’.
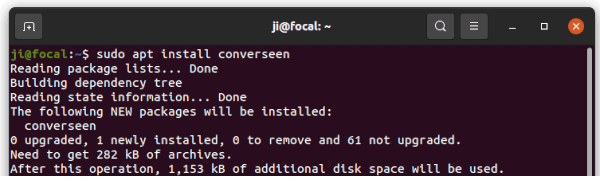
3. Ubuntu PPA (.deb)
For those who prefer the classic .deb package format, there’s unofficial PPA that contains the package for Ubuntu 18.04, Ubuntu 20.04, Ubuntu 22.04, and Ubuntu 22.10.
1. First, press Ctrl+Alt+T on keyboard to open terminal. When it opens, run command to add the PPA:
sudo add-apt-repository ppa:ubuntuhandbook1/apps
Type user password (no asterisk feedback) and hit Enter to continue.
2. Then, install the software package by running command:
sudo apt install converseen
Linux Mint user may have to run sudo apt update first to update cache.
Uninstall:
The PPA also contains some other software packages, so you may remove it immediately after installed Liferea.
To do so, either run the command below in terminal, or remove the source line under “Other Software” tab in Software & Updates tool.
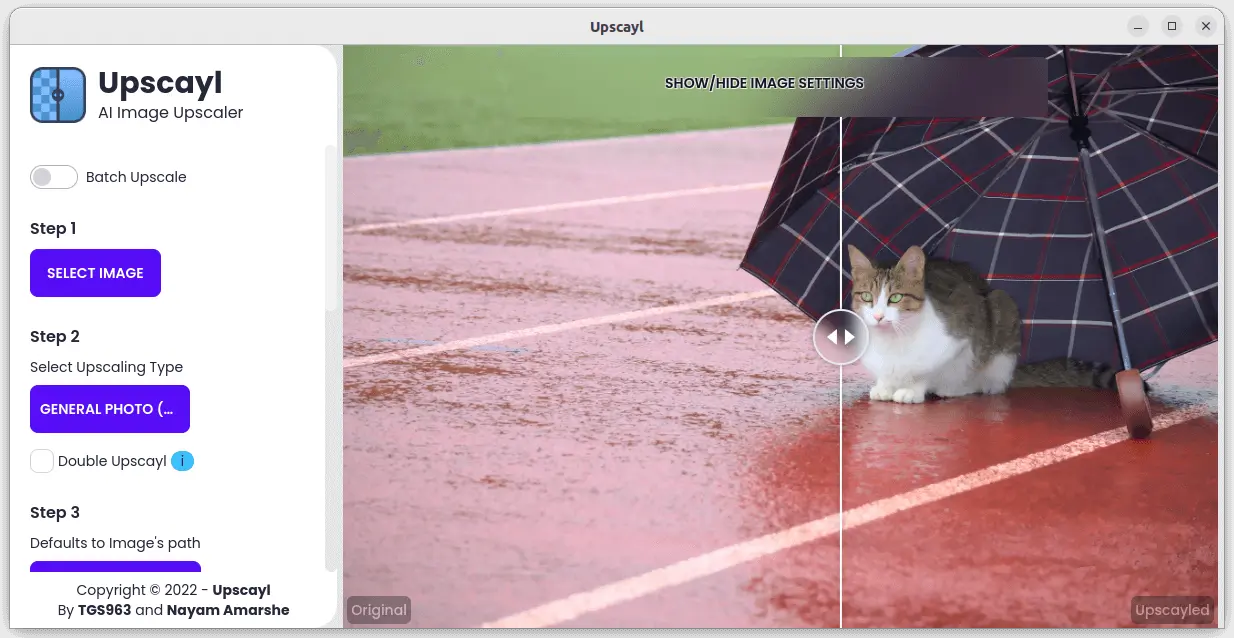
Got photo images but not clear enough? Or you want to convert them into 4K resolution without losing quality? This app can help!
It’s upscayl, a free and open-source app for Linux, Windows, and macOS. It uses AI modules to upscale single or batch of photo images into 7680×5120 (or double resolution 15360×10240). Supported AI modules so far include:
Real-ESRGAN
REMACRI
ULTRAMIX BALANCED
ULTRASHARP
The app has a quite easy to use user interface, which has a few buttons in left pane and image preview in right. Just follow the steps in the UI to select your Photo Image/Images, choose AI module, where to save output image, and finally click upscale.
There are as well advanced options to choose output image format: PNG, JPG or WEBP, change the app theme, and specify GPU ID for machine with multiple graphic cards. As you can see in screenshot above, output image and original one will be displayed side by side when process done, allowing to see the difference intuitively.
How to Install Upscayl in Ubuntu & other Linux
NOTE: The app needs Vulkan compatible GPU to upscale images. And, the upscale process can take long time depends on your machine.
The app offers official packages in it Github releases page available to download at the link blow:
For Linux, either download the non-install AppImage package. Right-click and go to file ‘Properties’, and enable ‘Allow executing file as program’ in Permissions tab. Finally click run AppImage at anytime to launch it. NOTE: Ubuntu 22.04+ need to enable AppImage support first by running sudo apt install libfuse2 in terminal.
For Debian/Ubuntu based systems, grab and click install the .deb package for choice. And, Fedora based systems can download and install the .rpm package instead.
Uninstall Upscayl
In case you installed the app using .deb or .rpm package, and you can’t find it in the Software app. Open a terminal window, and run command to remove it in Debian/Ubuntu:
sudo apt remove upscayl
For Fedora, just replace apt with dnf, so the command will be: