PHP, the popular scripting language for web development, announced new 8.4 release last week. Here’s how to install or upgrade to Php 8.4 in Ubuntu 22.04 or Ubuntu 24.04 to work with Apache2 or Nginx web server.
PHP 8.4 introduced a number of new features such as property hooks, asymmetric visibility, lazy objects, an object API for BCMath, new array functions, and new JIT implementation based on IR Framework. See the release page for more.
Want to install PHP 8.0 as well as many PECL extensions in your Ubuntu Server? Well there’s a well trusted PPA that contains the packages for all current Ubuntu releases.
Ondřej Surý, a Debian Developer who maintains the official PHP packages in Debian, is maintaining an Ubuntu PPA that contains the latest PHP 5.6, PHP 7.0, PHP 7.1, PHP 7.2, PHP 7.3, PHP 7.4, and PHP 8.0 packages as well as PECL extensions for all current Ubuntu releases.
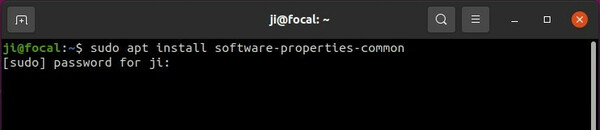
1.) Simply open terminal or connect to your remote Ubuntu server, and run command to make sure software-properties-common is installed:
sudo apt install software-properties-common
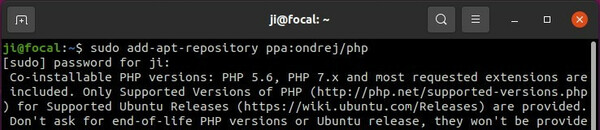
2.) Then run command to add the php PPA repository by running command:
sudo add-apt-repository ppa:ondrej/php
For non-UTF-8 locales, run LC_ALL=C.UTF-8 add-apt-repository ppa:ondrej/php
3.) If you are using php-gearman, you need to run command to add the gearman PPA:
sudo add-apt-repository ppa:ondrej/pkg-gearman
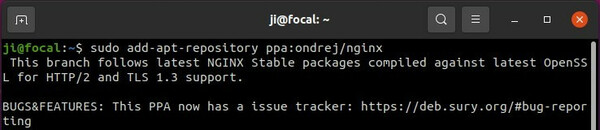
I’m using Nginx web server, and it’s recommended to add the Nginx stable PPA instead:
sudo add-apt-repository ppa:ondrej/nginx
If you’re using Apache2, adding the apache2 PPA is recommended:
sudo add-apt-repository ppa:ondrej/apache2
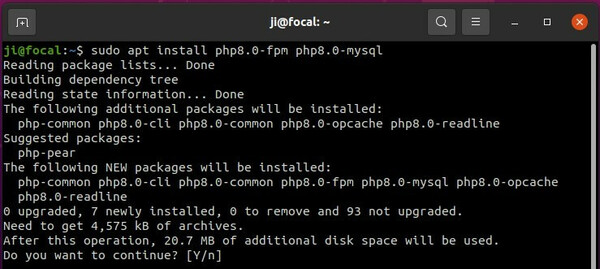
4.) Finally refresh system package cache and install php 8.0 packages via command:
There are also many other packages available, e.g., php8.0-amqp, php8.0-apcu, php8.0-memcache, php8.0-memcached, and more. Just add or remove package names after “sudo apt install” depends what you need.
In all previous commands, you can replace php8.0 with php7.4, php7.3, php7.2, php7.0, or php5.6 to install a specify version of PHP packages
Uninstall PHP:
To remove an Ubuntu PPA, add --remove flag in adding PPA command. For instance, remove php PPA via command:
sudo add-apt-repository --remove ppa:ondrej/php
Instead of removing Ubuntu PPA, you can also purge PPA which also downgrade installed packages to the stock version in Ubuntu repositories.
This tutorial show you how to install LAMP in Ubuntu 13.10 Server. LAMP stands for Linux, Apache, MySQL, and PHP. It is a combination of these 4 that suitable for building high-availability heavy-duty dynamic web sites.
Linux is a Unix-like and POSIX-compliant operating system. Ubuntu is one of popular Linux distributions.
Apache is a HTTP web server, the most popular in use. It serves webpages when they’re requested by the web browsers. When you type an URL on your web server and press Enter, the pages you see on screen is most likely served by Apache webserver.
MySQL is a database management system now owned by Oracle Corporation. It stores and organizes references to the information the webserver needs.
PHP is a reflective programming language, which makes it possible for all these different parts to work together.
Tutorial Objectives:
Install LAMP Stack in Ubuntu 13.10 Server
Enjoy!
To get started, run single command below to install them:
sudo apt-get install lamp-server^
While the installing process, you’ll be prompt to set a password for MySQL root user.
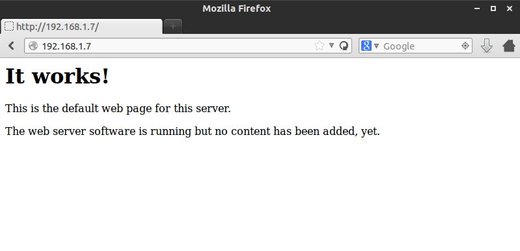
To check out if Apache is working, type http://ubuntuserverip in client web browser or localhost in the local browser:
apache is working
To check out if PHP is working, run command below to create a test php file in root of Apache webserver directory:
sudo vi /var/www/info.php
Press i to start editing, and type in following lines:
<?php
phpinfo();
?>
After that, press Esc to exit editing. Press Shift + : and followed by wq and Enter to save the changes.
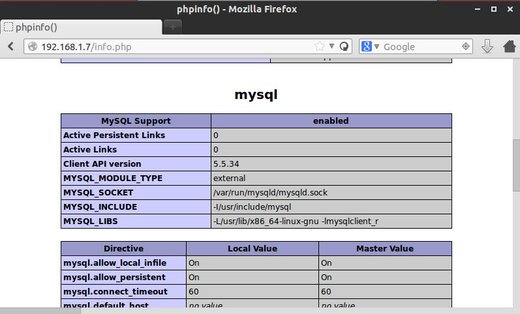
Now, type http://ubuntuserverip/info.php in client’s browser or localhost/info.php in local browser, you’ll see:
php & mysql is working
Scroll down to find out if there’s a section about Mysql, it means that Mysql is working too!