In Ubuntu 26.04 (Beta so far), OpenVPN connection does not work out-of-the-box due to a bug in AppArmor. Here’s a quick workaround to fix the issue.
For security reason, Ubuntu by default uses AppArmor (Application Armor), a Linux Kernel security mode, to restrict programs’ capabilities for file access, networking and permissions.
This simple tutorial shows how to easily setup OpenVPN in your Ubuntu 20.04, Ubuntu 22.04, and Ubuntu 24.04 server and connect remotely in Windows or Linux with GNOME.
My PPTP and IKEv2 VPN server refused to work recently due to the Great Firewall (maybe). So I decided to setup OpenVPN in my Ubuntu VPS as a workaround.
DigitalOcean has a step by step setup guide, but it’s really long and complicated for beginners. Thankfully, there’s a free open-source script make things as easy as few commands.
Step 1: Install OpenVPN
As mentioned, there’s a script in the github to make things easy. It automatically detects your system, environment variable, IP address, and setup OpenVPN and firewall.
The script is totally safe in my own opinion, and you can view the code by yourself. Though, there’s always disclaimer that use it as your own risk!
1. First, connect to your Ubuntu/Debian server either via SSH or other method that you favorite. Then grab the script by wget:
wget https://git.io/vpn -O openvpn-install.sh
In case wget command does not exist, install via sudo apt install wget.
2. After downloaded the script, add executable permission via command:
chmod u+x openvpn-install.sh
3. Finally, run the script:
sudo bash openvpn-install.sh
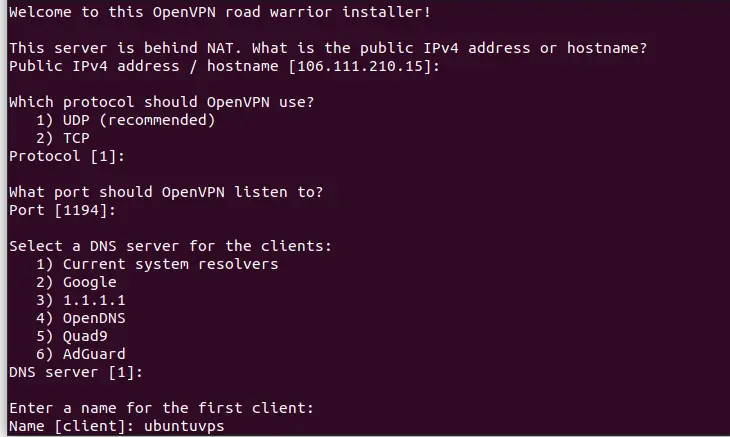
It will ask you a few questions to confirm IP address if your server is running behind NAT, choose UDP or TCP, set which port to listen to, and select a NDS server. For lazy men, it’s OK hit Enter to use default for all previous questions.
But, you need to finally type a name for the client. It will create a .ovpn file with the name you just typed.
Default options are usually OK except the client name
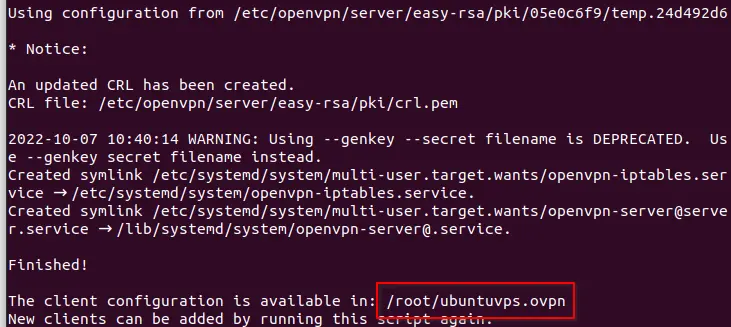
After answering all the questions, hit any key to get start. It will do all the remained things, and generate a .ovpn file.
Step 2: Copy & paste the .ovpn to client machine
As the screenshot above shows you, it generates the .opvn file in /root directory in my case. In case you logged in via non-root user, copy the file to user’s home via:
Finally, you need to send the file to client machine, such as running the scp command below in your client PC (run this command in client/local machine):
scp -P 22 username@server-ip:~/*.ovpn ./
Replace * with the filename, though it works if there no other .ovpn files. And, change port number 22 if non-default SSH listening port in use.
Step 3: Connect to OpenVPN server in Ubuntu/Fedora
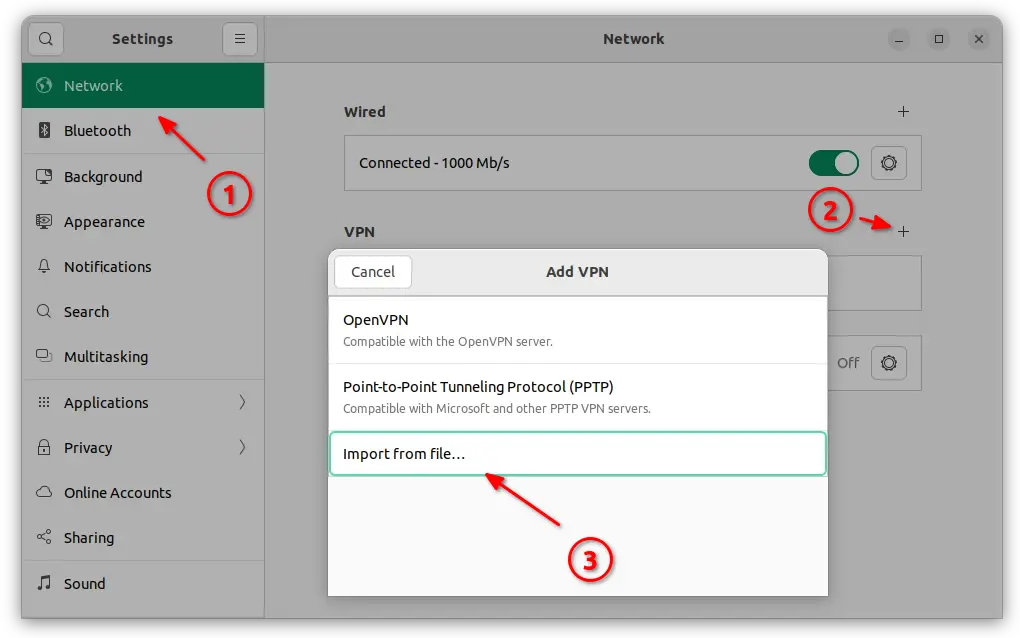
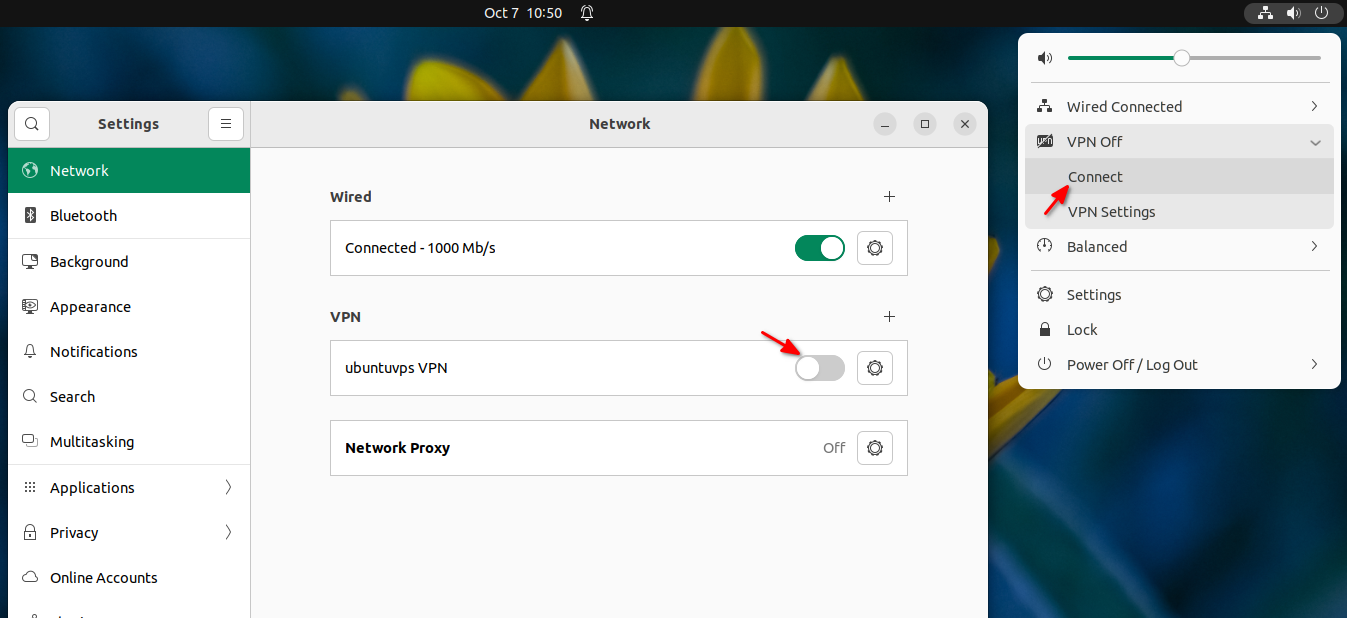
GNOME desktop has built-in client support for OpenVPN connection. Simply open Gnome Control Center (aka Settings) via the top-right corner system status menu.
Then, go to ‘network’ in left pane, and click on ‘+’ after VPN section. Finally, click ‘Import from file…’
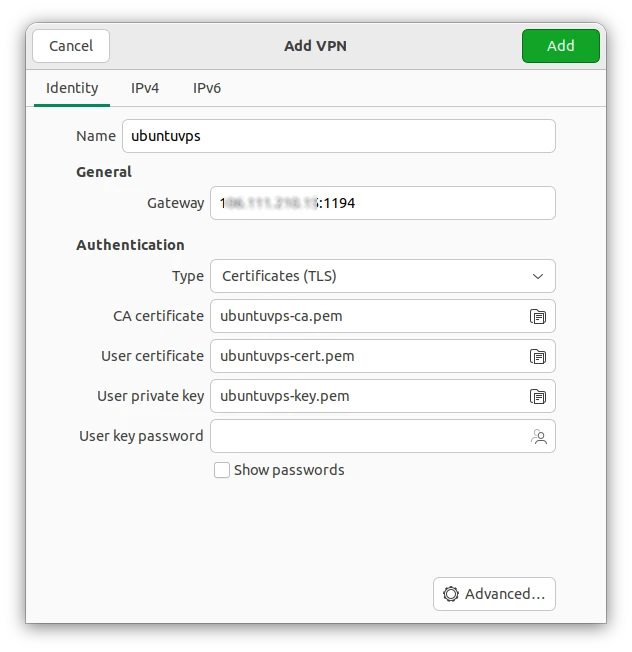
In the pop-up file selection dialog, choose the .ovpn file you got from the server side. It will generate the VPN network automatically once you click open (see the screenshot below).
It automatically create the VPN network after selected the .ovpn file
The default configurations are OK, though you may click editing advanced options as you need. After clicking on ‘Add’ button, you can finally start connecting to the OpenVPN server either within Gnome Control Center or system status menu:
Connect from Windows & macOS:
OpenVPN website provides a client application for Windows and macOS users, simply download and install the app. Then, drop the .ovpn file into app window to create VPN connection.
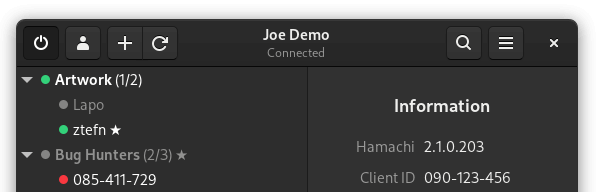
Use LogMeIn Hamachi VPN service? Haguichi is a graphical app to make easy to join, create and manage Hamachi networks in Linux.
Haguichi is a free and open-source app that provides a stylish GTK UI for the official Hamachi for Linux. It has both dark and light window mode that shows a searchable and sortable network list in the left and details and actions in the right.
It’s well integrated with the Gnome desktop with notifications and system tray indicator applet, and make it easy to backup and restore configuration, as well as manage customize commands via Preferences dialog. And, it supports a list of keyboard shortcuts to make network and command actions more efficient.
Also, it’s being developed to fit well in other desktop environments (e.g., MATE, Cinnamon, KDE) including app theme, icon set, file manager and terminal support.
How to Install Haguichi in Ubuntu:
The app has official PPA so far contains the latest packages for Ubuntu 24.04, Linux Mint 22, and Ubuntu 24.10, as well as old v1.4.6 for Ubuntu 16.04, 18.04, 20.04, and 22.04.
Besides modern 64-bit desktop PC and laptop, the PPA also supports arm64/armhf CPU architectures (e.g., Apple Silicon and Raspberry Pi)
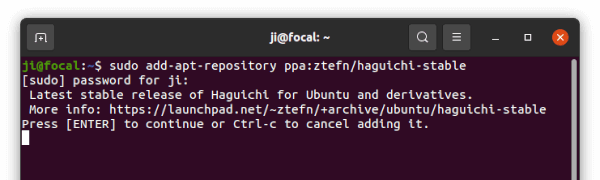
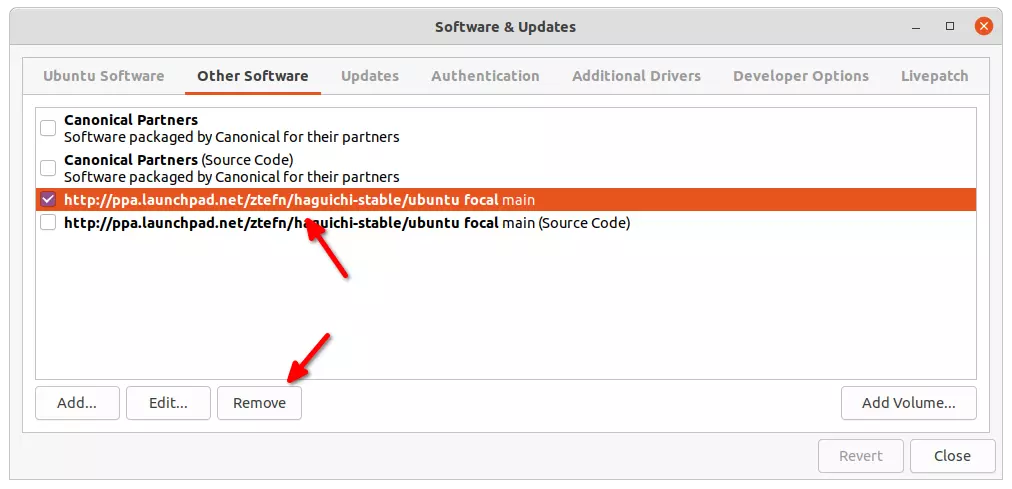
1. Add the PPA:
Firstly, press Ctrl+Alt+T on keyboard to open terminal. When it opens, run command to add the PPA:
sudo add-apt-repository ppa:ztefn/haguichi-stable
Type user password (no asterisk feedback) when it asks and hit Enter to continue.
2. Update system package cache:
Ubuntu now automatically refresh system package cache while adding PPA with the add-apt-repository command. But if you’re following this tutorial in Linux Mint, you may run the command below to update cache manually:
sudo apt update
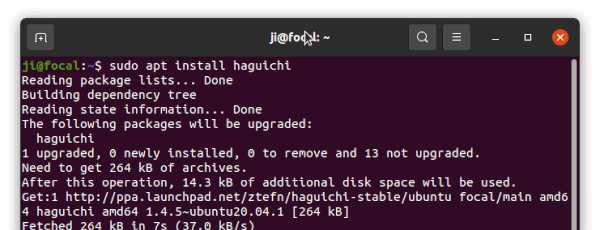
3. Install Haguichi:
Finally, use command to install the app:
sudo apt install haguichi
By keeping the PPA, user may always has the app up-to-date either via Software Updater or by running sudo apt upgrade regularly.
4. Install Hamachi for Linux:
As a graphical front-end, the app needs the official command line client to work properly. Just download the “amd64.deb” for PC or “armel/armhf.deb” for ARM device from the link below:
Then install the deb via your favorite package manager (usually double-click .deb package will bring up default package installer).
How to Install Haguichi in other Linux:
The app is also packaged for other Linux systems. Arch Linux may get it from AUR. Fedora has the copr repository. And it’s available in official openSUSE repositories.
For Debian, Raspberry Pi OS and Kali Linux, there’s another official PPA repository present. Though it’s built against Ubuntu Bionic (18.04), and user may run commands below one by one to properly add PPA and install Haguichi.
sudo sh -c 'echo "deb http://ppa.launchpad.net/ztefn/haguichi-debian/ubuntu bionic main" > /etc/apt/sources.list.d/haguichi-debian.list'