For users switching from Microsoft Windows, there’s now a new Linux Distribution with default theme looks like Windows 10 and/or Windows 11.
It’s Wubuntu (Windows Ubuntu), based on Ubuntu.
It so far includes 2 versions based on Ubuntu 24.04 LTS. One with Windows 11 theme on KDE Plasma 5 desktop, and another with Windows 10 theme on Cinnamon desktop.
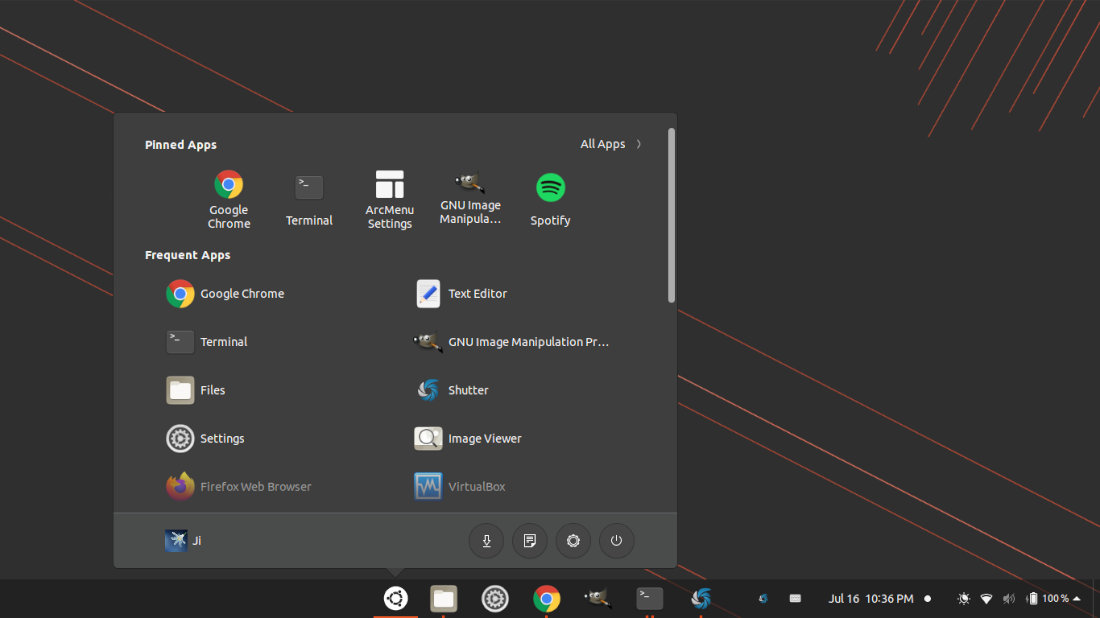
By releasing recent update, the popular Arc Menu Gnome Shell extension finally adds Gnome 40 and Windows 11 layout support.
Arc Menu is a free open-source app menu extension for Gnome. It provides various menu layouts to choose from, as well as many options to customize the appearance. For users new to GNOME and looking for a Windows style start menu, this extension will be perfect for you!
If you don’t see the toggle icon, install browser extension via “Click here to install browser extension” link and refresh the web page.
Once installed, you can toggle on / off Arc Menu by opening Extensions from system app menu.
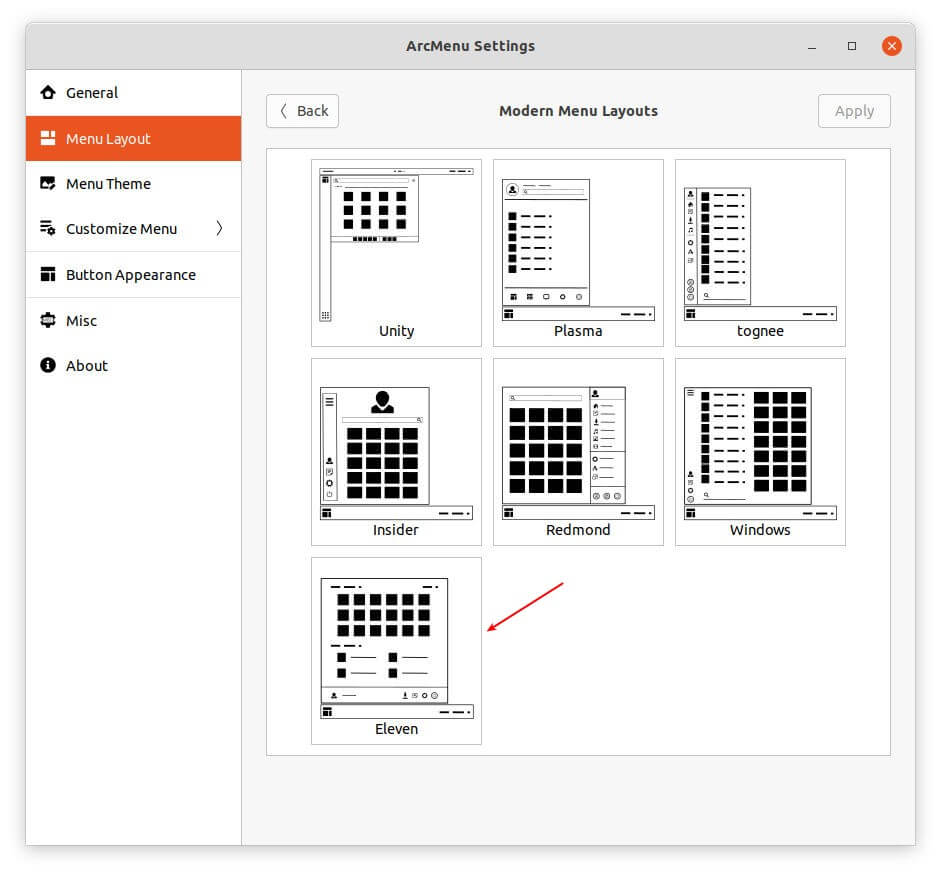
To select Windows 11 style start menu, right-click on start icon and go to settings. Then navigate to “Menu Layout -> Modern Menu Layouts”, choose ‘Eleven’ and click on Apply button.
Arc Menu follows your system theme. For dark mode menu, set Gnome Shell theme to dark.
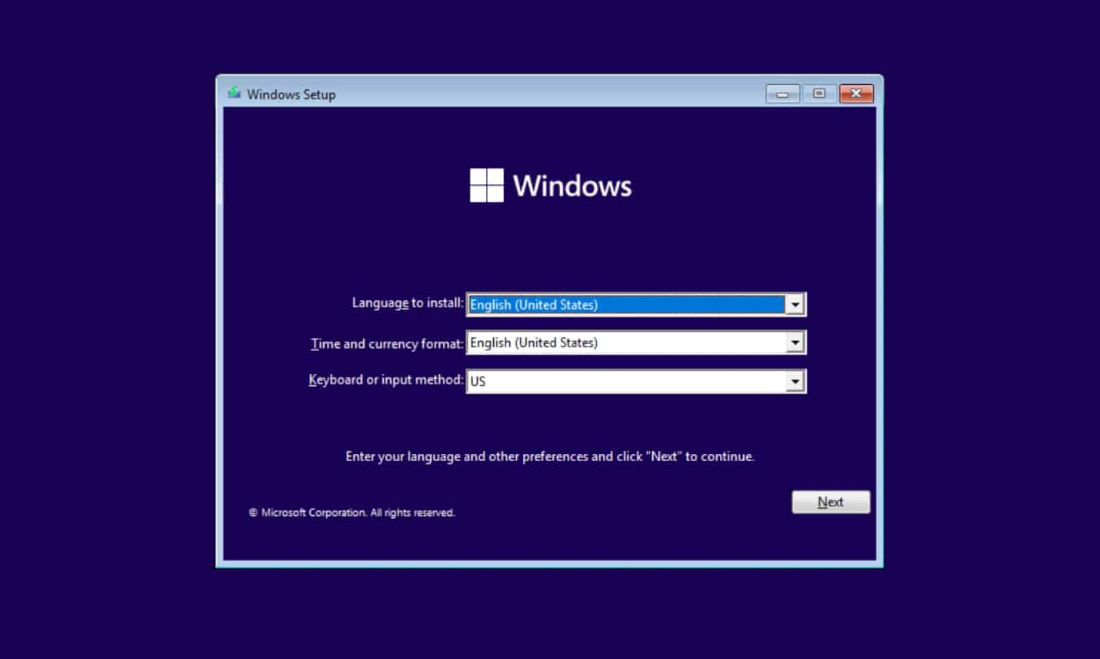
Microsoft has announced Windows 11. Besides online upgrading, here’s how to burn Windows 11 as an USB installer in Ubuntu Linux.
The official Windows 11 iso image will be available to download soon in next week. Though it has leaked! And you can easily install it using an USB stick.
Requirements:
Before getting started, you need a 6 GB+ USB drive, as well as a computer or laptop with:
1 gigahertz (GHz) or faster processor.
4GB+ RAM.
60GB+ hard disk.
Graphics with DirectX 12 or later compatible.
UEFI, Secure Boot capable.
TPM 2.0 (Some succeed on old machines via WinPE).
Option 1: Boot Windows 11 iso via Ventoy:
It has been tested that Ventoy works for Windows 11. Simply install Ventoy on your USB stick and then copy the iso and boot it! See the link for more:
WoeUSB is a free and open-source Microsoft Windows® USB installation media preparer for GNU+Linux.
1. Install WoeUSB in Ubuntu:
For all current Ubuntu releases, including Ubuntu 18.04, Ubuntu 20.04, Ubuntu 21.04, you can install the tool from the PPA repository.
First, search for and open terminal from system app launcher.
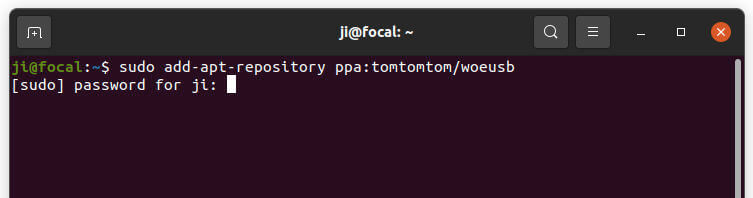
Next, run command to add the PPA. Type user password, no asterisk feedback, when it asks and hit Enter.
sudo add-apt-repository ppa:tomtomtom/woeusb
Finally, install WoeUSB via command:
sudo apt install woeusb woeusb-frontend-wxgtk
For Ubuntu 18.04, Linux Mint, you need to run sudo apt update command to refresh package cache first.
2. Burn Windows 11 iso image:
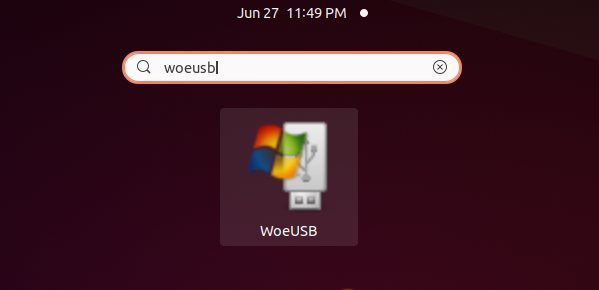
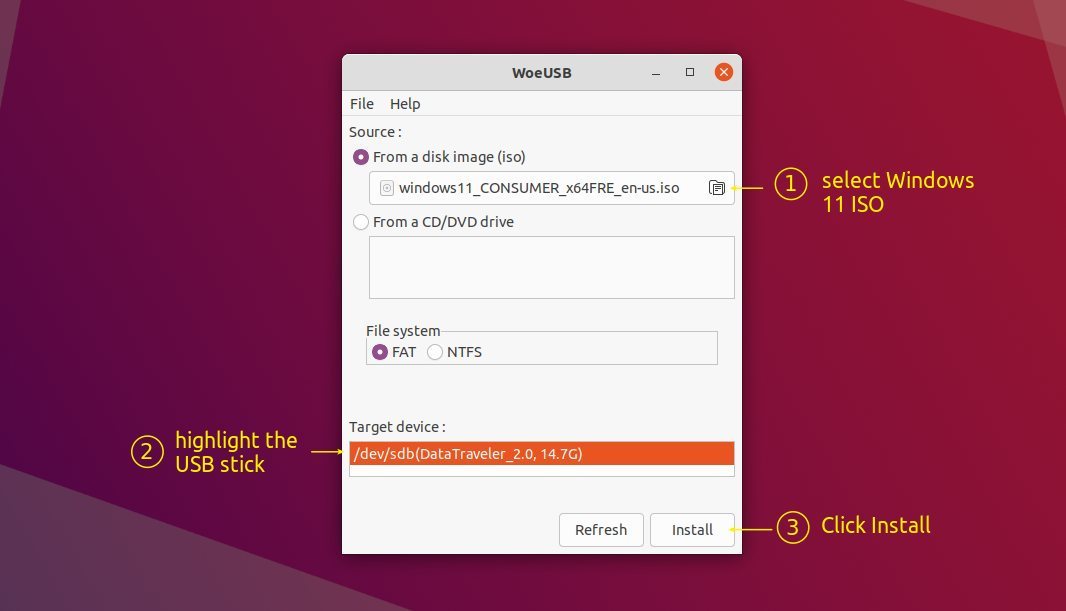
Now plug-in your USB drive! Search for and open WoeUSB from system app launcher.
When it opens, select ‘From a disk image (iso)’ and choose your ISO image. Then highlight the USB device from ‘Target device’. Finally click on ‘Install’ button.
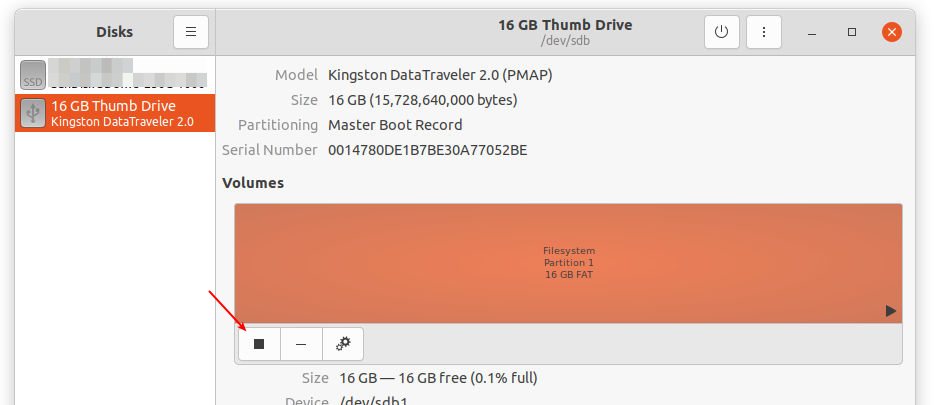
NOTE you have to unmount the USB or it will pop-up an error dialog. To do so, search for and open Disks utility.
Select your device in left pane, and click on the square icon to unmount it.
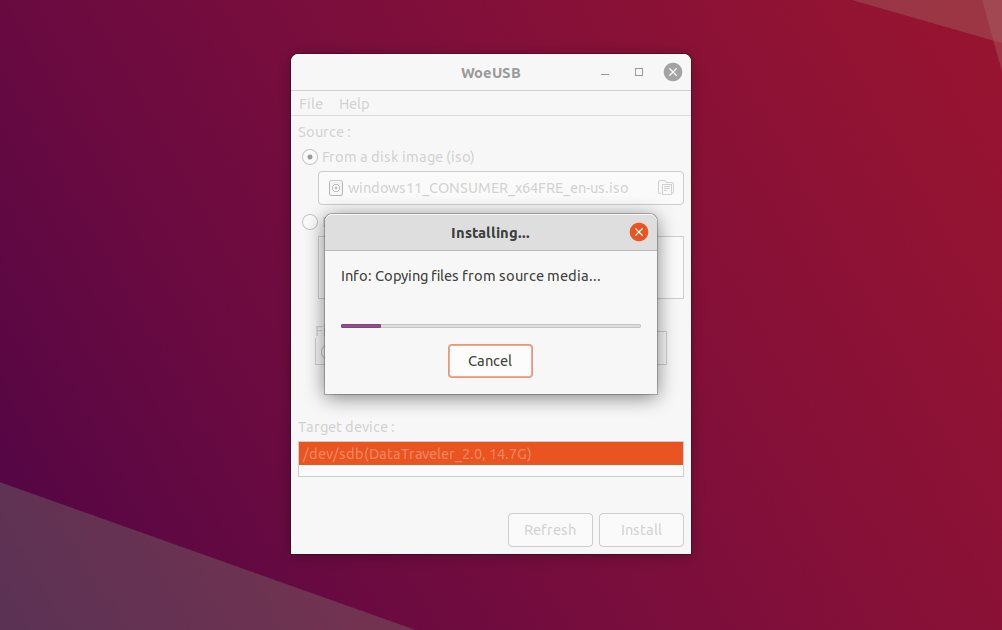
Next go back to WoeUSB, click refresh and select the USB device. After clicking on the Install button, it starts to wipe USB and burn Windows 11 into it.
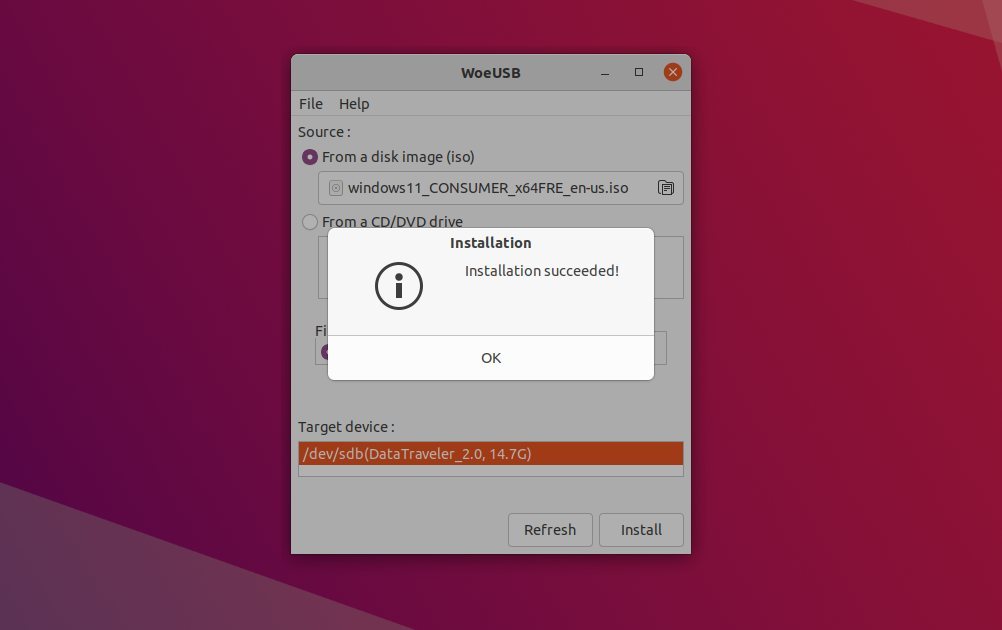
When everything’s done successfully, it will prompt that installation succeeded. Close it and boot the USB to get start installing Windows 11!
The upcoming Windows 11 has leaked online a few days ago. Here’s how to implement the new look and feel in Ubuntu 20.04, and/or Ubuntu 21.04.
Gnome has a large collection of extensions to get additional and optional functionality. You can use dash to panel to combine the top-bar and the left dock into single. And Arc Menu extension is available to replace the default system app launcher.
So your Ubuntu Desktop can be customized to look like the picture shows:
Install Dash To Panel to get single system panel:
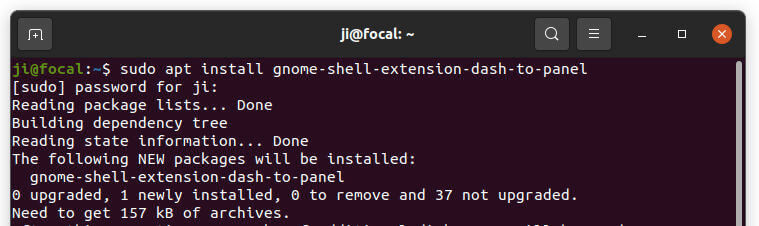
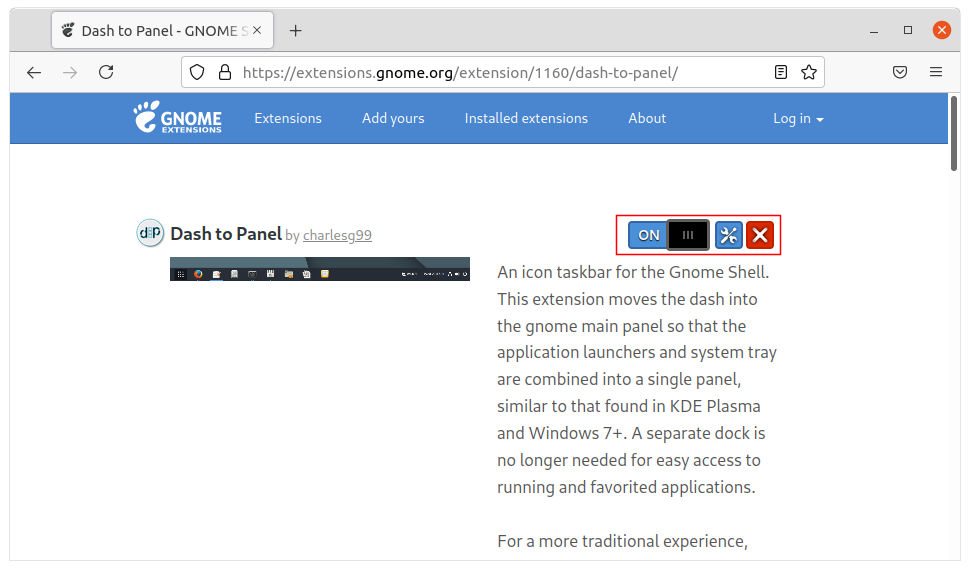
1.) Install Dash to Panel extension:
For Ubuntu 21.04, simply press Ctrl+Alt+T on keyboard to open terminal and run command to install the extension:
If you don’t see the toggle icon, install browser extension via “Click here to install browser extension” link and refresh the web page.
Enable & Configure Dash to Panel:
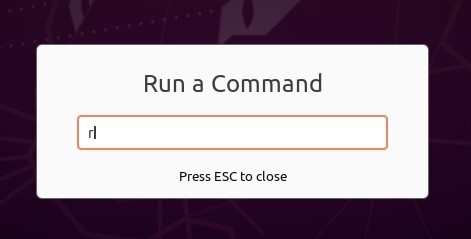
Once installed the extensions, restart Gnome Shell by pressing Alt+F2, type r in popup ‘Run a Command’ box, and hit Enter.
Or just log-out and back in if you’re running on Wayland session.
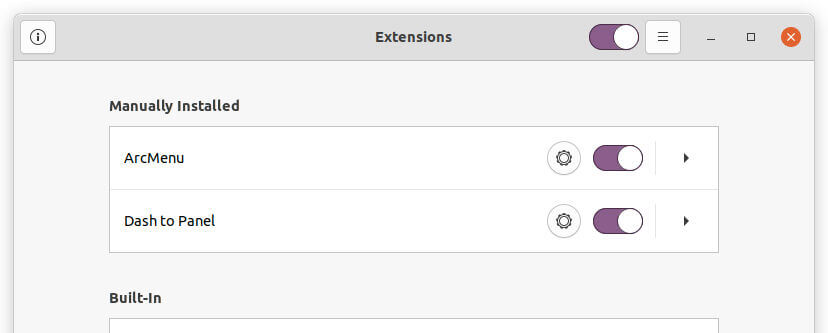
Next enable the extension via either Gnome Extension app or Gnome Tweaks tool.
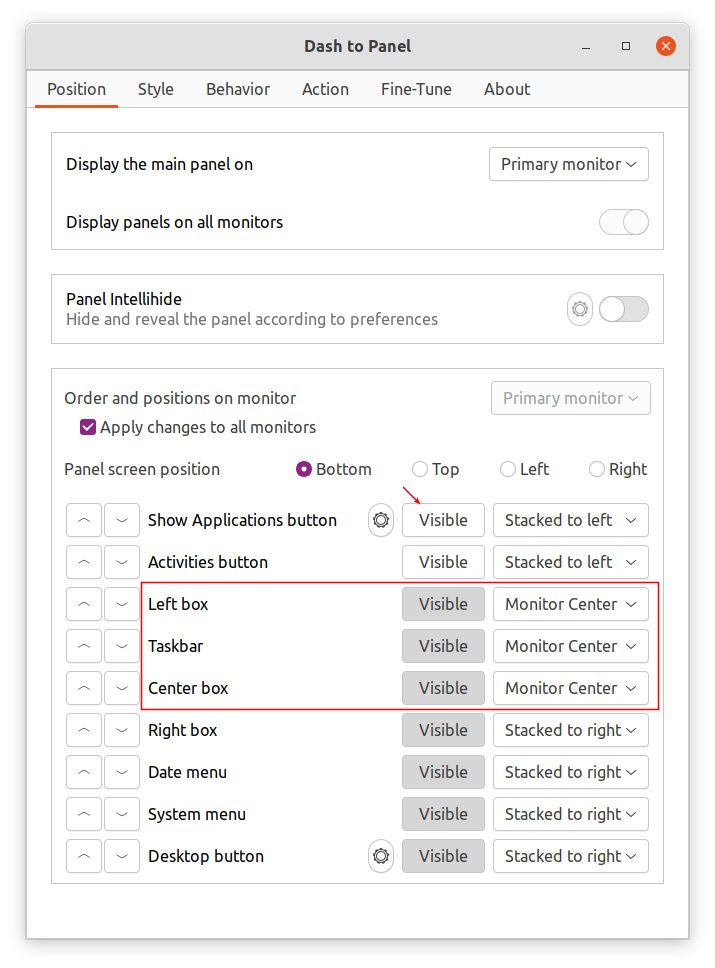
Finally right-click on blank area of the new panel, and go to ‘Dash to Panel Settings’. There do:
Toggle off ‘Show Applications’ button.
Change the position of ‘Left box’, ‘Taskbar’, and ‘Center box’. Use ‘Centered’ or ‘Monitor Center’ depends on your display.
Change panel background opacity, icon size, etc in next tabs.
Install Arc Menu as Start Menu:
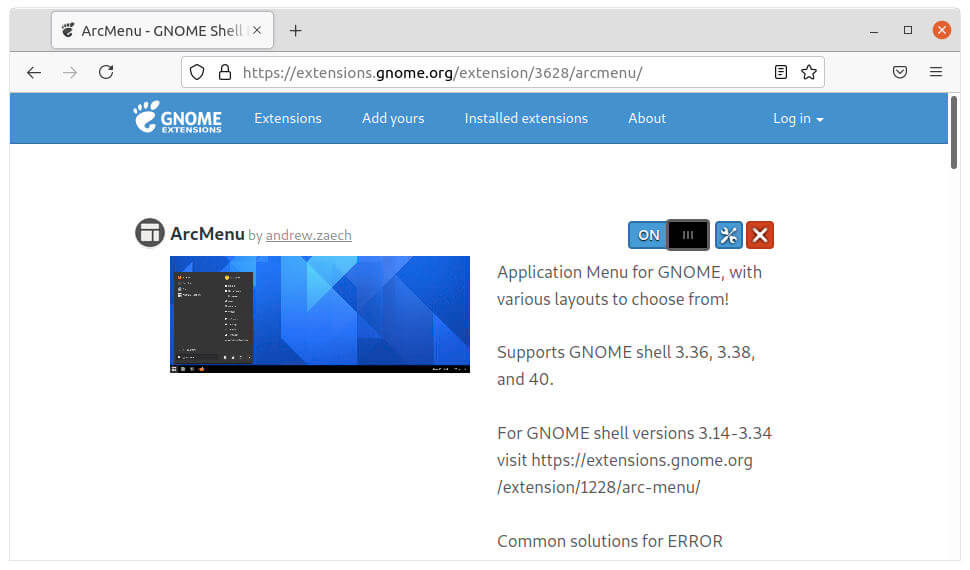
Though the Arc Menu is available to install via apt command, I recommend to install it from your web browser. That’s because the one in apt repository is the un-maintained versions though it still works in current releases.
1.) First run command to install the required tools, if you didn’t do it in previous step:
If you don’t see the toggle icon, install browser extension via “Click here to install browser extension” link and refresh the web page.
You may need to press Alt+F2, type r, and hit Enter to restart Gnome Shell, or log out and back in to enable the extension. If you don’t see the new start menu, enable Arc Menu via either Gnome Extension app or Gnome Tweaks tool.
Finally right-click on new start menu and open settings. Under ‘Menu Layout’, choose the Modern Menu Layouts and select “Eleven”.
That’s it.
How to Restore:
Simple turn off or remove the two extensions via Gnome Extension App will restore your desktop appearance. If not, restart Gnome Shell via Alt+F2 run command box or log out and back in.