
![]()
NetBeans IDE 8.0 Beta has been released recently. The new release provides out-of-the-box code analyzers and editors for working with the latest Java 8 technologies–Java SE 8, Java SE Embedded 8, and Java ME Embedded 8. The IDE also has a range of new enhancements that further improve its support for Maven and Java EE with PrimeFaces; new tools for HTML5, in particular for AngularJS; and improvements to PHP and C/C++ support.
This simple tutorial will show you how to install NetBeans IDE 8.0 Beta in Ubuntu and other Linux distributions.
UPDATE: NetBeans 8.0 Stable is out, see this post about how to install.
To get started:
1. Download the IDE installer with:
2. Once downloaded, press Ctrl+Alt+T on keyboard to open terminal, run below command to make the installer executable:
chmod +x ~/Downloads/netbeans-8.0beta-*.sh

3. Now start the installer via below command, you may replace netbeans-8.0beta-*.sh with the full file name
cd && ./Downloads/netbeans-8.0beta-*.sh
If you get a blank/gray window, run below command and re-run previous command in the same terminal.
export AWT_TOOLKIT=MToolkit
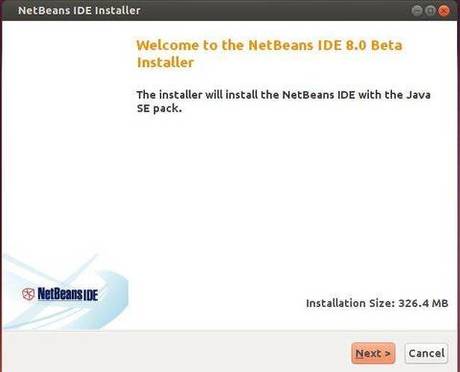
Follow the wizard and NetBeans IDE will be finally installed on your system.


