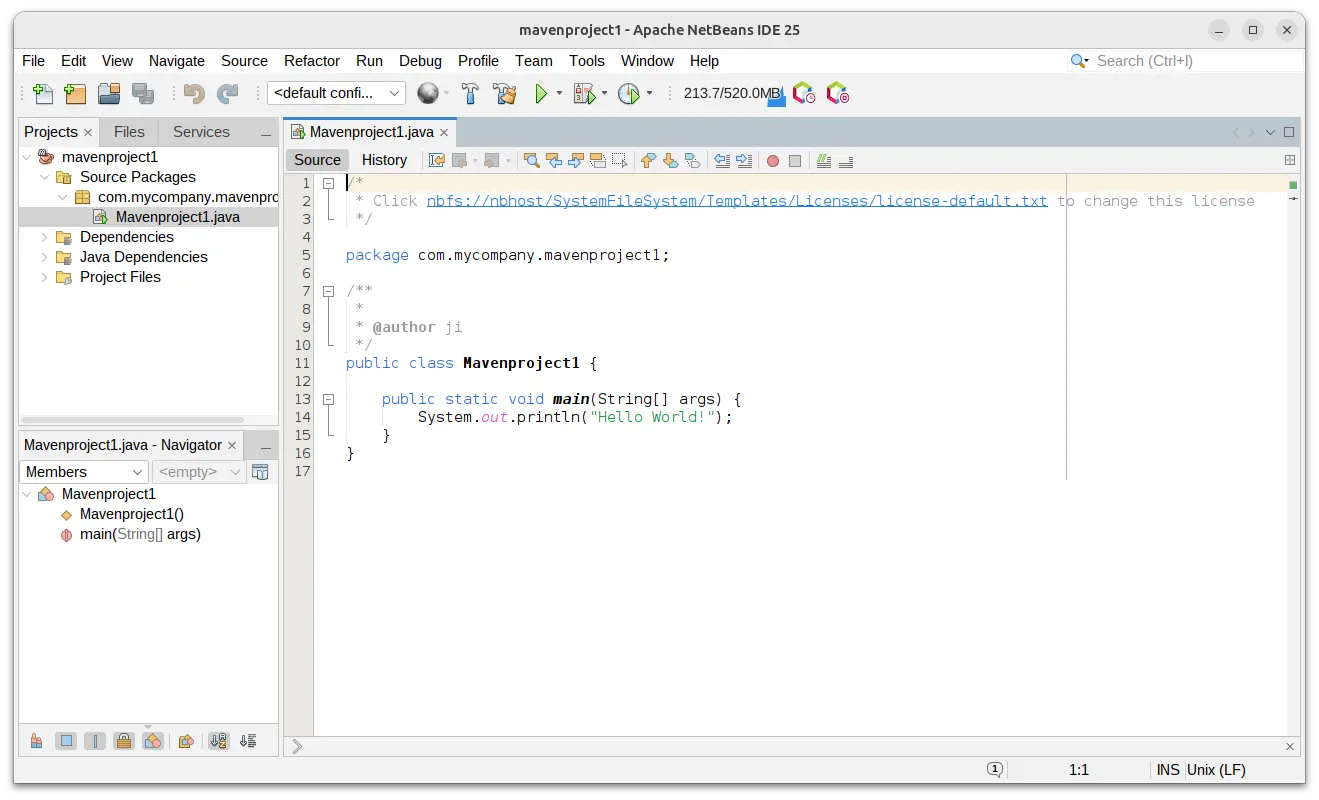
After 3 months of development, Apache NetBeans announced the new 26 release today.
The new release updated its UI with better HiDPI support. It now displays the dragged tab image and ensures to render SVG icons at full resolution on HiDPI screens. And, there are 150 more icons updated from GIF/PNG to SVG to look good on HiDPI/Retina screens.
Apache NetBeans announced new 25 release a few days ago. Here are the new features and how to install guide for Ubuntu.
NetBeans 25 was released after 2 release candidates. It updated the user interface with another batch of SVG icons for better HiDPI display support, and switched SVG loading routine in ImageUtilities from the Batik library to the much more lightweight JSVG library.
This tutorial shows how to install the most recent Apache NetBeans IDE (version 28 updated) in Ubuntu 22.04, Ubuntu 24.04, Ubuntu 25.10, and Debian 12 / 13, and their based systems, such as Linux Mint 22/21.
NetBeans is a free open-source (Apache License 2.0) Java IDE, that also supports other languages like PHP, C, C++, HTML5, and JavaScript via extensions.
The Oracle Corporation has announced the release of NetBeans IDE 8.2 today. Here’s how to install it in Ubuntu 16.04.
NetBeans 8.2 features:
ECMAScript 6 support
experimental ECMAScript 7 support
better Node.js support
improved Oracle JET support
PHP 7 support
Docker support
a new SQL queries profiling mode
some C/C++ enhancements
Install NetBeans 8.2 in Ubuntu:
1. First install Oracle Java via PPA, or install OpenJDK using Ubuntu Software.
2. Download the NetBeans bundles from the link below:
3. Open terminal from Unity Dash, App Launcher, or via Ctrl+Alt+T shortcut key. When it opens run commands:
navigate to Downloads folder:
cd ~/Downloads
make the downloaded script executable:
chmod +x netbeans-8.2-javase-linux.sh
finally run the script:
./netbeans-8.2-javase-linux.sh
In the commands, change “netbeans-8.2-javase-linux.sh” with the package name you downloaded.
The last command launches the installer wizard, just follow it and enjoy!
To make the things easier, there’s a installer script (no ready for NetBeans 8.2 yet, check the PPA page) that automatically downloads and installs the latest version of Netbeans IDE including the Java SE, Java EE, C/C++, HTML5 & PHP plugins (‘All’ version on oracle’s download page).
To install the script, run commands below one by one:
NetBeans IDE 8.0 was finally released on March 18, 2014, which provides out-of-the-box code analyzers and editors for working with the latest Java 8 technologies.
Besides the Java 8 support, the IDE also has a range of new enhancements that further improve its support for Maven and Java EE with PrimeFaces; new tools for HTML5, in particular for AngularJS; and improvements to PHP and C/C++ support. See the release note for more details.
Install NetBeans IDE 8.0:
1. Download the installer:
NetBeans IDE 8.0 works better and faster with JDK distribution, so you can download the oracle’s Co-bundled package from the links below. You may check your OS type 32-bit (x86) or 64 bit (x64) via System Settings -> Details.
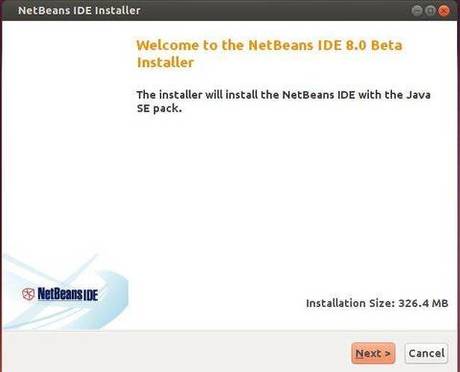
NetBeans IDE 8.0 Beta has been released recently. The new release provides out-of-the-box code analyzers and editors for working with the latest Java 8 technologies–Java SE 8, Java SE Embedded 8, and Java ME Embedded 8. The IDE also has a range of new enhancements that further improve its support for Maven and Java EE with PrimeFaces; new tools for HTML5, in particular for AngularJS; and improvements to PHP and C/C++ support.
This simple tutorial will show you how to install NetBeans IDE 8.0 Beta in Ubuntu and other Linux distributions.
The NetBeans is an integrated development environment (IDE) written in Java and can run on Windows, OS X, Linux, Solaris and other platforms supporting a compatible JVM.
NetBeans IDE lets you quickly and easily develop Java desktop, mobile, and web applications, as well as HTML5 applications with HTML, JavaScript, and CSS. The IDE also provides a great set of tools for PHP and C/C++ developers. It is free and open source and has a large community of users and developers around the world.
See What’s new in latest NetBeans IDE 7.4:
HTML5 development for Android and iOS devices
HTML5 development in Java EE and PHP applications
Editing support for Knockout and AngularJS frameworks
Java SE 8 Support
Redesigned JavaFX support according to JDK 8 architecture
Additional enhancements are listed on the NetBeans IDE 7.4 New and Noteworthy page.
This tutorial shows you how to install NetBeans IDE 7.4 in Ubuntu 13.10 & Linux Mint 16 using oracle’s own JDK + NetBeans Co-bundled distribution package. It also works on Ubuntu 14.04, Ubuntu 13.04, Ubuntu 12.04 and other derivatives.
Install Netbean IDE 7.4 on Ubuntu & Linux Mint
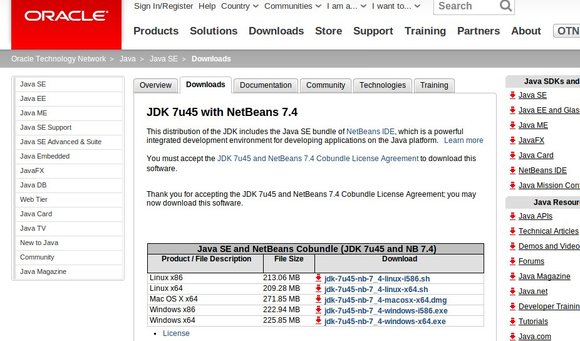
NetBeans IDE 7.4 works better and faster with JDK distribution, so first download the oracle’s Co-bundled package JDK 7u45 with NetBeans 7.4 Go and download:
jdk-7u45-nb-7_4-linux-i586.sh for the 32-bit Linux System.jdk-7u45-nb-7_4-linux-x64.sh for the 64-bit Linux System.
Download NetBean IDE
Go to the Downloads folder, set the permission by right-click on the installer -> Properties -> Permissions tab -> check ‘Allow executing file as program’. Or just run command below in terminal (Ctrl+Alt+T):
chmod +x ~/Downloads/jdk-7u45-nb-7_4-linux*.sh
Now run the installer:
cd ~/Downloads && ./jdk-7u45-nb-7_4-linux*.sh
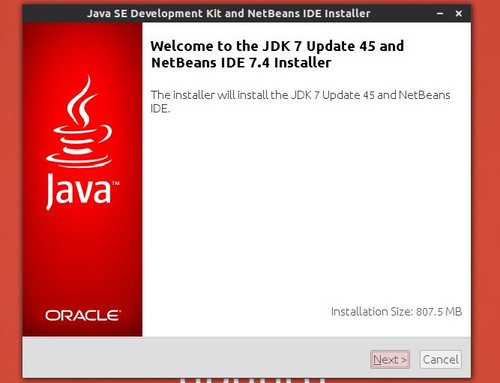
It brings up the install wizard:
Netbean IDE install wizard
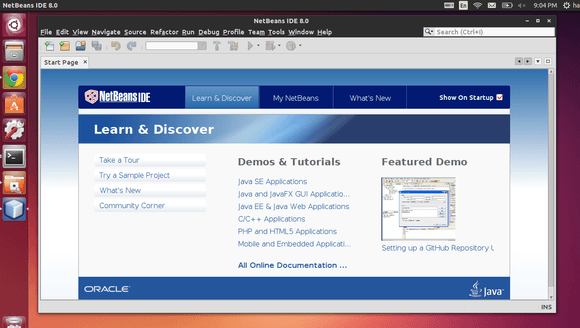
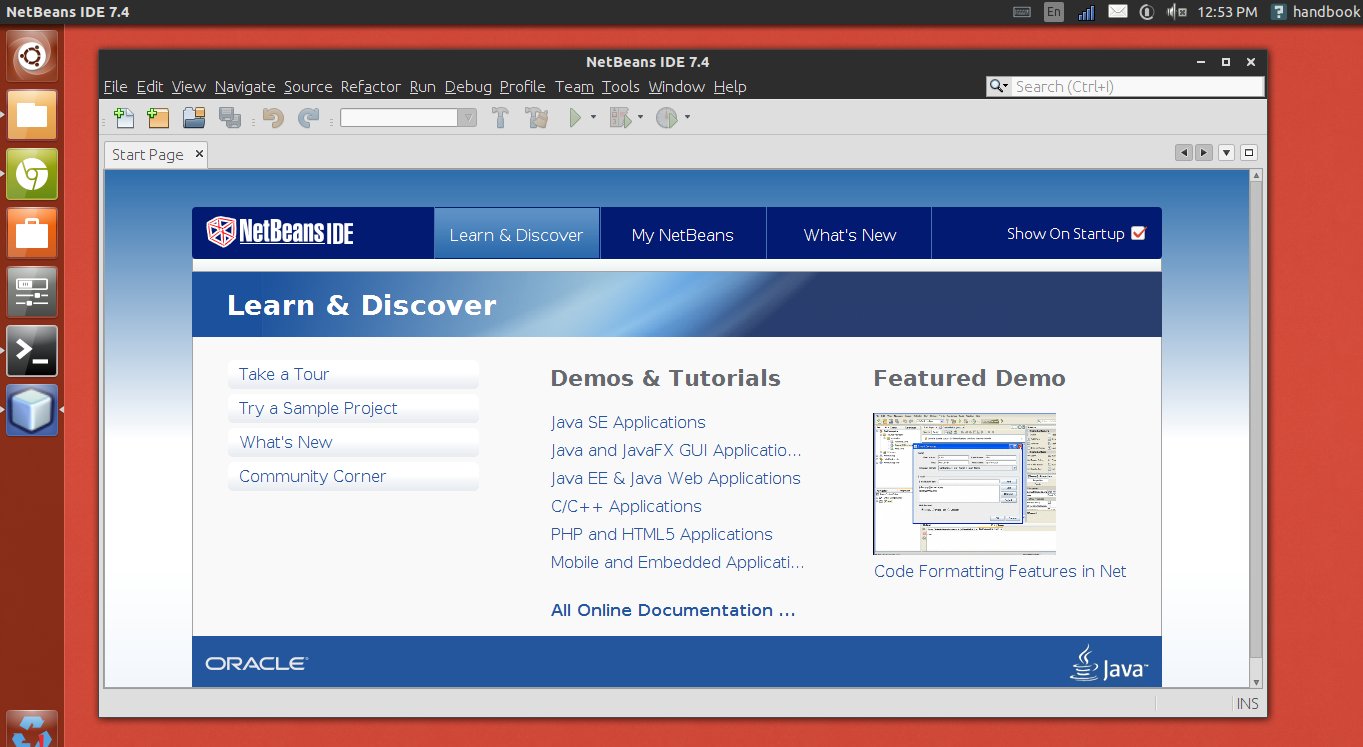
Follow it. Finally you’ll get the NetBeans IDE 7 installed on your system:
NetBeans IDE 7.4 on Ubuntu 13.10
(Optional) To uninstall Netbeans IDE 7.4, run the uninstall.sh from the installation directory