
![]()
The Evolve OS Budgie Desktop session released version 0.8 recently. Here’s how to install it in Ubuntu 14.10 and Ubuntu 14.04.
Budgie is the flagship desktop of the Evolve OS Linux Distribution. It’s designed with the modern user in mind, it focuses on simplicity and elegance. A huge advantage for the Budgie desktop is that it is not a fork of another project, but rather one written from scratch with integration in mind.
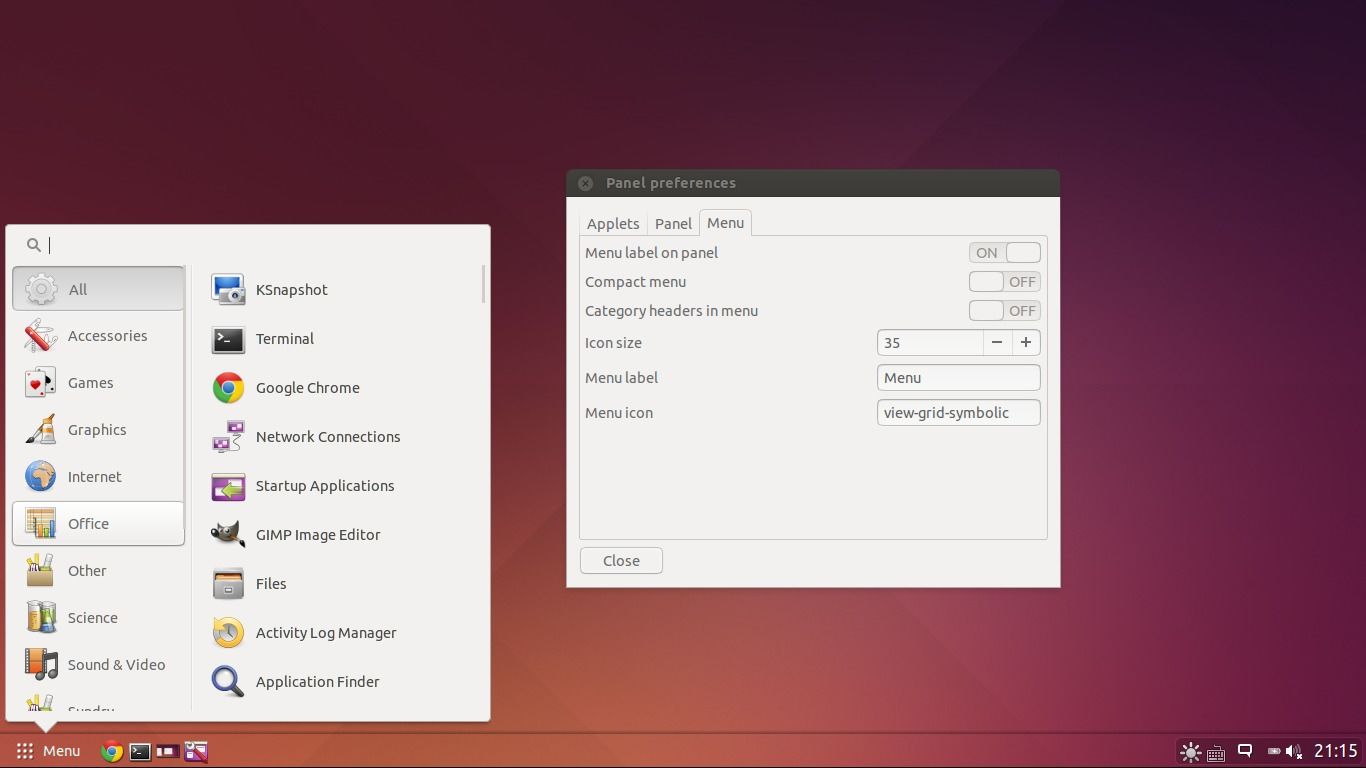
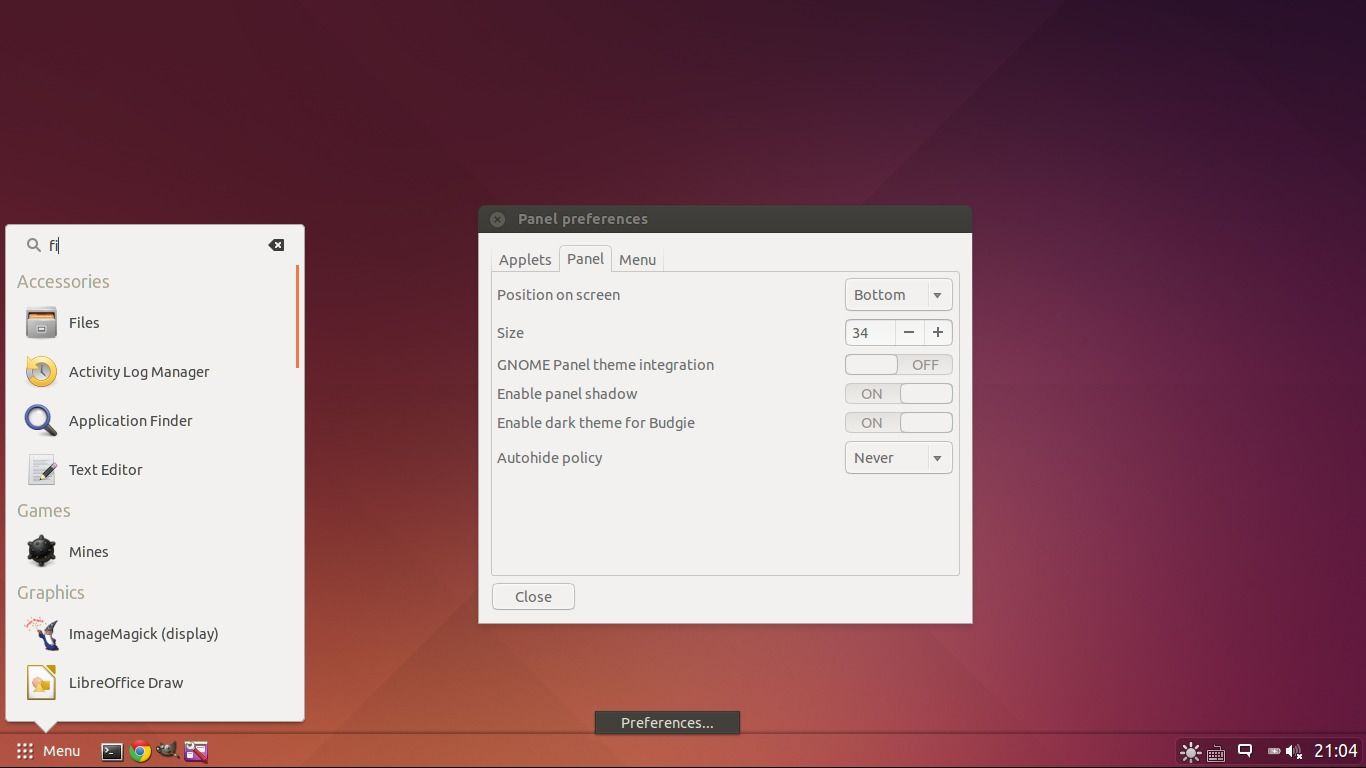
Budgie desktop is nearly one year old and now it works very well in Ubuntu. See the screenshots in Ubuntu 14.10:
![]()
How to install Budgie Desktop:
The developer has created an official PPA repository that contains Budgie binaries, available for Ubuntu 14.04 and Ubuntu 14.10.
To add the PPA and install the session, press Ctrl+Alt+T to open terminal. When it opens, run the commands below one by one:
sudo add-apt-repository ppa:evolve-os/ppa

sudo apt-get update

sudo apt-get install budgie-desktop
Or you can grab the .deb installer directly from the link below if you don’t want to add the PPA.
Budgie Desktop packages in Launchpad Page
Depends on your Ubuntu release edition and OS type, download & install the .deb package with:
- trusty (or utopic) in name for Ubuntu 14.04 (or Ubuntu 14.10).
- amd64 (or i386) in name for 64-bit (or 32-bit) system.
Once installed, log out and select login with Budgie session.


