Budgie, the independent free open-source desktop environment, released new 10.10 version today.
This is the final feature release in the 10.x series, as the dev team has formally put it into maintenance mode, and focus on the development of the next Budgie 11.
Budgie desktop announced the new 10.9 release this Monday! See what’s new in the free open-source desktop environment.
Budgie is a popular desktop environment that default in Ubuntu budgie, and optional in Debian, Fedora, Arch, Manjaro Linux, etc.
The most recent version 10.9 was released few days ago. It features initial port to Wayland, which is already default in Ubuntu, Fedora Workstation, and other Linux (such as Debian 12) with recent GNOME desktop.
It adopts XFCE’s libxfce4windowing library to make the transition from X11 to Wayland. And, in the release the Show Desktop applet, Alt+Tab window switcher, and Workspace applet have been ported to the new library.
Budgie 10.9 also takes into use the budgie-session. It’s a softish fork from GNOME session 44.x.
As you may know, GNOME is going to drop X11 session. The developer, Jordan Petridis, has submit the request in project page. To retain the X11 session until switch Budgie to being Wayland-only, the budgie-session is being in use to take place.
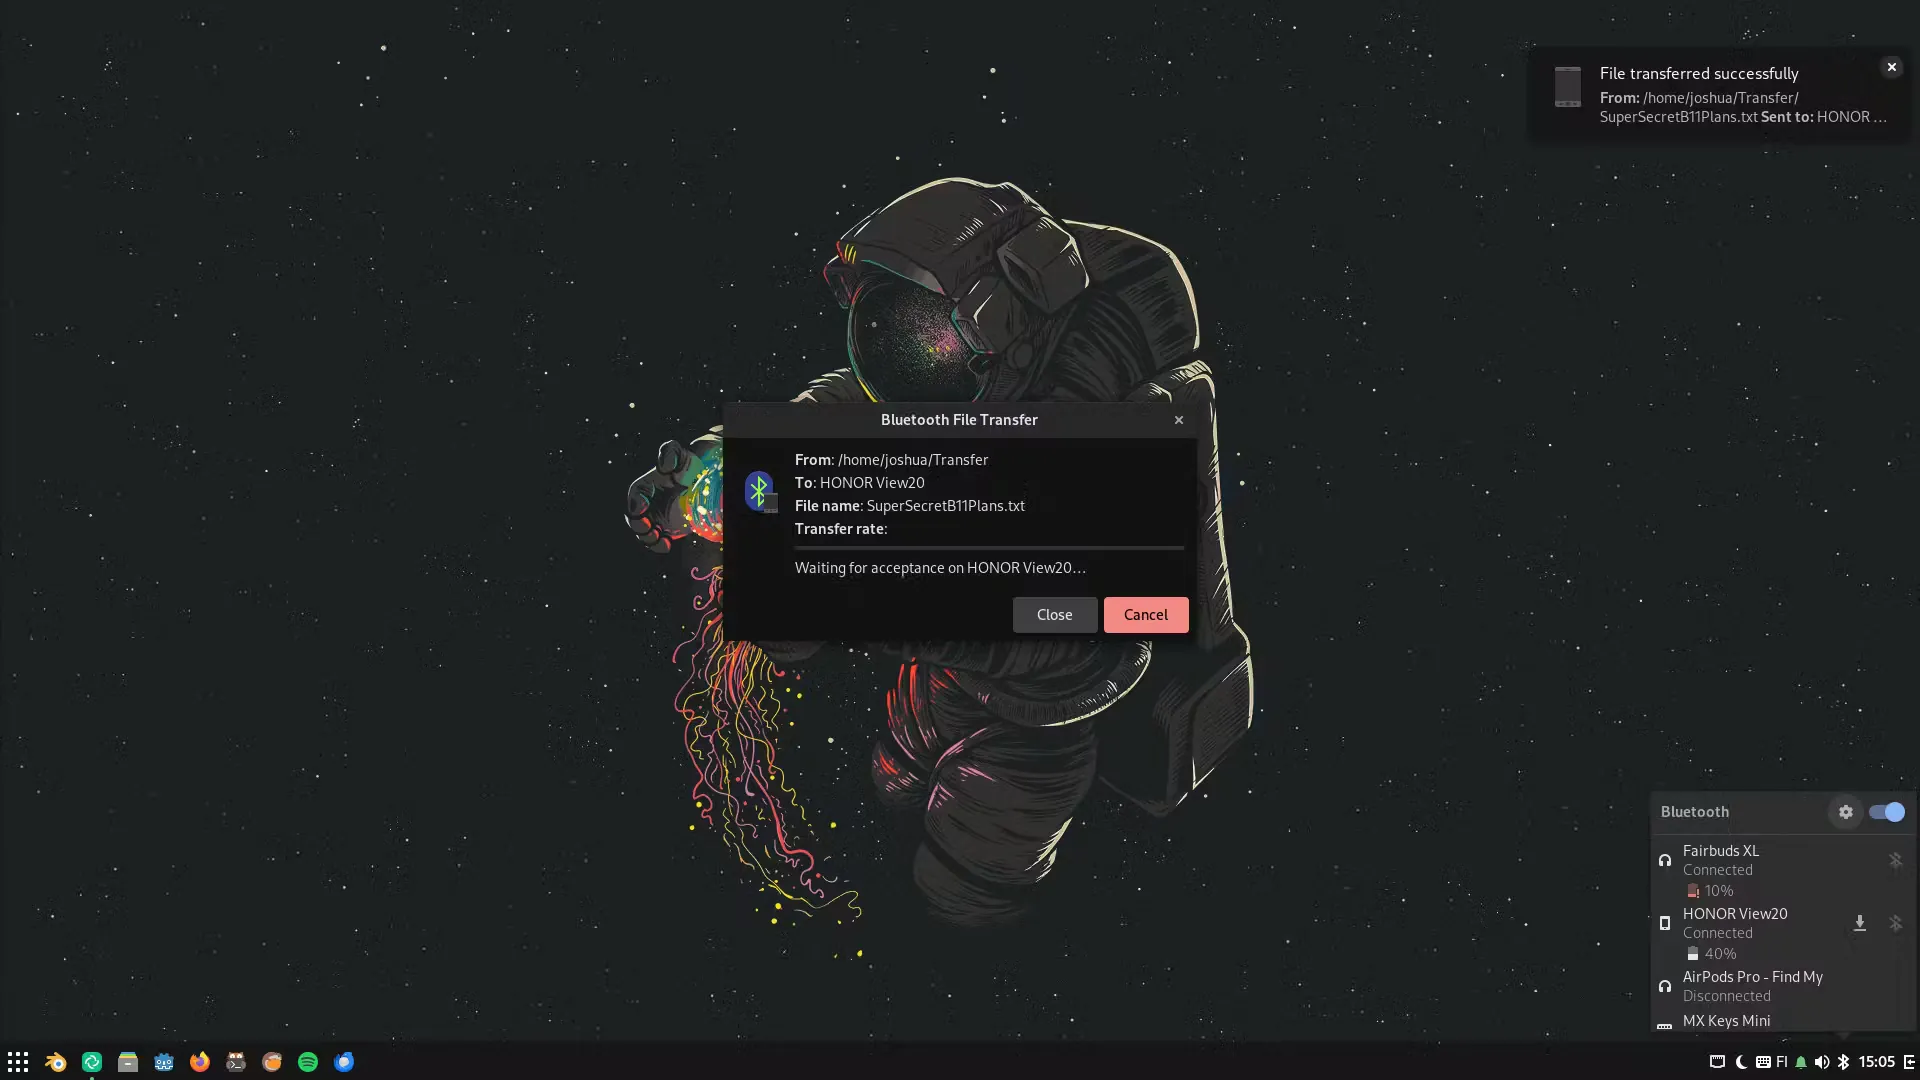
Another change in the release is the redesigned bluetooth applet. Instead of using an older version of gnome-bluetooth, the applet now directly communicates to BlueZ and UPower over D-Bus.
And, the applet now provides direct connect/disconnect functionality for paired devices, battery life indicators, as well as functionality for sending files to Bluetooth devices.
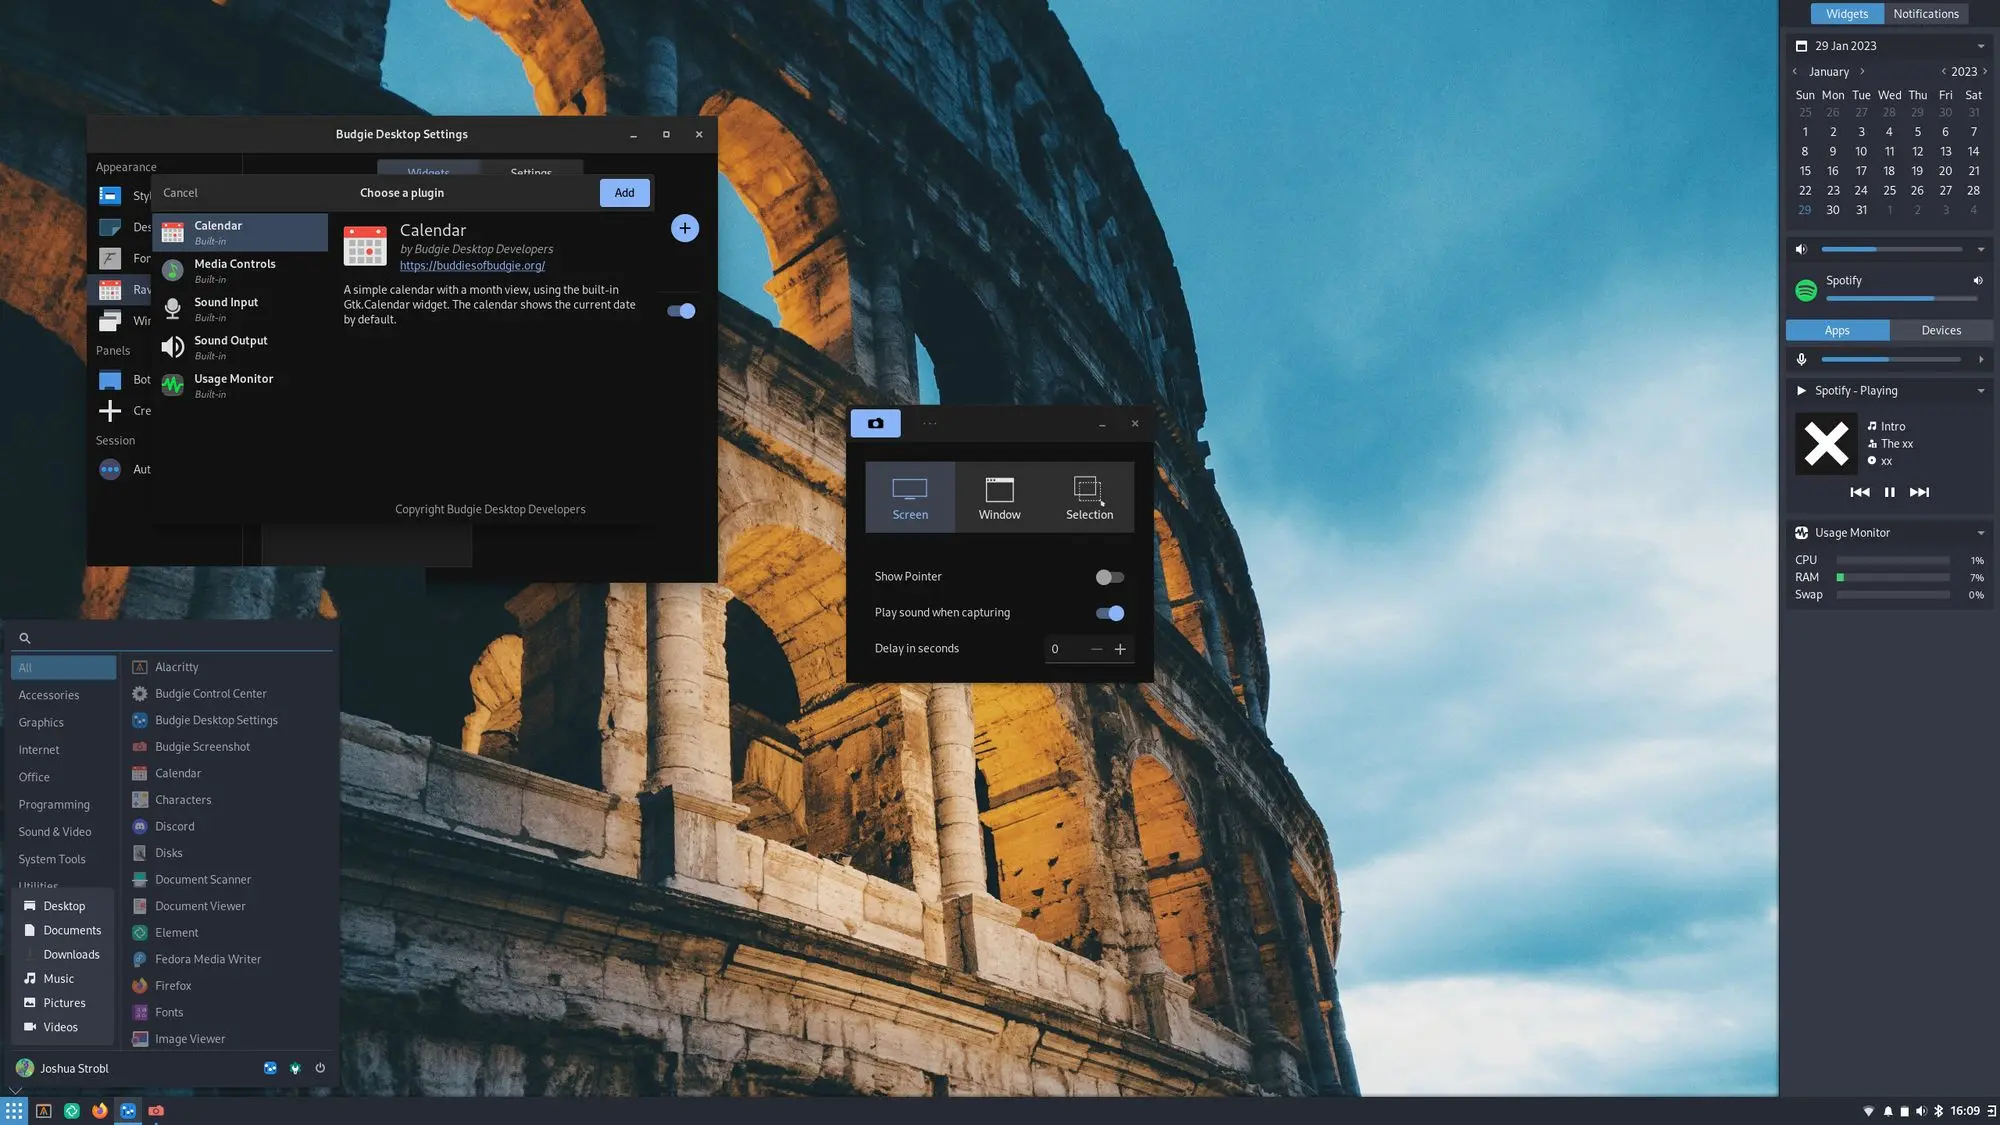
Image from https://buddiesofbudgie.org/
How to Get Budgie Desktop 10.9
For more changes about the new desktop release, see the official release note.
To get the new desktop release, it’s better to wait your Distribution to package the updates. And, Arch Linux has already done the job.
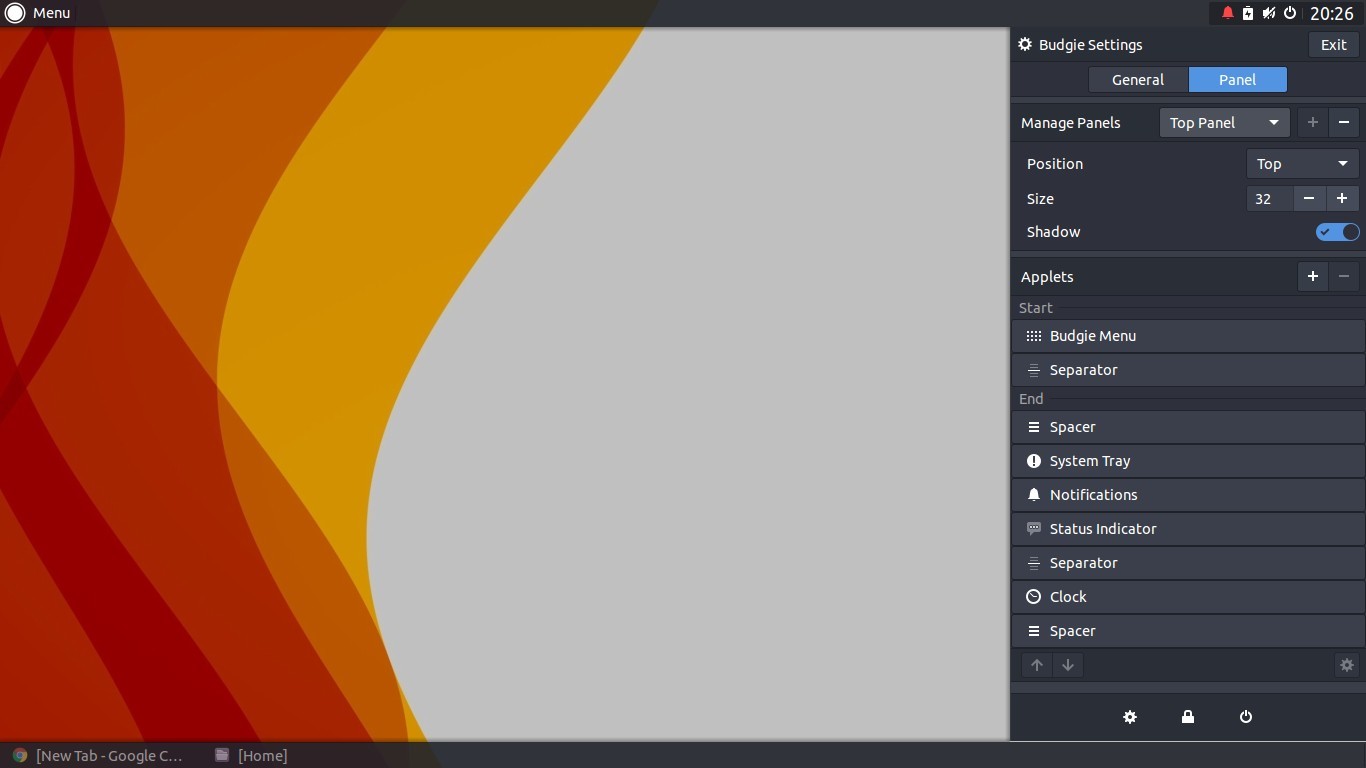
This simple tutorial shows how to install the Budgie Desktop (10.8 so far) in Ubuntu 22.04 LTS.
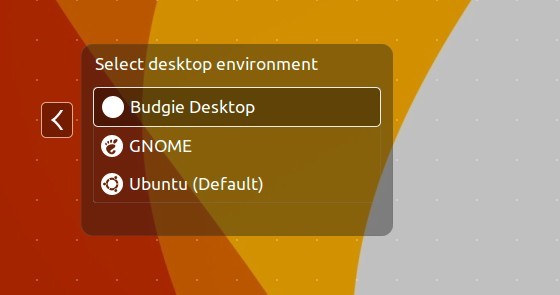
Ubuntu Budgie is one of the official Ubuntu flavors features the Budgie desktop. While Ubuntu Budgie 22.04 ships with Budgie Desktop 10.6.1, the latest version has reached v10.9.
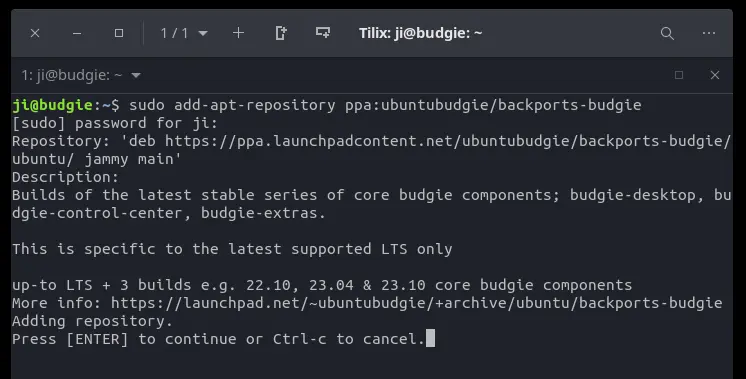
For those who want to get the latest features, but don’t want to upgrade the whole system. The developers team maintains an Ubuntu PPA contains the most recent desktop packages for Ubuntu 22.04 LTS.
NOTE: The PPA so far contains Budgie desktop 10.8! According to the PPA description, it will include the latest 10.9 release.
1. First, search for and open “terminal” from application menu. When it opens, run command to add the PPA:
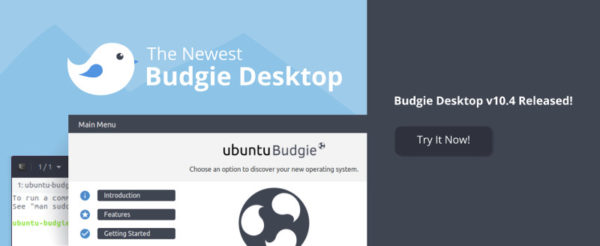
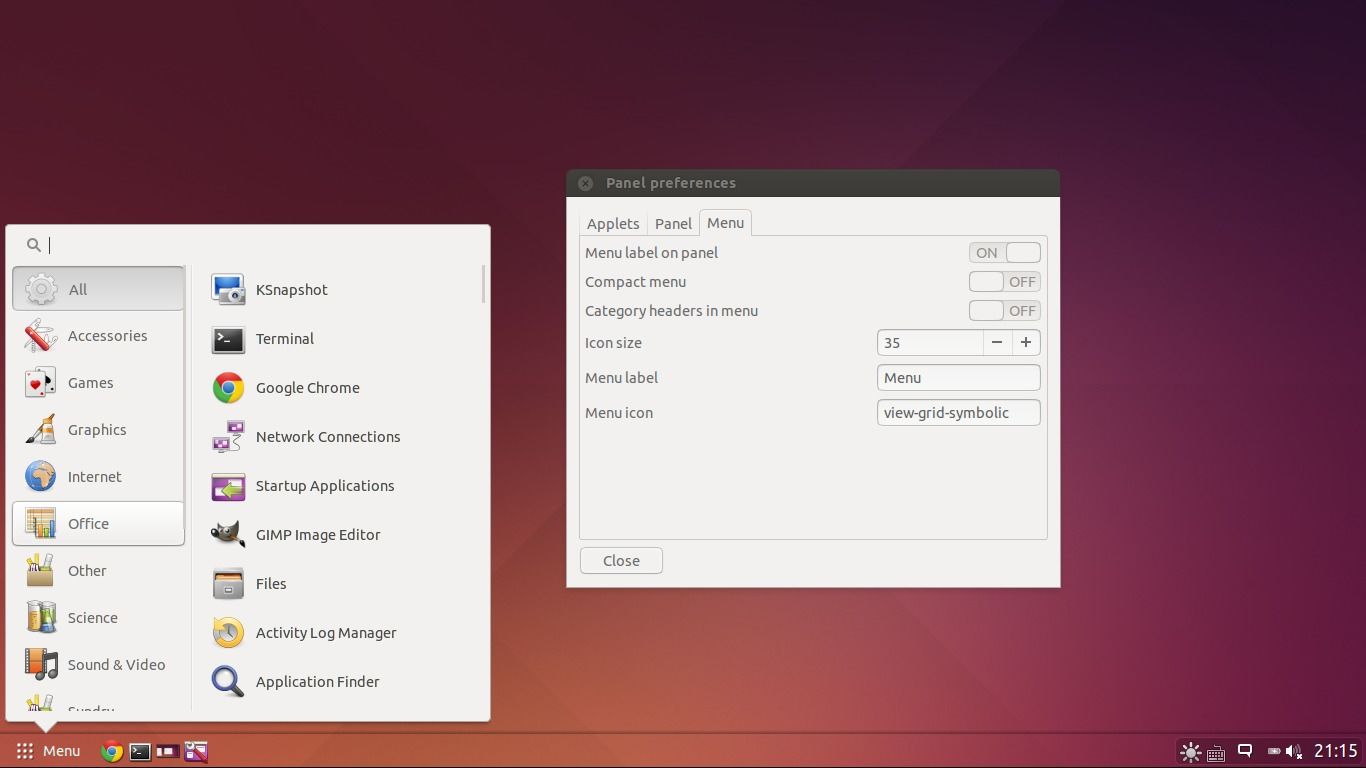
Budgie Desktop 10.4 for Ubuntu and Debian users was released earlier today. It has been made into main repositories of Ubuntu 17.10. And here’s how to install it in Ubuntu 16.04, Ubuntu 17.04 via PPA.
Budgie 10.4 is considered a major release on our 10.x series, with significant improvements to applets, panels, and personalization of Budgie. This release also introduces polish to Alt+Tab, animations, and Budgie Menu!
Budgie 10.4 features:
maximize and unmaximize animations for applications.
Alt+Tab switcher now prefer the theme icon instead of the X11 icon
New ‘Night Light’ applet which can help reduce eye strain
Places indicator, workspace applet, and other applet improvements.
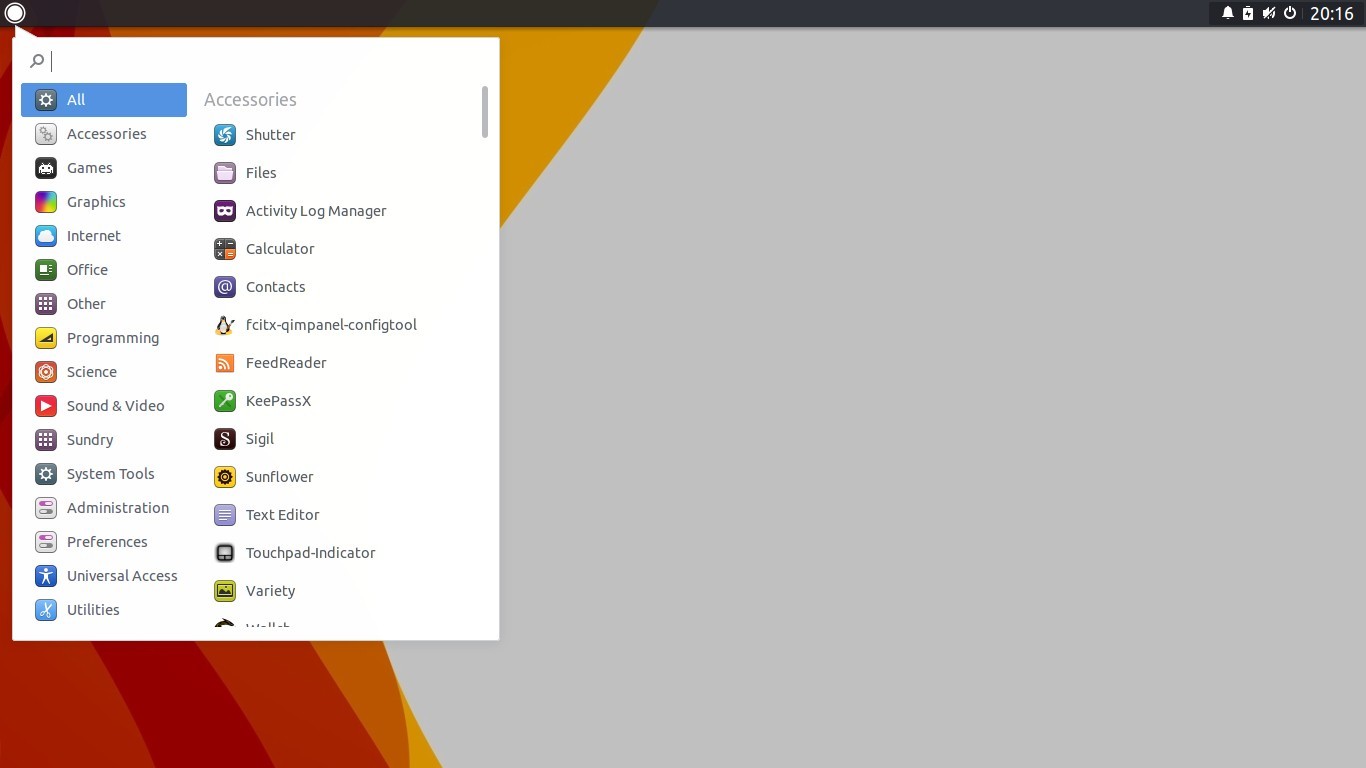
Searching in App Launcher has been completely overhauled.
The Budgie desktop environment 10.3 was released a few days ago. Here’s how to install it in Ubuntu 16.04, Ubuntu 16.10, and/or Ubuntu 17.04.
The Ubuntu Budgie team announced the release of Budgie 10.3 as the final release of the 10.x series. And the Qt 5-based Budgie Desktop 11 is now under development.
Budgie 10.3 features:
Supports the downloading of artwork for the MprisClient.
New and improved Alt-Tab keyboard app switcher.
Adds a couple of customization options for the Clock Applet.
Option to choose a left or right window button layout.
Various Budgie applets bug fixes and more.
How to Install Budgie 10.3 in Ubuntu:
For Ubuntu 16.04 & Ubuntu 16.10:
The budgie-remix PPA contains the Budgie Desktop 10.3 for Ubuntu 16.04, Ubuntu 16.10 and derivatives.
1. Open terminal via Ctrl+Alt+T or by searching for “Terminal” from start menu. When it opens, run command to add the PPA:
sudo add-apt-repository ppa:budgie-remix/ppa
Type in your password (no visual feedback due to security reason) when prompts and hit enter.
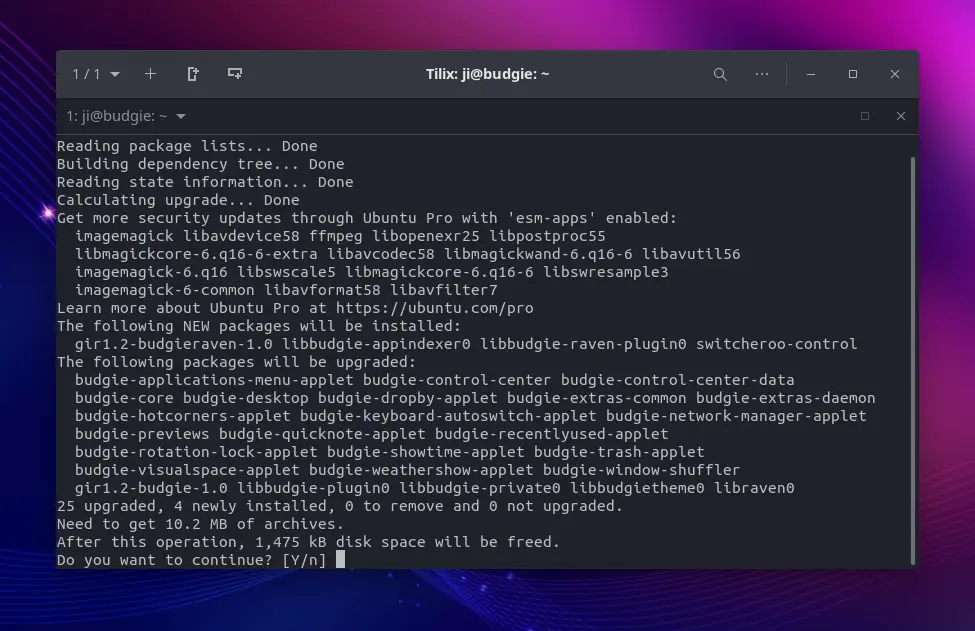
2. Then check updates and install the desktop environment via commands:
3. After that, you may remove the PPA repository because it contains a newer version of Nautilus for Ubuntu 16.04. To do so, go to System Settings -> Software & Updates -> Other Software tab.
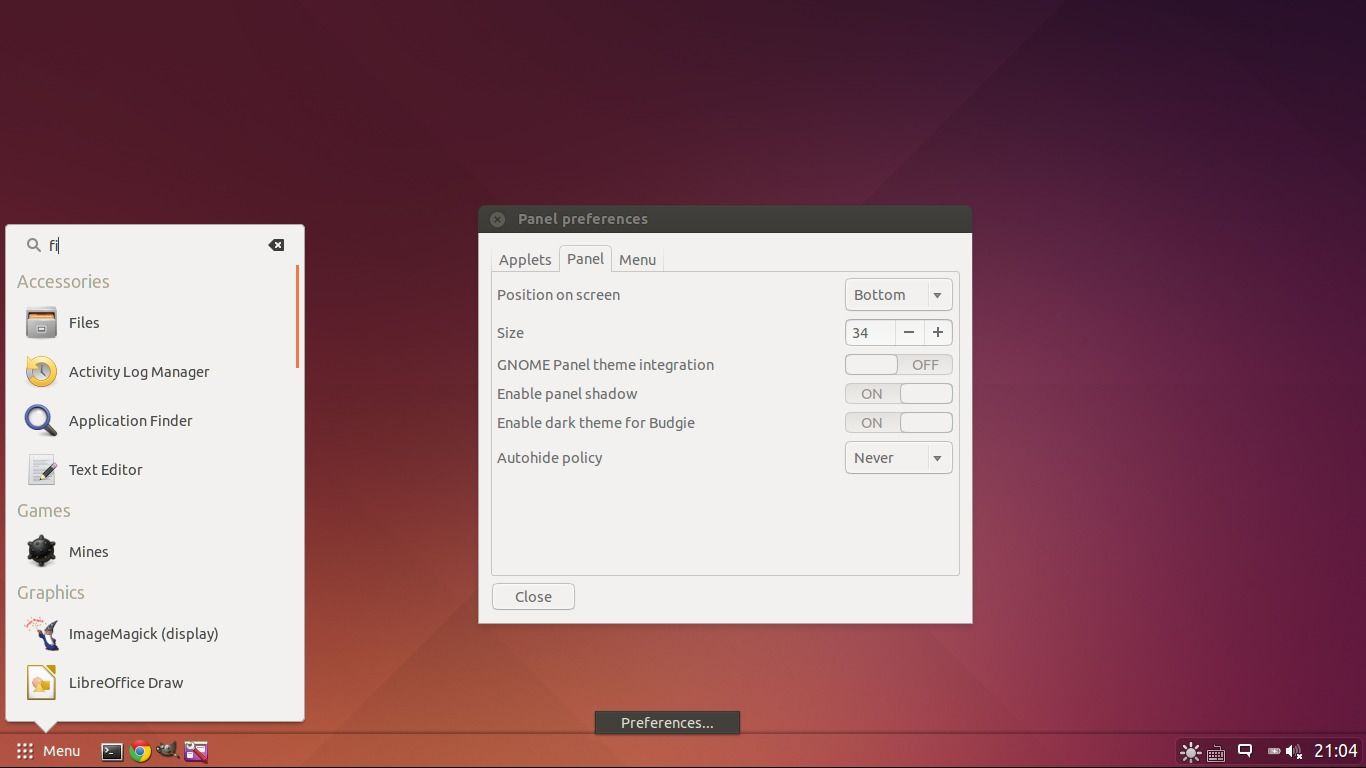
The latest budgie-desktop (so far it’s 10.2.3), flagship desktop of Solus Linux Distribution, now gets a PPA (unofficial) for Ubuntu 16.04 and Ubuntu 15.10.
Budgie is the default desktop of Solus Operating System, written from scratch. Besides a more modern design, Budgie can emulate the look and feel of the GNOME 2 desktop.
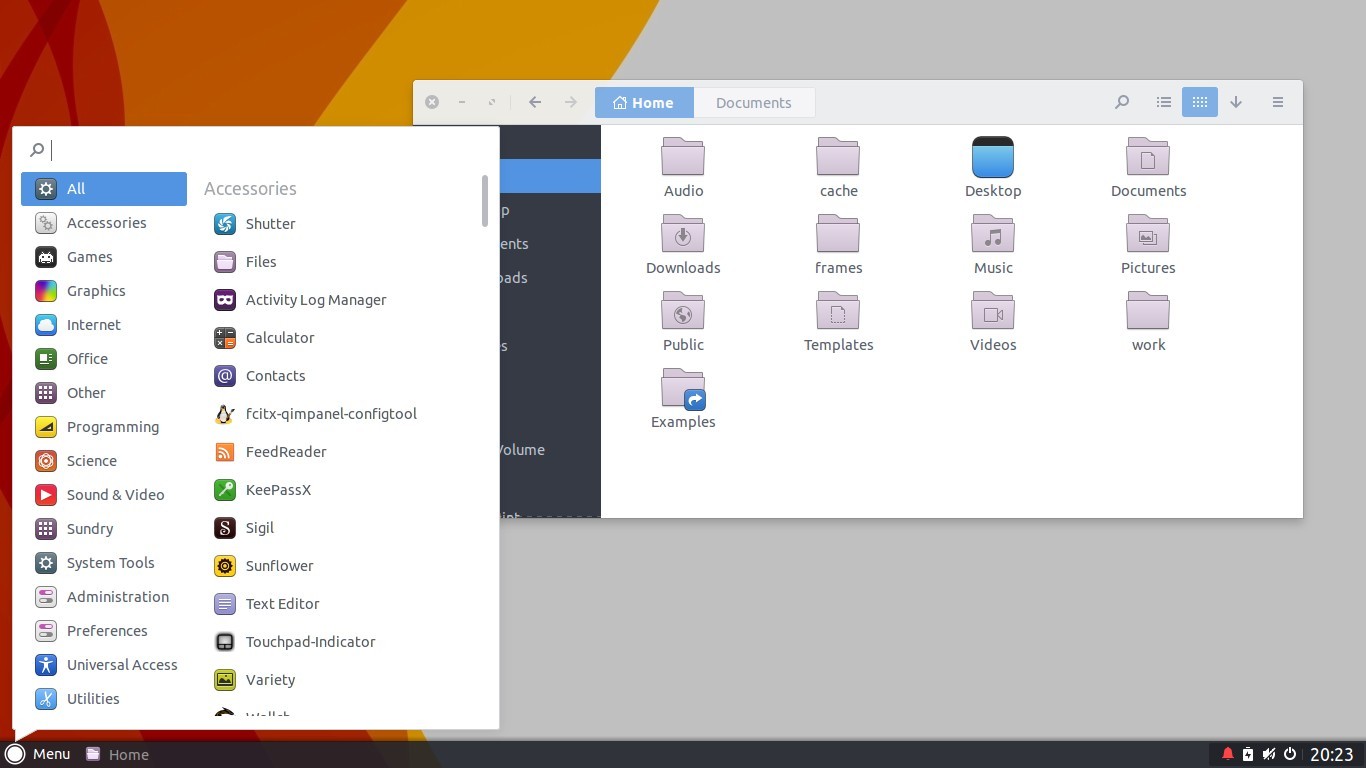
Here are some screenshots of Budgie Desktop in Ubuntu 15.10:
Install budgie-desktop via PPA:
1. To Add PPA
Launch terminal from app launcher or via Ctrl+Alt+T shortcut key. When it opens, paste below command hit run:
sudo add-apt-repository ppa:budgie-remix/ppa
Type in password (no visual feedback when typeing) when it asks and hit Enter to continue.
2. Then either launch Synaptic Package Manager(install it via Software Center) and install budgie-desktop after clicked Refresh button,
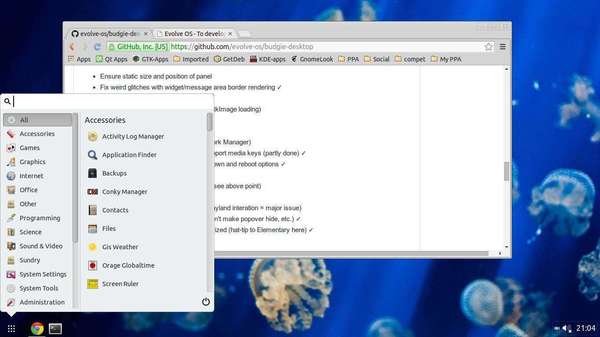
The Evolve OS Budgie Desktop session released version 0.8 recently. Here’s how to install it in Ubuntu 14.10 and Ubuntu 14.04.
Budgie is the flagship desktop of the Evolve OS Linux Distribution. It’s designed with the modern user in mind, it focuses on simplicity and elegance. A huge advantage for the Budgie desktop is that it is not a fork of another project, but rather one written from scratch with integration in mind.
Budgie desktop is nearly one year old and now it works very well in Ubuntu. See the screenshots in Ubuntu 14.10:
How to install Budgie Desktop:
The developer has created an official PPA repository that contains Budgie binaries, available for Ubuntu 14.04 and Ubuntu 14.10.
To add the PPA and install the session, press Ctrl+Alt+T to open terminal. When it opens, run the commands below one by one:
Budgie is a lightweight GTK3 desktop session using libmutter and a bottom panel. It’s the default DE for Evolve OS, a new desktop Linux distribution.
Budgie desktop has a single panel budgie-panel which uses trivial amounts of RAM (in the region of 7MB) when started. However, when you first open the menu, GTK actually loads the images. This needs to be hacked a bit, as it delays the first open, and should be done in an asynchronous manner.
Budgie’s window manager is currently based on libmutter, so naturally with 3.12 will gain support to be a Wayland compositor.
Budgie Desktop integrates with the GNOME stack, and as such requires certain components to operate correctly. Your distribution should provide an autostart file for gnome-settings-daemon in its package.
budgie-session will attempt to parse the file and launch it if it is found, which is guessed to be living in: /etc/xdg/autostart/gnome-settings-daemon.desktop
If budgie-session cannot locate the file, gnome-settings-daemon will not be launched, and dynamic settings for themes, etc, will not work until it is launched.
Ubuntu users: It is highly likely your theme or Ubuntu setup can affect the usability of budgie-panel.
If you have focus/use issues with the panel (i.e. not taking input), disable overlay scrollbars by running below command in a terminal window:
gsettings set com.canonical.desktop.interface scrollbar-mode normal
Install Budgie Desktop:
NOTE: Budgie is still in early development stage. It has a lot of to-do things, only install it on test machine before it gets table!
To install it (from a third-party PPA), press Ctrl+Alt+T on keyboard to open the terminal. When it opens, run commands below one by one: