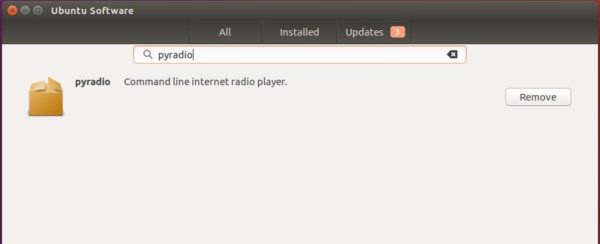
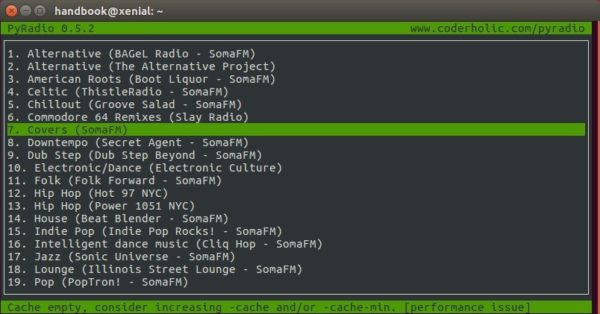
PyRadio is an open-source curses based internet radio player that runs in command console. The software is implemented in Python, and uses mplayer or VLC for media playback.
The community has recently made the snap package for PyRadio to make it easy to install the tool in Ubuntu 16.04 and higher either via Ubuntu Software:
or by running command in terminal:
snap install pyradio
Since snap app contains most required libraries and dependencies, the installation file is kinda large.
MKVToolNix, free and open-source Matroska software, reached 20.0.0 release a day ago. Here’s how to install it in Ubuntu 16.04, Ubuntu 17.10.
MKVToolNix 20.0.0 fixed quite a number of bugs in mkvmerge, and removed those options and features deprecated a year ago. An important change was the near complete rewrite of mkvinfo’s internals.
Feature removal: several deprecated features have been removed:
mkvmerge: the deprecated options --identify-verbose (and its counterpart -I), --identify-for-gui, --identify-for-mmg and --identification-format verbose-text
support for the deprecated, old, proprietary format used for option files
support for passing command line options via the deprecated environment variables MKVTOOLNIX_OPTIONS, MKVEXTRACT_OPTIONS, MKVINFO_OPTIONS, MKVMERGE_OPTIONS and MKVPROPEDIT_OPTIONS
mkvinfo: most of its code was re-written in order to lay the groundwork for including its functionality in MKVToolNix GUI but with more features than the existing mkvinfo GUI. Changes include but aren’t limited to:
Several element names are a bit clearer (e.g. Maximum cache instead of MaxCache).
All timestamps and durations are now output as nanoseconds in formatted form (e.g. 01:23:45.67890123). All additional formats (e.g. floating point numbers output in seconds or milliseconds) were removed.
Element names for chapters and tags are now translated if a translation is available.
Elements located in wrong positions within the Matroska document are handled better.
How to Install MKVToolNix 20.0.0 in Ubuntu:
The official apt repository offers the latest packages for Ubuntu 16.04, Ubuntu 17.04, Ubuntu 17.10 so far.
Open terminal via Ctrl+Alt+T or by searching it from app launcher. When it opens, do following steps:
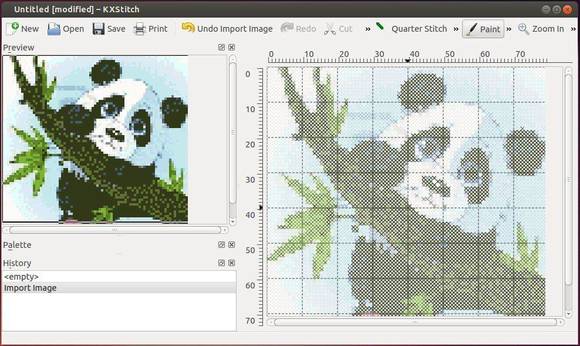
KXStitch 2.1.0, free and open-source cross stitch pattern software, was released a day ago. Here’s how to install it in Ubuntu via PPA.
KXStitch is a cross stitch pattern editor by KDE. The software features:
Importing images
Multiple floss palettes
Multiple stitch types
Pattern libraries
Reads PCStitch files
Flexible printing options
The latest KXStitch 2.1.0 was released silently. No announcement, no changelog. If you want to know what changed, look over the project commits on github page.
How to Install KXStitch 2.1.0 in Ubuntu:
For Ubuntu 16.04, Ubuntu 17.10, Ubuntu 18.04 users, it can be easily installed via the unofficial PPA.
1. Open terminal either via Ctrl+Alt+T or by searching for ‘terminal’ from app launcher. When it opens, run command:
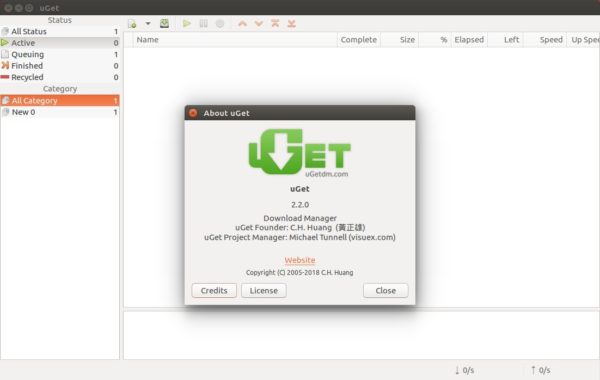
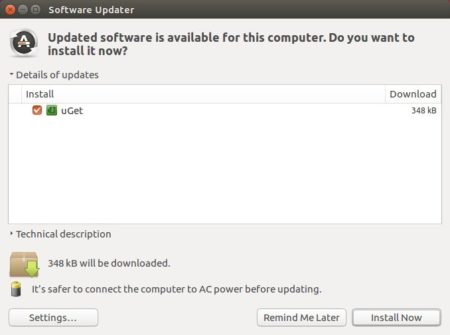
uGet download manager has reached the new stable 2.2 release series. The new release features ability to download from Youtube.
“uGet respects the YouTube Policies so depending on the individual settings of a video it may not be possible to download video from YouTube. The vast majority of videos will be available for use in uGet. The reason this was done instead of using something youtube-dl is because this method allows uGet for Android to also download YouTube videos as well as not have to worry about the ever changing APIs of YouTube that consistently break alternative methods of downloading.” uGet team announced.
The “uGet Chrome Wrapper” browser extension is compatible with Firefox, Chromium, Google Chrome, Opera, and Vivaldi. It will be renamed in the near future to better reflect the functionality.
uGet 2.2.0 features:
Support for downloading from YouTube
Support for downloading from MEGA
Batch Downloading up to 3 Wildcard Ranges
Better support for Wayland
New Browser Extension: uGet Chrome Wrapper
How to Install uGet 2.2.0 in Ubuntu:
The new release has been made into uGet Stable PPA, available for Ubuntu 14.04, Ubuntu 16.04, Ubuntu 17.10, and Ubuntu 18.04.
1. Open terminal via Ctrl+Alt+T or from app launcher, and then run command to add the PPA:
Ubuntu 17.04 Zesty Zapus reaches end of its life today on Jan 13. Ubuntu Security Notices will no longer include information or updated packages for Ubuntu 17.04.
Users can either upgrade to Ubuntu 17.10 (support will end in July 2018), or download Ubuntu 16.04, the current LTS with 5-year support cycle.
Ubuntu announced its 17.04 (Zesty Zapus) release almost 9 months ago, on April 13, 2017. As a non-LTS release, 17.04 has a 9-month support cycle and, as such, will reach end of life on Saturday, January 13th.
At that time, Ubuntu Security Notices will no longer include information or updated packages for Ubuntu 17.04.
The supported upgrade path from Ubuntu 17.04 is via Ubuntu 17.10. Instructions and caveats for the upgrade may be found at:
https://help.ubuntu.com/community/Upgrades
Note that is NOT patched against Meltdown and Spectre vulnerabilities due to the End of Life timing. Users are advised to upgrade to Ubuntu 17.10 and install the updated kernel packages.
Development of a complete response to the highly-publicized Meltdown and Spectre vulnerabilities is ongoing, and due to the timing with respect to this End of Life, we will not be providing updated Linux kernel packages for Ubuntu 17.04. We advise users to upgrade to Ubuntu 17.10 and install the updated kernel packages for that release when they become available.
Get-iplayer is a command line tool for downloading TV and radio programmes from BBC iPlayer. The tool features:
Downloads TV and radio programmes from BBC iPlayer
Allows multiple programmes to be downloaded using a single command
Indexing of most available iPlayer catch-up programmes (not BBC Three, Red Button or iPlayer Exclusive)
Caching of index with automatic updating
Regex search on programme name
Regex search on programme description and episode title
Filter search results by channel
Direct download via programme ID or URL
PVR capability (may be used with cron or Task Scheduler)
HTTP proxy support
Perl 5.10.1+ required, plus LWP, LWP::Protocol::https, XML::LibXML and Mojolicious modules
Requires ffmpeg for conversion to MP4 and AtomicParsley for metadata tagging
Runs on Linux/BSD (Ubuntu, Fedora, OpenBSD and others), macOS (10.10+), Windows (7/8/10 – XP/Vista not supported)
Install get-iplayer
There are so far 2 ways to install the software package in Ubuntu. They include:
Snap package – runs in sandbox environment.
Native .deb package through Ubuntu PPA.
Choose either one that you prefer.
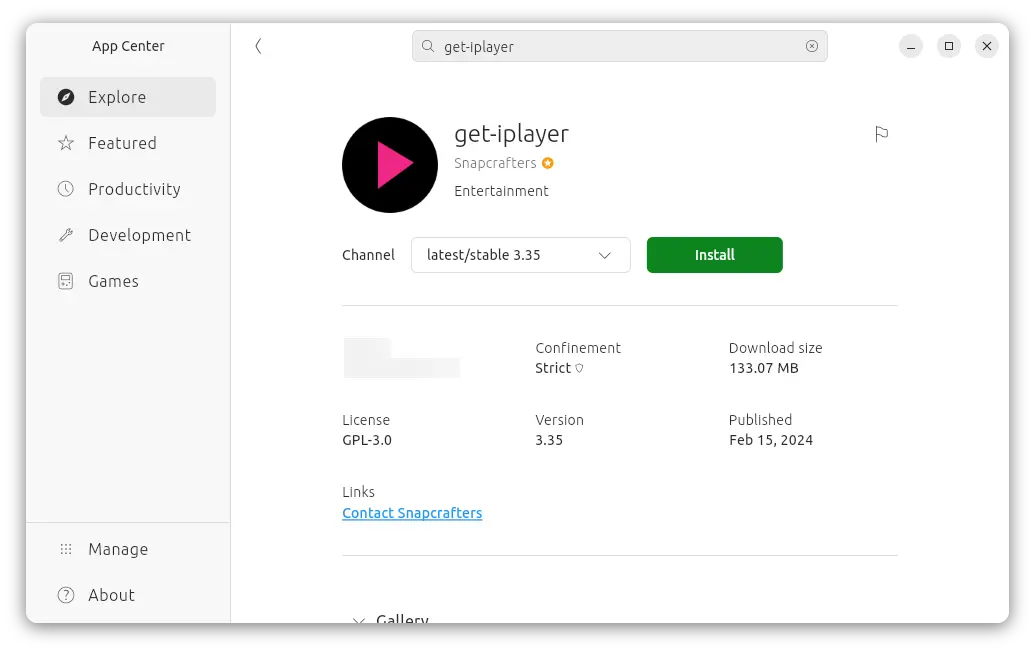
Option 1: Snap package
For the latest get-iplayer Snap package, either launch Ubuntu Software or App Center, then search & click install it.
get-iplayer in App Center
Or, you may also open terminal (Ctrl+Alt+T) and run the following command instead to install the snap package:
snap install get-iplayer
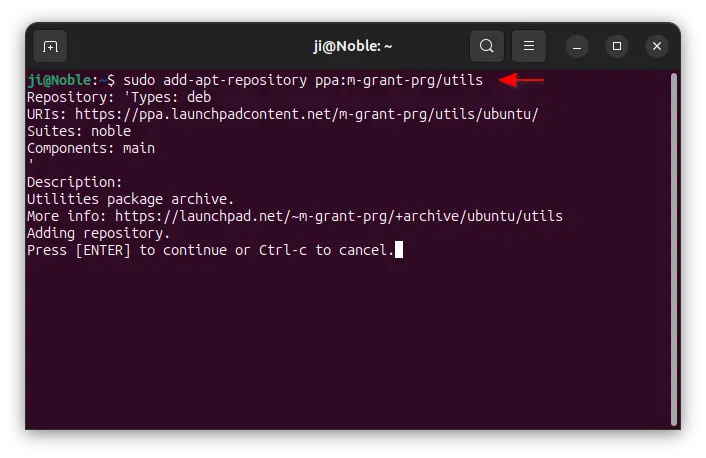
Option 2: Ubuntu PPA
For those who prefer the native .deb package, there’s an PPA repository that contains the most recent package for Ubuntu 24.10, Ubuntu 24.04, Ubuntu 22.04, and Ubuntu 20.04. Even the old Ubuntu 16.04 and Ubuntu 18.04 are also supported.
1. First, press Ctrl+Alt+T on keyboard to open terminal. When it opens, run command to add the PPA:
sudo add-apt-repository ppa:m-grant-prg/utils
Type user password when it asks (no asterisk feedback) and hit Enter to continue.
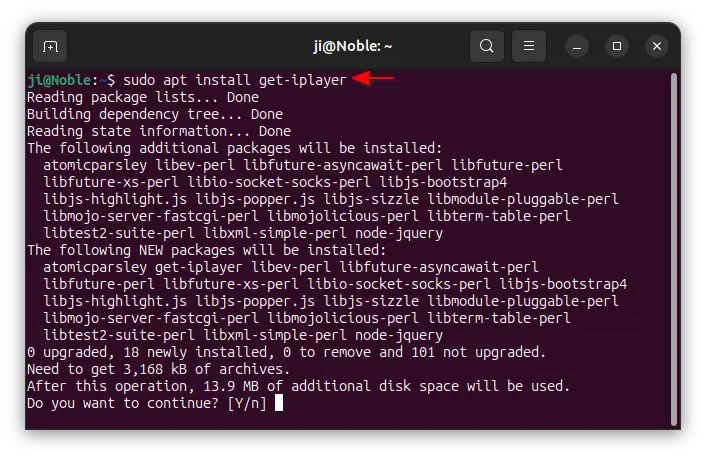
2. Then, install the .deb package via command:
sudo apt install get-iplayer
Linux Mint users may need to run sudo apt update first to manually refresh package cache, while this is done automatically while adding PPA in Ubuntu.
3. The PPA also contains many other software packages. You may run the command below to remove the PPA after installed get-iplayer in case of any package conflict.
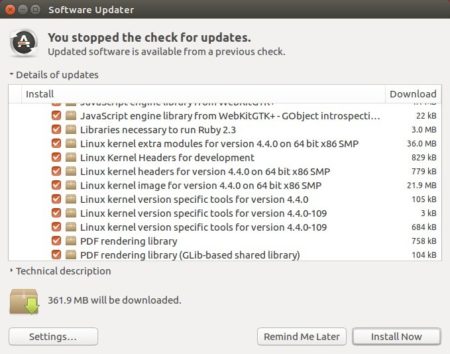
Heard about Meltdown and Spectre, two severe hardware bugs that affect billions of devices?
Besides updating the Ubuntu Kernel via “Software Updater”, Intel has released an update processor microcode patch for Linux based operating systems to address the security vulnerabilities.
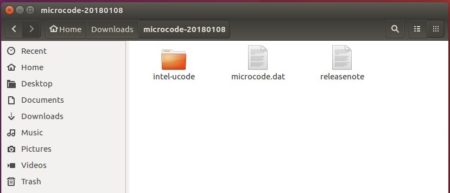
1. Download the Intel Processor patch from the link below:
Extract the file and you’ll get a new file folder with microcode.dat and intel-ucode directory.
2. To install the patch, open terminal via Ctrl+Alt+T or by searching for “terminal” from application launcher. When it opens, run command:
The FileZilla ftp client reached the 3.30.0 release a day ago with two new features and a few bug-fixes. Here’s how to install it in Ubuntu 16.04, Ubuntu 17.04, Ubuntu 17.10.
Changes in Filezilla 3.30.0 include:
In the search dialog local files can now be deleted or opened
The root node in the remote directory tree is now expanded by default
Fix uploading from search dialog
Fix formatting of filename in rename dialog
Fix Windows installer crash if an update installation is started with the updated version having been installed
Add additional logging if autoupdate mechanism fails
How to Install Filezilla 3.30.0 in Ubuntu:
So far the only to install the latest Filezilla client in Ubuntu is using the Flatpak package. And following steps will tell you how:
1. Open terminal via Ctrl+Alt+T or by searching for ‘terminal’ from app launcher. When it opens, do:
This is quick tutorial shows you how to prevent Ubuntu desktop from being automatic turned off (or locked up) while you’re watching videos.
Although the “System Settings” utility offers “Power” page to change screen dimming, blank screen inactive time, etc, it will be convenient to have a panel indicator applet to toggle the settings.
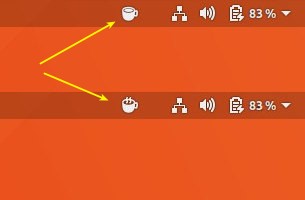
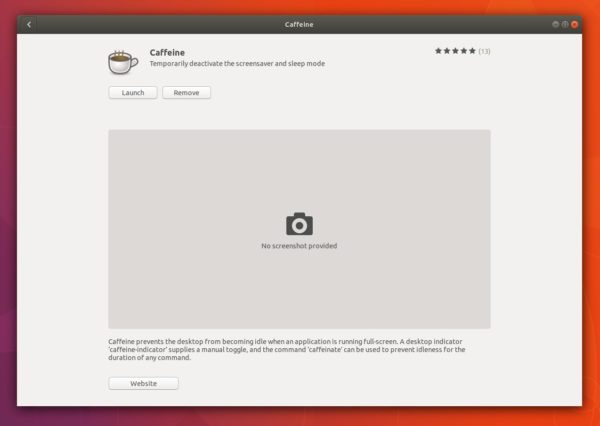
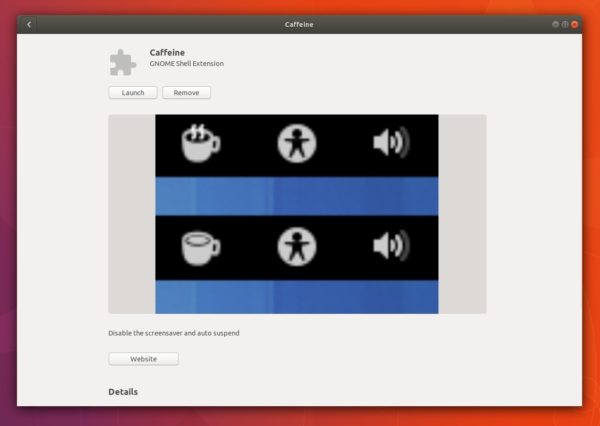
And Caffeine shows an applet in system tray area allows to temporarily prevent the activation of both the screensaver and the “sleep” powersaving mode.
To install Caffeine in Unity or Other Desktops:
For non-Gnome users in Ubuntu 16.04, Ubuntu 17.10, and higher, just search for and install “caffeine” in Ubuntu Software:
Once installed, you can launch it from app launcher or let it launch automatically in next login.
skip caffeine for xscreensaver which it not updated for a lone time.
Once installed, you should see the applet in system tray. And you can manage gnome extensions via “Gnome Tweaks” utility (Install it via Ubuntu Software if you don’t have it).